Black Ops 6: The Tomb Easter Egg Walkthrough
Set deep beneath the surface in a haunted dig site turned subterranean temple, The Tomb drops you into a forgotten world where rituals, symbols, and Dark Aether forces twist the rules of survival.
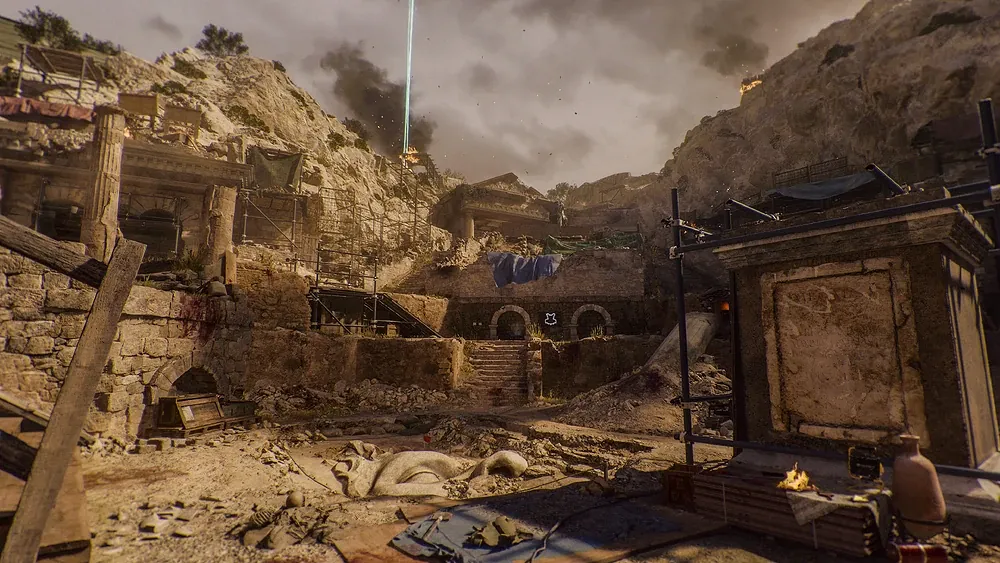
In this guide, we’ll walk you through every major step of Black Ops 6 Zombies The Tomb Easter Egg — from activating the Sentinel Artifact to crafting the Staff of Ice, completing each statue trial, and finally surviving the multi-phase boss fight at the heart of the Dark Aether Nexus.
Black Ops 6 Zombies The Tomb Easter Egg
The Tomb is one of the most multi-layered Easter eggs in Call of Duty: Black Ops 6 Zombies.
To complete it, you’ll need to unlock the Pack-a-Punch, craft and upgrade the Staff of Ice, and solve symbol-based puzzles across the Dark Aether Nexus. Then come the statue trials — Parasite, Vermin, Amalgam, and Doppelghast — each pushing you into close-quarter chaos with soul-box mechanics and timed damage phases. And finally, it all builds to the Sentinel Artifact, a sentient force at the heart of a punishing, multi-phase boss fight that can wipe even well-prepared squads.
If you're more interested in rewards than repetition, services like RBZ The Tomb Boost offer a smart alternative — completing the full questline for you, unlocking the Staff of Ice and all major rewards, while saving you hours of grind.
PROMO CODE FOR A FIRST ORDER: GREETINGS15. We have a great deal for new customers - get desired boost with a 15% discount. Simply use the promo code at checkout and enjoy your discounted boost right now!
How to Start The Tomb Easter Egg
The Tomb Easter Egg begins the moment you enter the map, but the actual questline doesn’t kick off until you complete a few critical steps. Your goal early on is to reach the Dark Aether Nexus, locate the Sentinel Artifact, and activate it to trigger the main objective sequence.
Start in the Dig Site, the map’s spawn area. Gather enough Essence and make your way to the southern door near the PhD Flopper machine. This opens the path to the Neolithic Catacombs and the Doorway to Nowhere. Unlock the following doors step by step, progressing through the Ossuary and into the Subterranean Temple.
Enter the Dark Aether Nexus
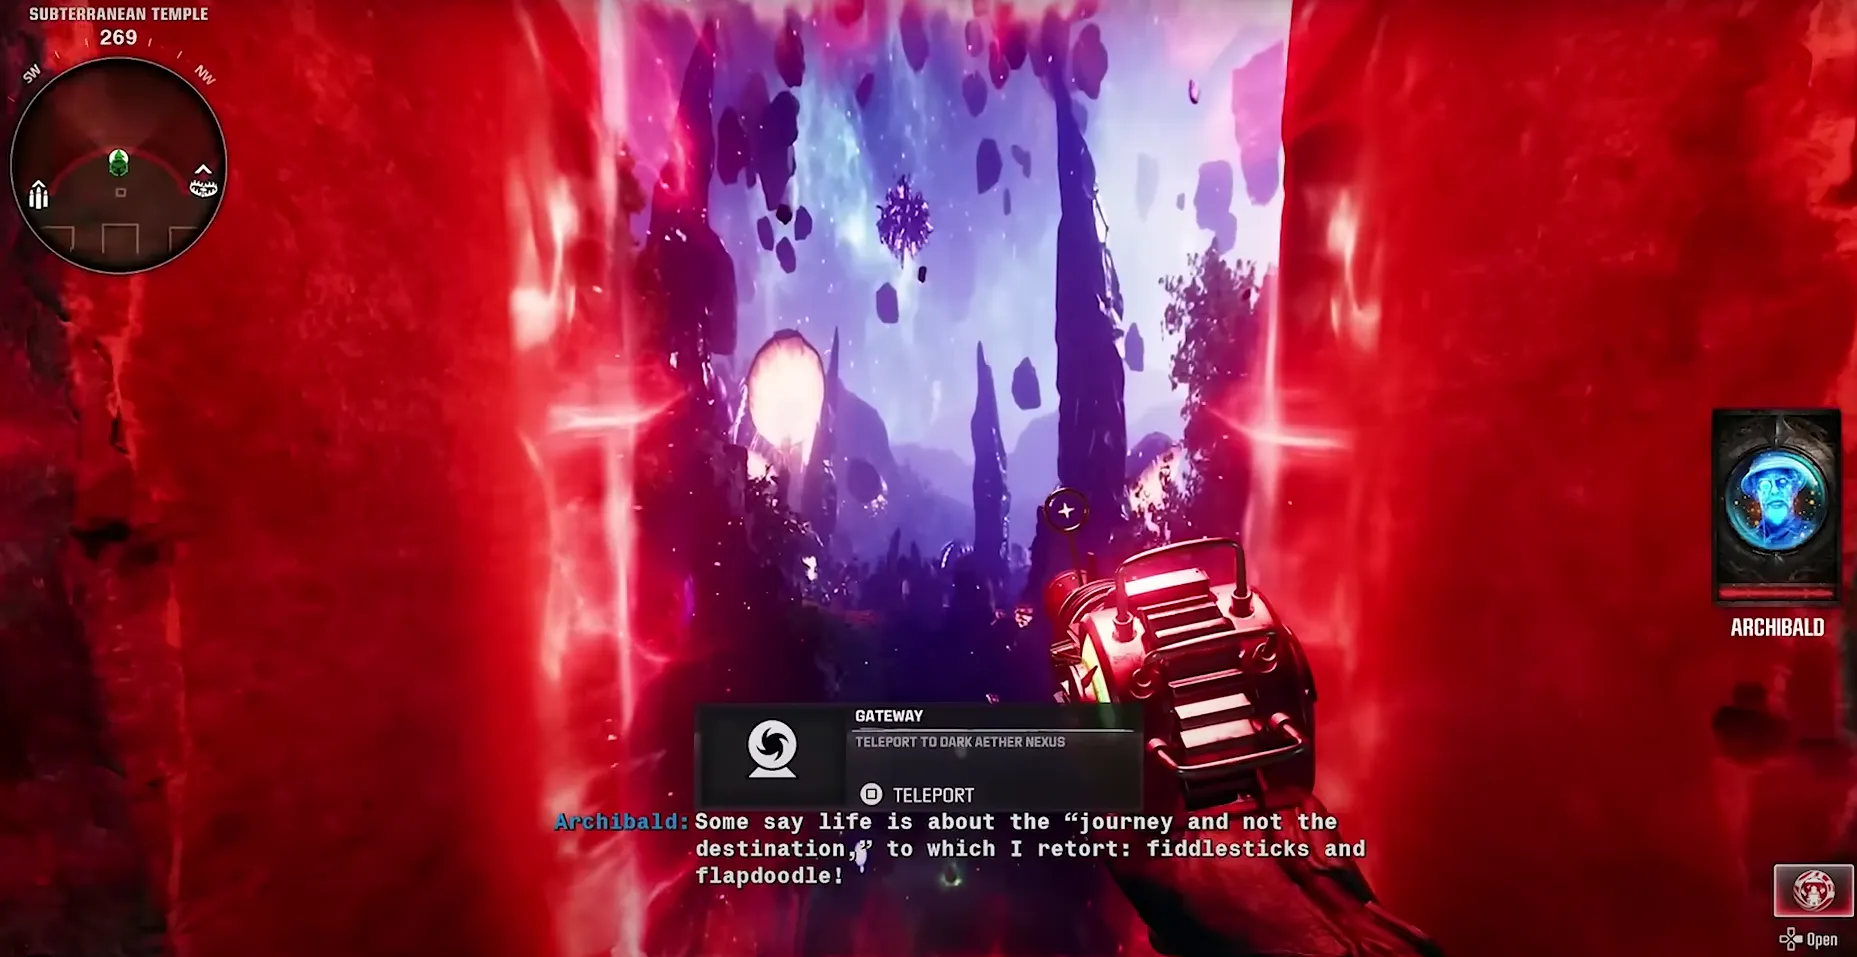
In the temple, look for a pedestal holding a glowing crystal. Interact with it to insert the amulet you brought from Citadelle des Morts. This opens a red portal on the nearby wall. Step through it and you’ll enter the Dark Aether Nexus. Here, you’ll find the Pack-a-Punch machine, four inactive statue pedestals, and in the distance, the floating Sentinel Artifact. Get close to the ledge near Jugger-Nog, and you’ll trigger a message from Archibald. This confirms that the main quest has officially begun.
Unlocking the Pack-a-Punch Machine
By now, you’ve made it past the Dig Site, cleared your path through the Neolithic Catacombs and Ossuary, and arrived at the Subterranean Temple. There, you placed the Citadelle amulet onto the ritual pedestal — triggering a surge of energy that opened a glowing red portal. That portal is your access point to the Dark Aether Nexus and to the Pack-a-Punch machine itself.
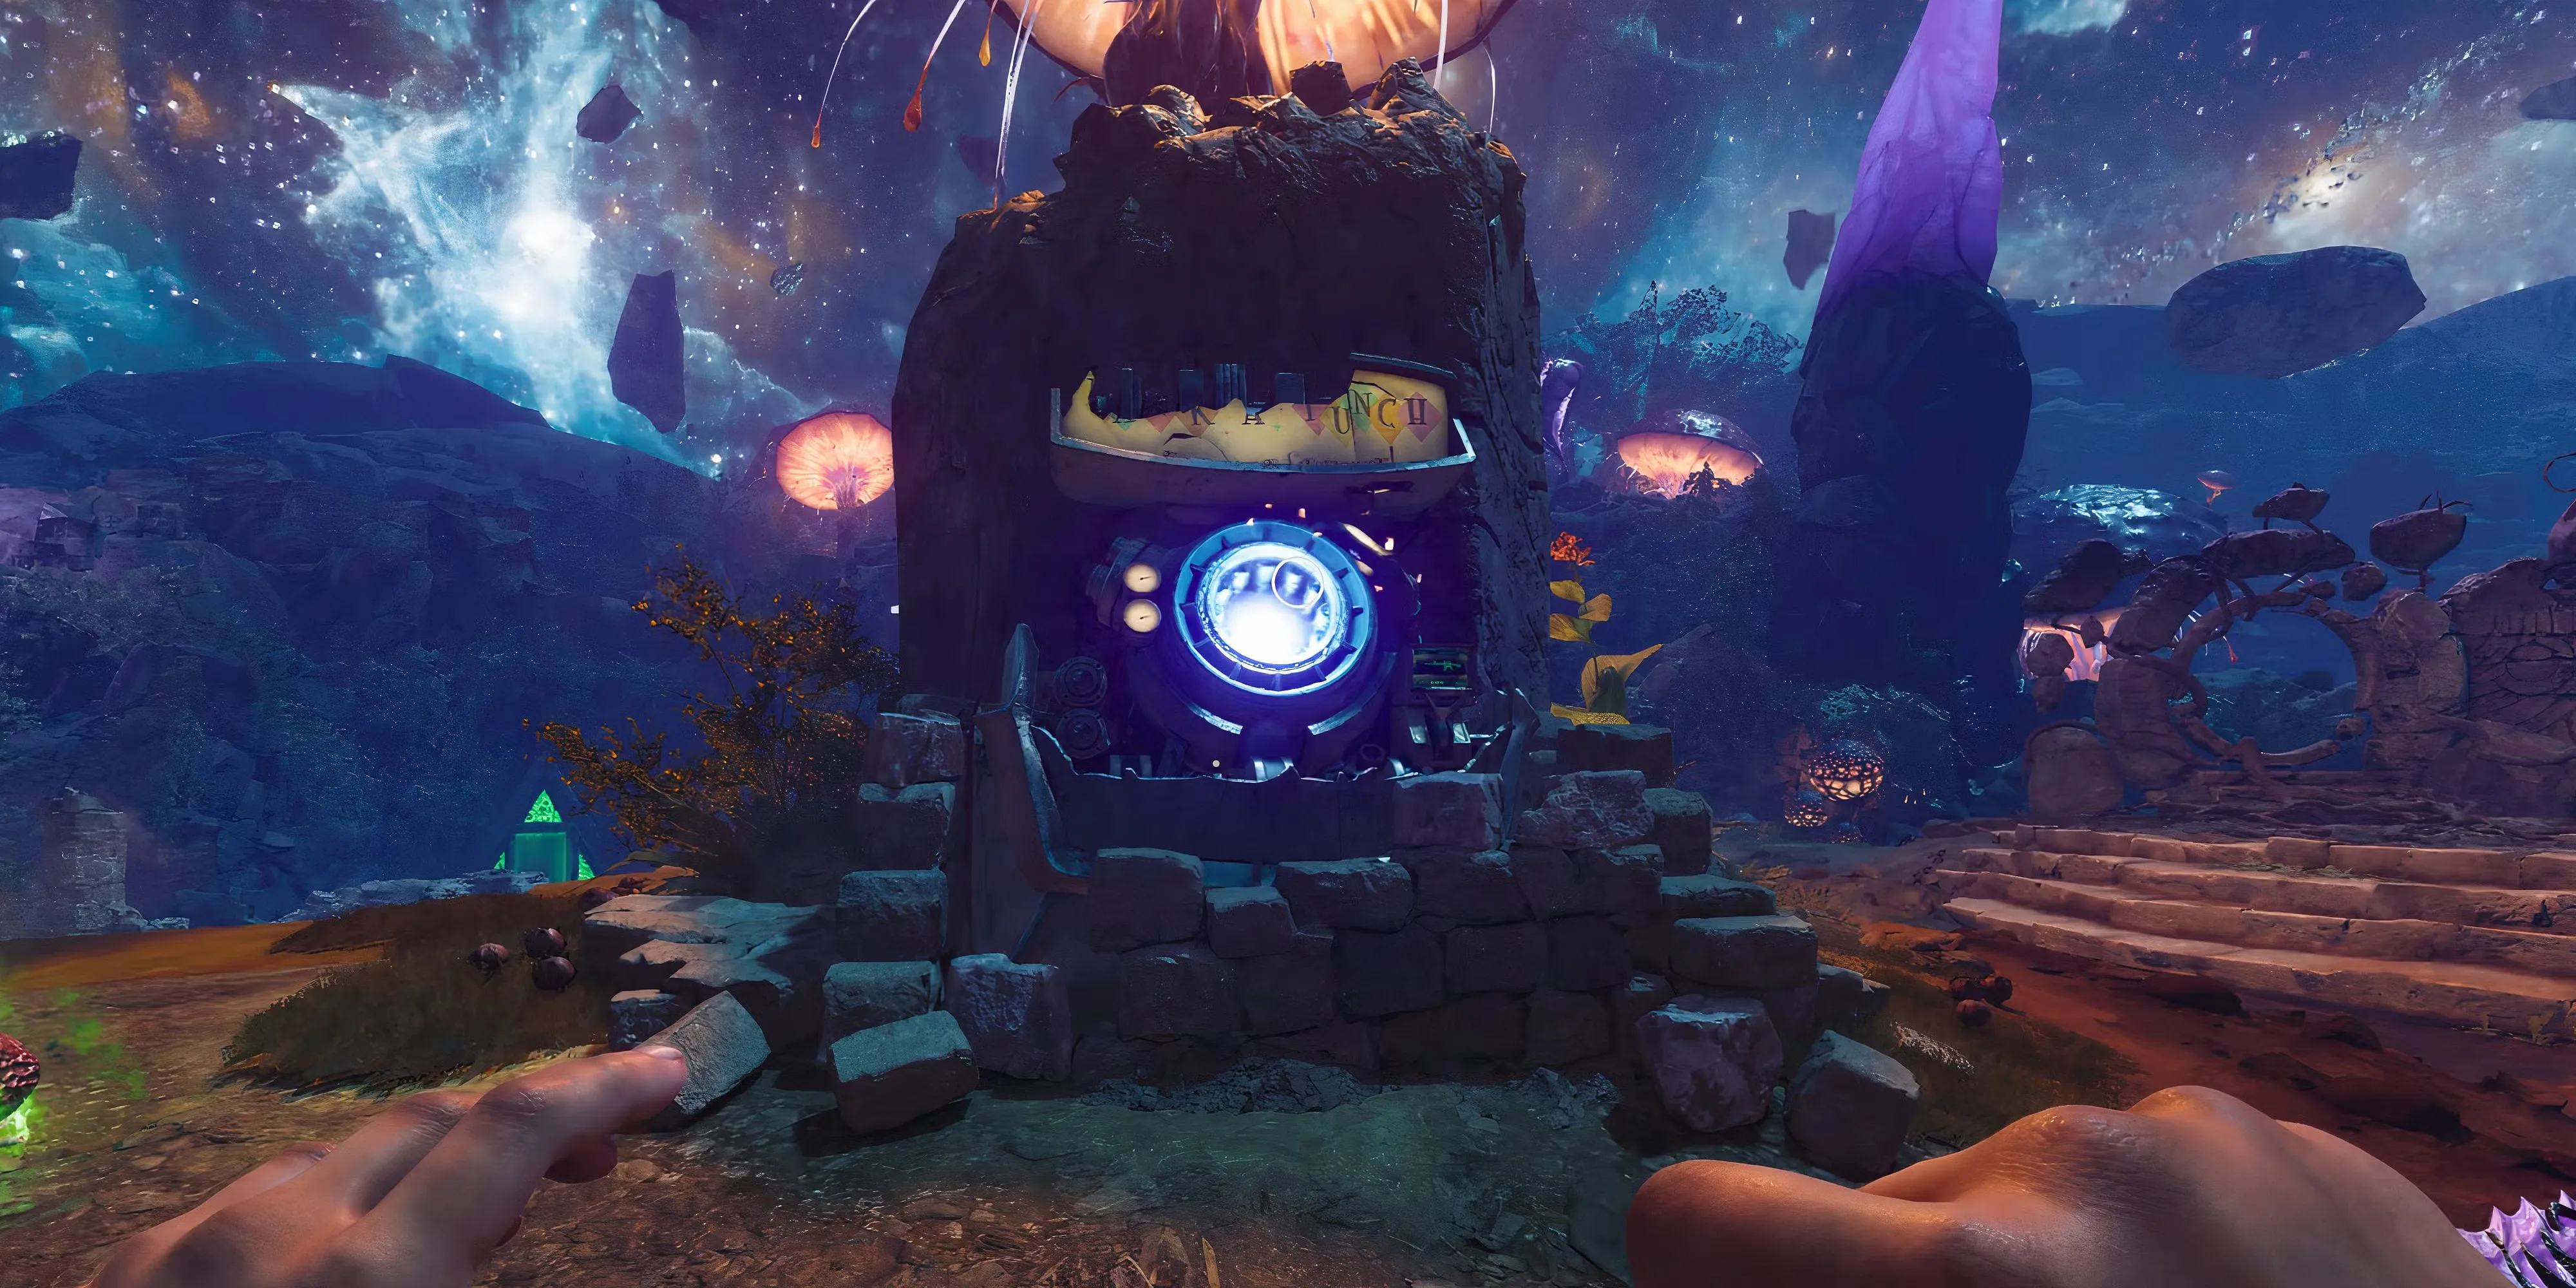
Step through the portal and you’ll arrive on a floating island above the void. In the center sits the Pack-a-Punch machine, built into old stone and ready to boost your firepower.
You’ll be returning to this Nexus again and again — not just to punch your weapons, but to unlock statues, complete soul trials, and eventually craft the Staff of Ice. Consider this your base of operations for the rest of the Easter Egg.
How to Craft and Upgrade the Staff of Ice
The Staff of Ice is your main Wonder Weapon for completing The Tomb Easter Egg. It’s essential for the statue trials, orb escort, and even the final boss fight. But getting it isn’t simple, you’ll need to survive two lockdowns, solve a Roman numeral puzzle, and defend the crafting ritual under pressure. Here’s how to craft and upgrade it.
Get the Monocle from a Shock Mimic
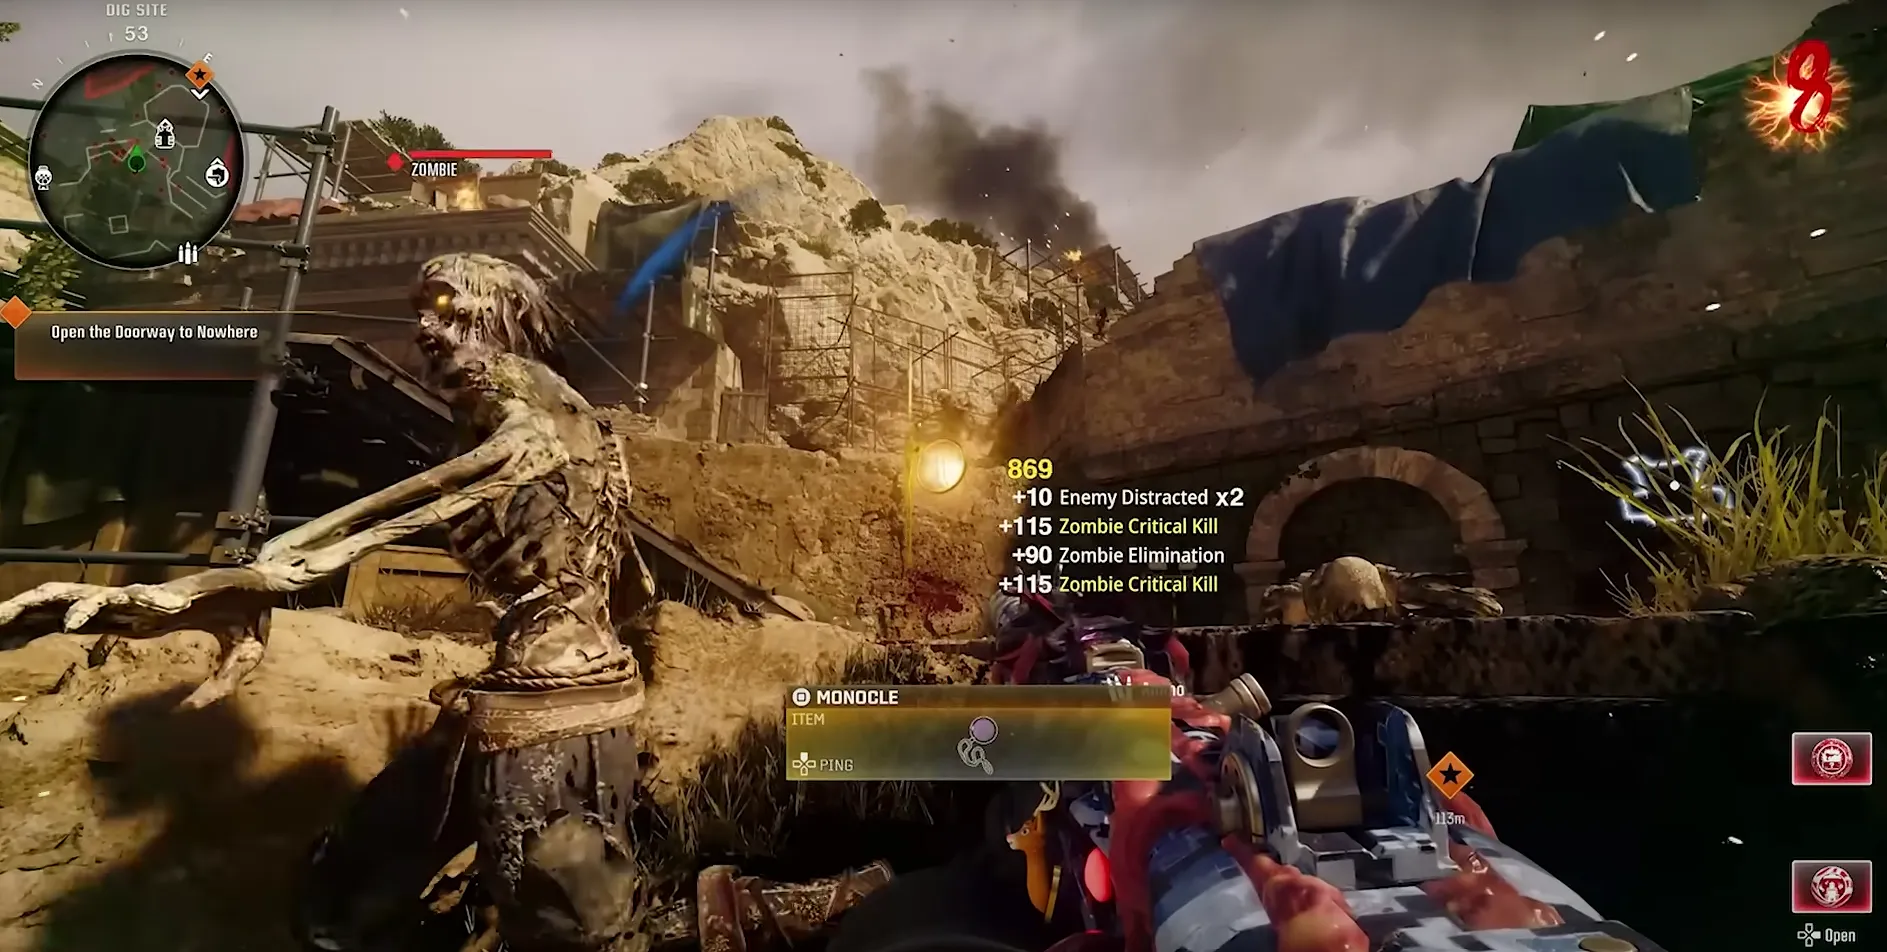
Around round 8, a Shock Mimic begins to spawn. It has the same behavior as regular Mimics but can disrupt your radar and visuals. Take it out from a safe distance. Once killed, it drops the Monocle — the first piece of the Staff of Ice.
Unlock the Purple Lantern Puzzle (Death Perception Room)
Head into the Tombs, accessed from the northern door in the Dig Site. Inside, look for a glowing purple lantern floating around the room. Shoot it with any weapon — it will jump to another spot. Keep shooting it until it settles into the lantern holder nearest the bull mural, by the Death Perception machine.
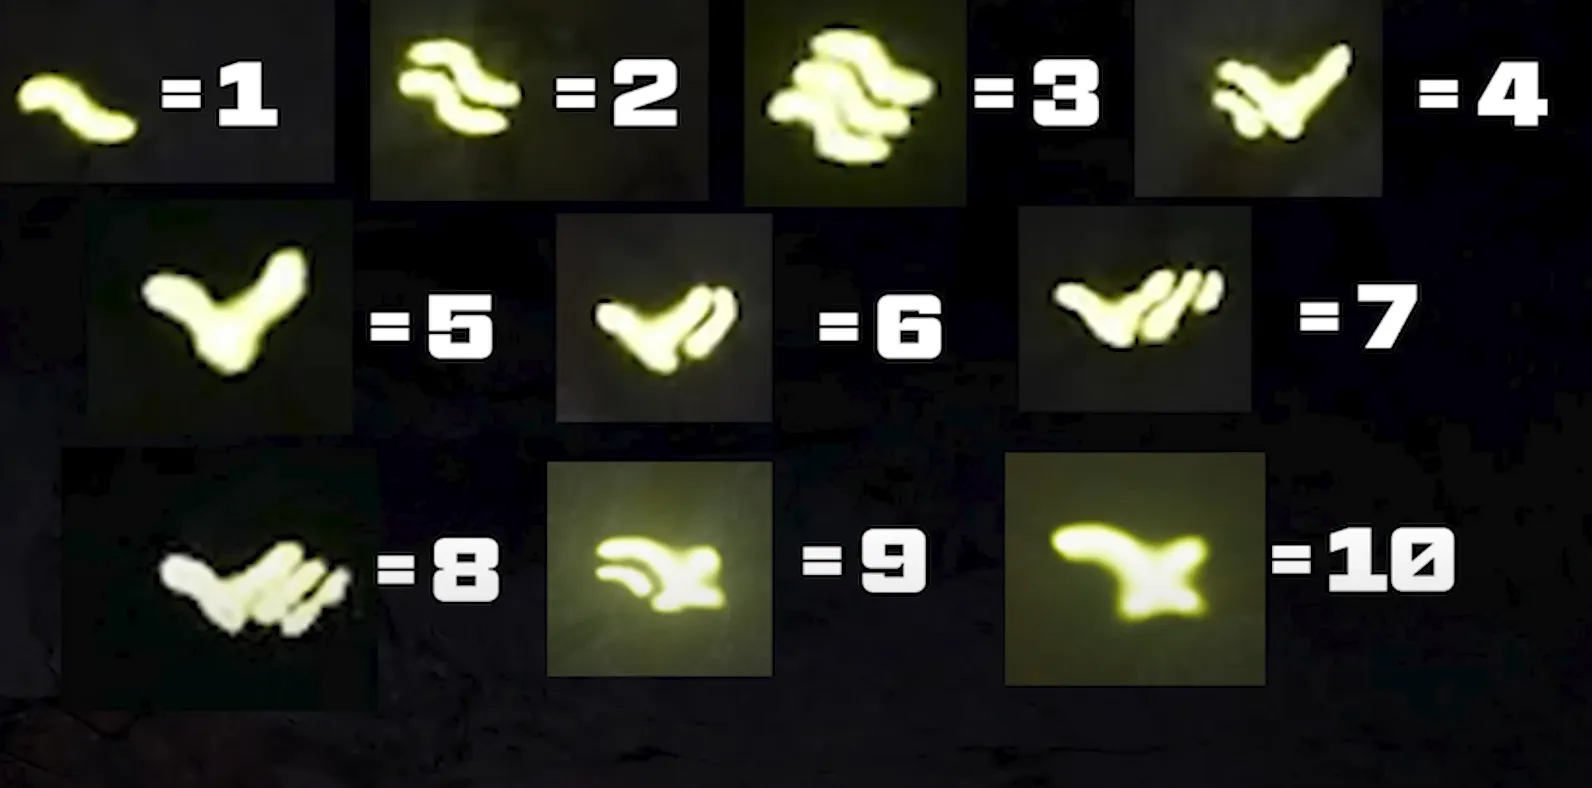
When it locks in place, Roman numerals appear on the wall. Use the reference chart (or your own notes) and shoot the symbols in the correct order. If you get one wrong, it glows red. Reshoot the correct ones from the beginning.
Survive the First Lockdown
Completing the puzzle triggers a five-wave lockdown. You’ll face Parasites, Mimics, Spiders, and regular zombies in a tight arena. Pools of Dark Aether damage appear on the floor between rounds, so keep moving and avoid standing still.
Placing Sentries or using Aether Shroud helps a lot here. After the final wave, collect the Staff Shaft glowing in front of the mural.
Repeat in the Deadshot Room for the Head Piece
Go to the Neolithic Catacombs near the Deadshot Daquiri machine. Another purple lantern puzzle awaits. This time, guide it to the mural by the Workbench, then solve a new set of Roman numerals.
Again, five waves of enemies follow. The area’s a bit more open, so use the side tunnels to train zombies and control pressure. When done, collect the Head Piece — you now have all three components.
Craft the Staff of Ice in the Nexus
Return to the Dark Aether Nexus. Head to the large stone structure in the center. Interact with the socket in the middle to begin assembling the Staff.
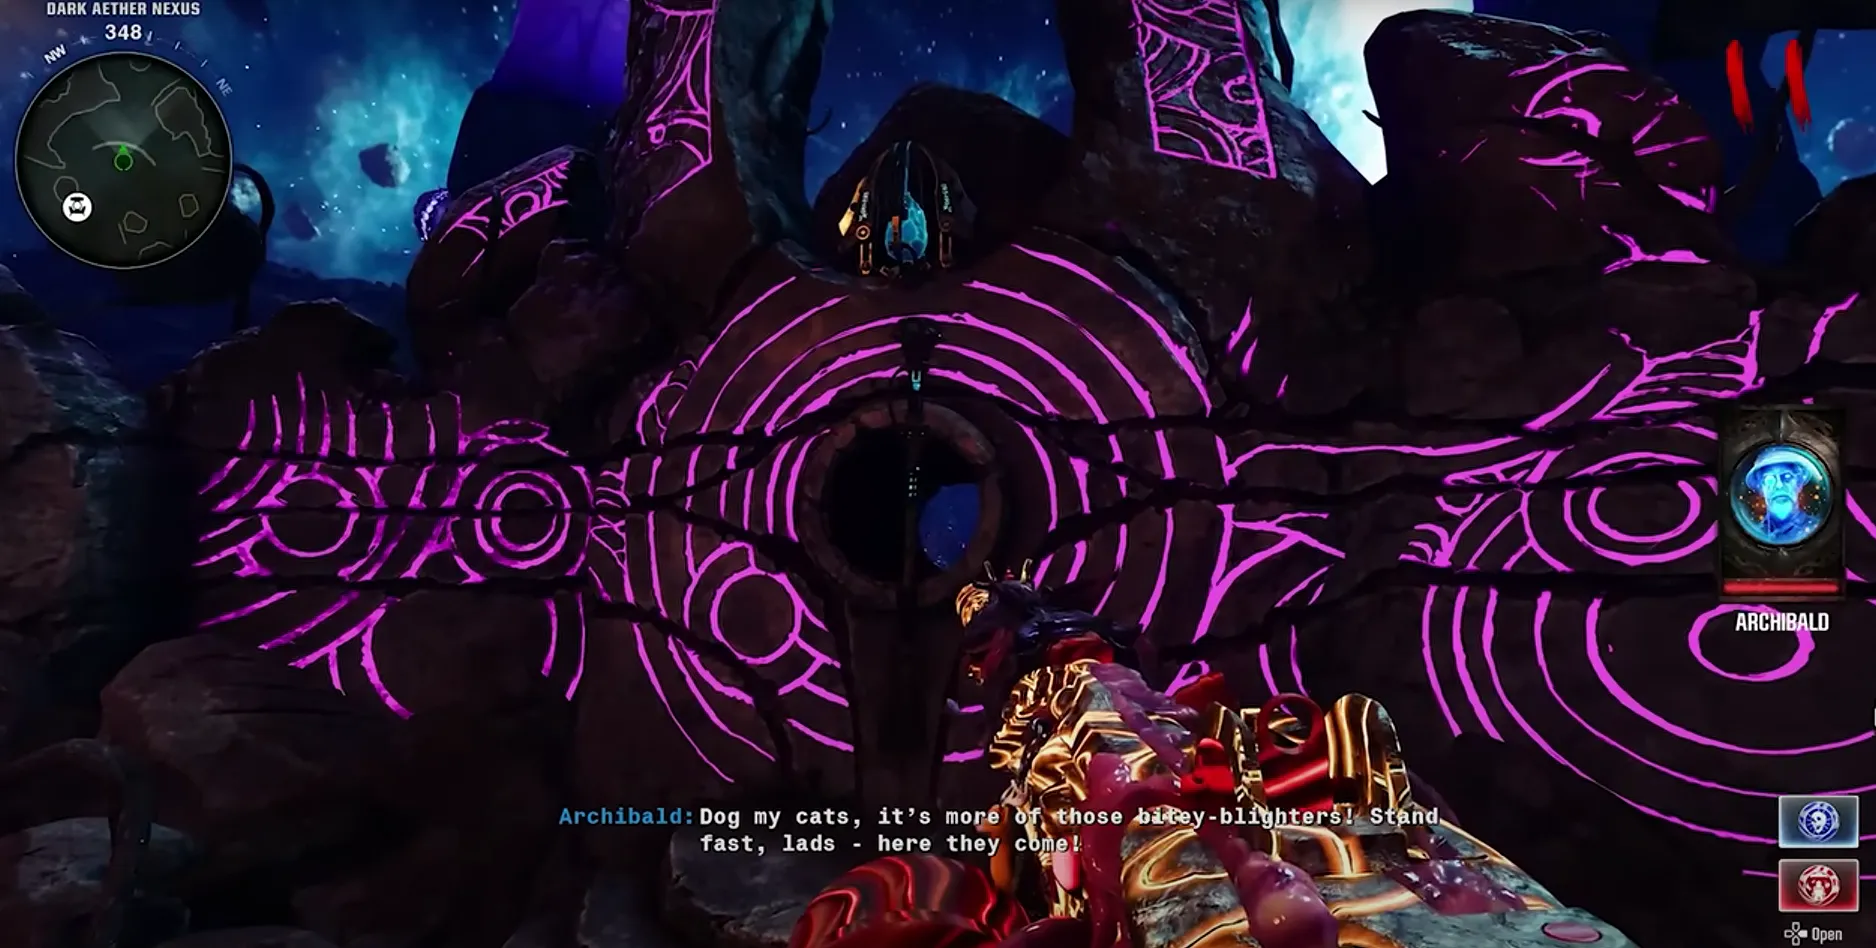
Zombies, Spiders, and Parasites will swarm the site for one minute. Your goal is to defend the Staff as it charges. If it takes too much damage, you’ll have to wait for the next round to try again. Use decoys, Kazimirs, or just run a tight circle while eliminating enemies near the Staff.
Once the lockdown ends, pick up the Staff of Ice Wonder Weapon.
Upgrade the Staff of Ice
The base version is good, but the upgraded staff is required for trials and the boss fight. Here’s how to upgrade it:
-
Freeze the Lanterns
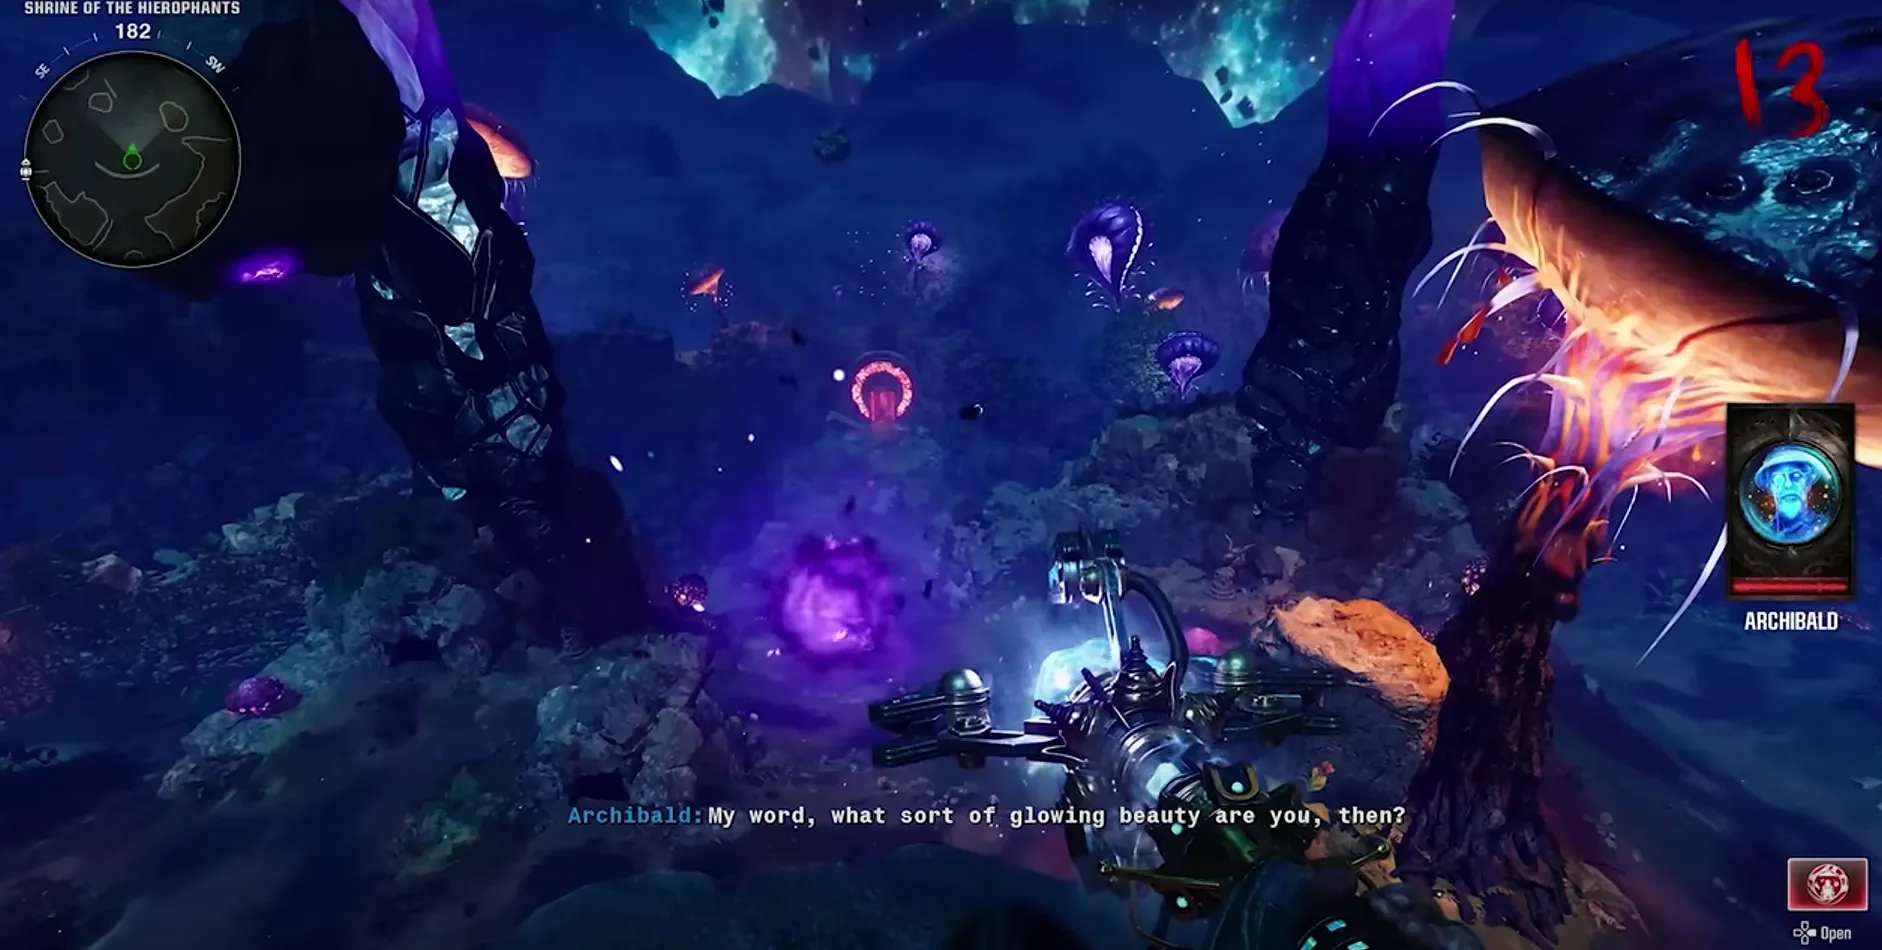
Find and shoot three purple-glowing lanterns with the Staff of Ice within 10 seconds. You can move them by shooting them with a regular weapon. Plan their positions ahead of time so they’re close together — recommended rooms: Subterranean Temple, Shrine of the Hierophants, and Tombs.
When done correctly, Archibald will speak over comms. -
Find and Shoot the Symbols on Floating Rocks
Enter the Dark Aether Nexus and look up to locate three glowing red symbols on the floating rocks. Shoot them with the Staff of Ice. Note the symbols — you’ll need them shortly. -
Activate the Gateway Door
Figure out which gateway (Blue, Red, Green, Yellow) is disabled. Leave the Nexus and go to its real-world location. There, you’ll find a stone door with symbols.
Shoot the three matching symbols you saw earlier, in any order. If correct, the door opens and teleports you to a floating rock. -
Escort the Orb
Interact with the purple orb on the rock. It’ll begin moving around the Nexus. Stick close and kill zombies to charge the soulbox mechanic.
If the orb completes its path, you can interact with the structure at the center of the Nexus to upgrade the Staff of Ice. -
The upgraded staff gains new abilities:
- Charged Ice Storm for crowd control
- Sekhmet’s Vigor Healing Orb for support and revives
If you’re stuck on this step or just want to skip the grind, a CoD: Round Based Zombies Boost can help you push through the hard rounds efficiently.
The Statue Trials: Parasite, Vermin, Amalgam, Doppelghast
Once the Staff of Ice is upgraded, you're ready to take on the four statue trials. These are lockdown challenges tied to the core ritual in The Tomb, and each one must be completed to unlock the final boss fight.
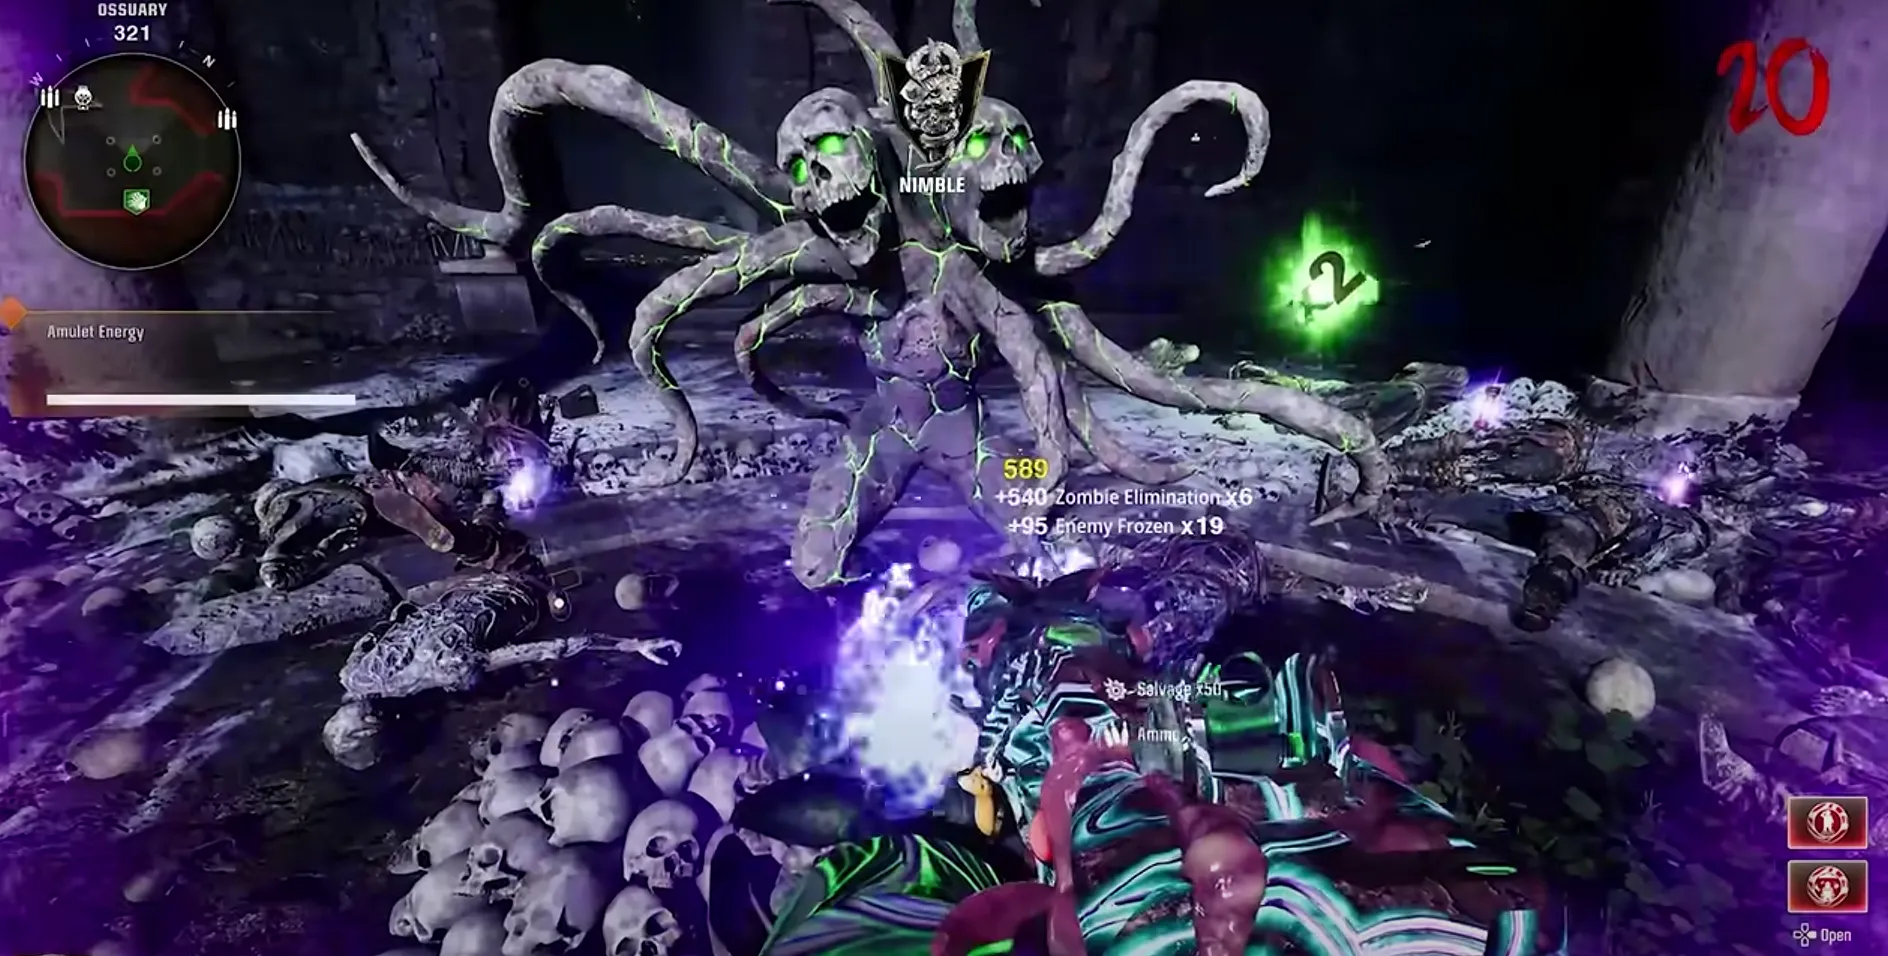
Tip: Before beginning, make sure you have at least one Pack-a-Punched weapon, a few strong perks like Jugger-Nog and Speed Cola, and ideally some decoy grenades or an upgraded Aether Shroud.
Every trial involves two phases:
- Initiating the trial from the Nexus statue using the Staff of Ice (Sekhmet’s Vigor)
- Completing the lockdown in the corresponding room and returning the amulet safely
Once you're in the Nexus and have activated the Sentinel Artifact, the path forward opens — starting with the statue trials.
Final Boss Fight: Sentinel Artifact Showdown
Everything you’ve done — the Staff, the lanterns, the symbols, the trials — leads to this moment. The fight takes place in a sealed arena inside the Dark Aether Nexus and unfolds across multiple punishing phases.
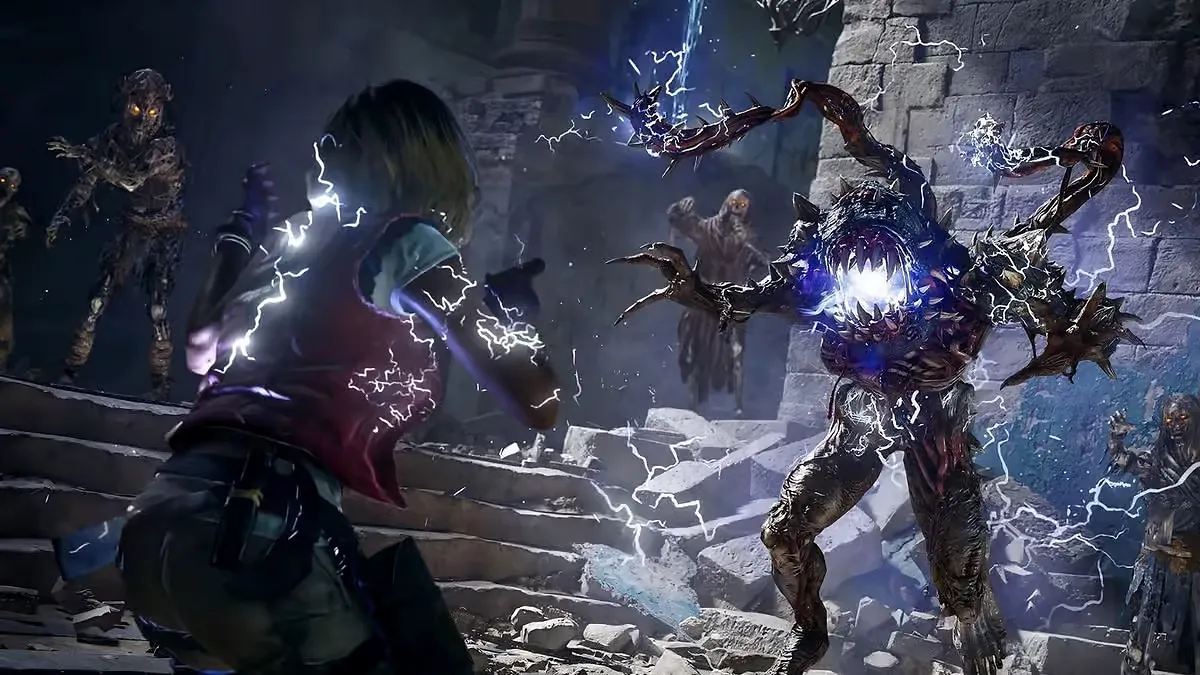
Before triggering the encounter, make sure you have:
- Level 3 Pack-a-Punch weapon
- Legendary weapon rarity
- Full armor + self-revive
- Aether Shroud equipped with Group Shroud and Extension
- Max ammo, Gobblegums (Phoenix Up, Kill Joy, Idle Eyes), and decoys
- Dead Wire ammo mod (you’ll need this for the Free Full Power trick)
Interact with the Sentinel Artifact once the bridge has formed. All players must vote to begin. You’ll be teleported into the boss arena, and the doors will lock behind you.
Once the final red Artifact shatters, approach the glowing core in the center and trigger the ending cutscene. That’s your win. You’ve just completed one of the hardest quests in Black Ops 6 Zombies.
Recommended Loadouts for The Tomb Easter Egg (BO6)
Before stepping into the Dark Aether Nexus for the final showdown, you need to be fully equipped.
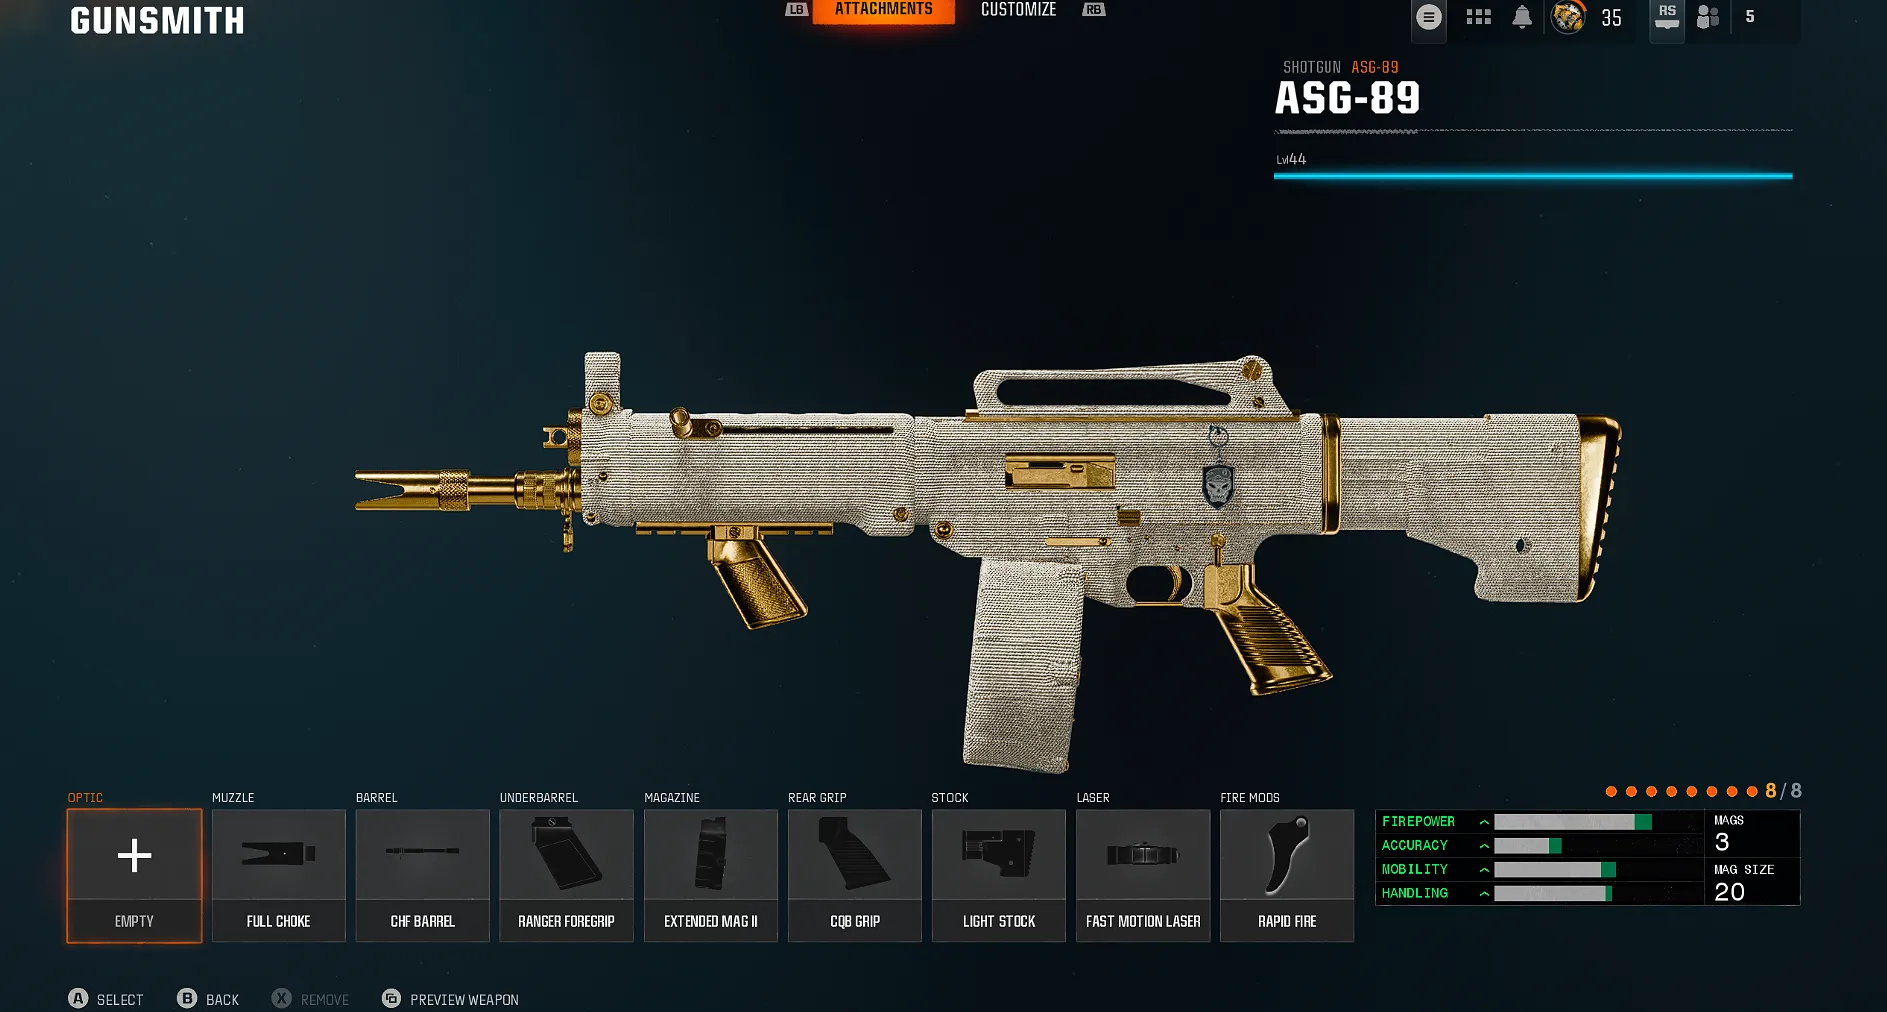
The Tomb Easter Egg Rewards
Completing The Tomb Easter Egg in Black Ops 6 Zombies rewards.

Summary
Completing The Tomb Easter Egg is a true test of skill and coordination — and this Black Ops 6: The Tomb Easter Egg guide is here to help you navigate its toughest puzzles, brutal lockdowns, and non-stop enemy waves. If you're short on time or tired of endless grinding, Call of Duty Boosting Services offer a fast-track to the results you want.
FAQ
Begin in the Dig Site and progress through the Neolithic Catacombs and Subterranean Temple until you find the glowing crystal. Interact with it to insert your amulet and open the red portal to the Dark Aether Nexus where the quest truly begins.
The Sentinel Artifact appears in the Dark Aether Nexus after you complete the early setup and statue trials. It stands as a focal point on the broken bridge that leads to the final boss arena.
Each trial is initiated at a corresponding Nexus statue using the upgraded Staff of Ice. You then exit through a specific gateway to complete a lockdown challenge in the main world. Survive the enemy onslaught during the lockdown, grab the Amulet, and safely return it to the Nexus statue.
The Staff of Ice is essential for progressing through the quest. It is used to activate statues, freeze Dark Aether lanterns, solve symbol puzzles, and ultimately upgrade into a versatile weapon that can unleash Ice Storms or fire a revival orb.
Yes, you can tackle the quest solo, but it is extremely challenging. Team coordination improves survivability during the statue trials and final boss fight.
Change Log
- 30.04.2025 - Black Ops 6 Zombies The Tomb Easter Egg guide published.

