Destiny 2: How to Unlock Whisper of the Worm
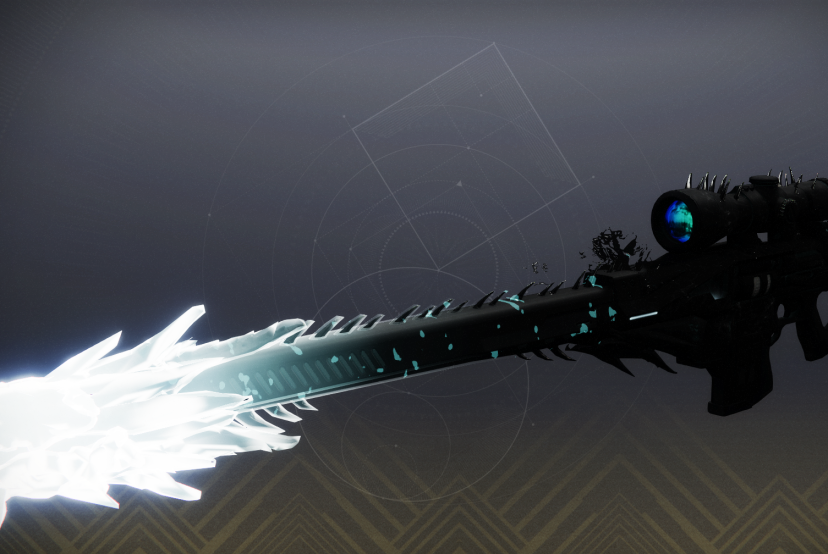
One of the most powerful and sought-after sniper rifles in Destiny 2, Whisper of the Worm has made a triumphant return in The Final Shape expansion. Known for its infinite ammo regeneration through precision hits, it has been a top choice for high-damage PvE activities, especially against raid bosses and high-tier enemies.
Previously available through the Whisper quest, this weapon has been reintroduced with new ways to obtain and upgrade it. Whether you are a veteran Guardian seeking to reclaim an old favorite or a new player experiencing its power for the first time, this guide will walk you through how to unlock Whisper of the Worm, its best perks, and how to use it effectively in Destiny 2.

What is Whisper of the Worm?
Destiny 2 Whisper of the Worm is an Exotic Heavy Sniper Rifle originally introduced in Destiny 2: Warmind. It is considered the spiritual successor to the Black Spindle and Black Hammer sniper rifles from the original Destiny. Known for its incredible precision damage and infinite ammo regeneration, it has remained a staple for PvE boss encounters and sustained DPS scenarios.
This weapon originally debuted through a time-limited mission called The Whisper, but was later vaulted. With The Final Shape, Whisper of the Worm returns, offering players a chance to earn it once again through a new questline.
Whisper of the Worm Stats
Understanding the stats of Destiny 2 Whisper of the Worm is crucial for maximizing its potential in PvE encounters. This sniper rifle is built for high-impact precision damage, making it one of the best choices for boss fights. Below is a breakdown of its key attributes:
Popular Trait Combinations
| Combination | Percentage of Rolls | Effectiveness |
|---|---|---|


Mulligan + Fitted Stock |
30.58% | Best for sustained DPS and ammo economy. |


Field Prep + Fitted Stock |
29.27% | Great for quick reloads and increased reserves. |


Field Prep + Hand-Laid Stock |
13.28% | Improves reloads with added stability. |


Field Prep + Short-Action Stock |
7.02% | Increases handling while keeping ammo reserves high. |


No Distractions + Fitted Stock |
4.55% | Reduces flinch, good for high-pressure engagements. |


No Distractions + Hand-Laid Stock |
4.21% | Best for stability-focused precision shots. |


Mulligan + Hand-Laid Stock |
3.05% | Helps sustain ammo while improving accuracy. |


Field Prep + Composite Stock |
1.94% | Balanced choice with slight stability and handling benefits. |
Perks and Upgrades
Understanding the perks and upgrades of Whisper of the Worm is essential to maximizing its potential in combat. These enhancements allow players to fine-tune their playstyle, improve handling, and increase damage output. Below is a breakdown of the most effective perk options and their benefits.
How to Unlock Whisper of the Worm
With the release of The Final Shape expansion, Destiny 2 Whisper of the Worm can now be obtained through a dedicated questline. Players should check with vendors such as Zavala, Banshee-44, or the Monument to Lost Lights to initiate the latest acquisition method.

Step 1: Access "The Whisper" Mission
- Location: Travel to Io, specifically the Lost Oasis area.
- Event Trigger: Wait for the "Taken Blight" public event to begin.
- Special Enemy: During the event, a unique Taken enemy will appear. Defeat this enemy.
- Portal Activation: After eliminating the special enemy, a portal will open nearby. Enter this portal to start "The Whisper" mission.
Step 2: Navigate the Platforming Sections
- Time Constraint: You have 40 minutes to complete the mission.
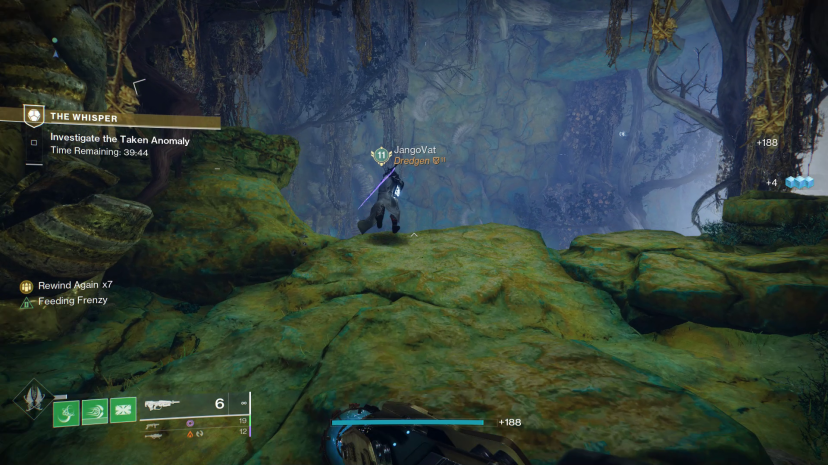
- Initial Descent: Proceed through the cave until you reach a ledge. Jump to the rocky opening ahead, defeat the Phalanx, and destroy the blight to reveal a hole. Drop down to continue.
- Crouch Passage: Navigate through narrow tunnels, avoiding moving blocks that can push you off. Time your movements carefully to pass safely.
- Vertical Platform: Find a moving platform; ride it upward and jump onto the ledge above.
- Energy Blast Room: Cross a room with narrow paths connected to walls. Time your jumps to avoid periodic energy blasts that can knock you off.
- Final Jumping Puzzle: Enter a large cavern with holes along the walls. Your destination is the top-right hole on the far side. Navigate carefully to reach this opening.
Step 3: Combat Encounters
- First Room: Clear waves of Taken Thralls and snipers. Utilize roaming supers to efficiently eliminate enemies.
- Second Room: Deal with Taken Captains in a confined space. Prioritize high-threat enemies to clear the area.
- Third Room: Navigate a large room with upper and lower levels. Follow the right wall, eliminating enemies as you go, including Taken Knights that leave damaging fire pools.
- Final Room: Target snipers upon entry, then focus on Taken Psions around the perimeter. After clearing enemies, destroy the central blight to access the boss area.
Step 4: Boss Battles
- Summoning Bosses: Destroy one of the three Vex cubes to summon a corresponding boss and its minions. You can choose to summon them one at a time or simultaneously.
- Left Cube: Summons Urzok, Aspect of Hate (Taken Knight with Taken Wizards).
- Middle Cube: Summons Drevis, Aspect of Darkness (Taken Kell with Captains and Vandals).
- Right Cube: Summons Ta’aurc, Aspect of War (Taken Cabal with Psions and Centurions).
- Defeating Bosses: Utilize heavy weapons and supers to eliminate each boss. After each defeat, waves of Taken Minotaurs will spawn; clear them before proceeding.

Final Boss - Tulgorh, Aspect of Agony
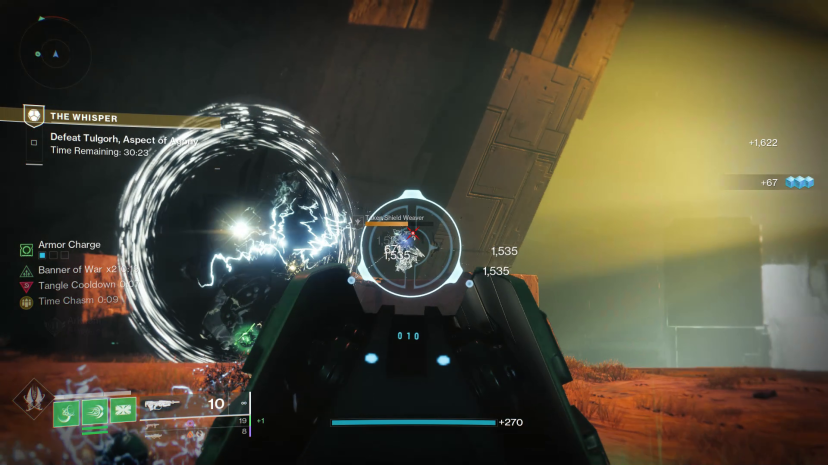
- Shield Mechanics: Tulgorh has an immunity shield protected by two Taken Wizards. Eliminate the Wizards to lower the shield.
- Health Phases: After reducing Tulgorh's health by half, additional enemies and blights will appear. Repeat the process of eliminating Wizards to remove the shield and continue damaging Tulgorh.
- Continuous Adds: Be prepared for continuous spawning of Taken Thralls during the fight.
Step 5: Claiming Your Reward
- Upon defeating Tulgorh, a chest will appear at the back of the room. Open it to receive the Destiny 2 Whisper of the Worm exotic sniper rifle.
Additional Tips
- Team Composition: While solo completion is possible, it's advisable to attempt this mission with a fireteam to increase the likelihood of success.
- Loadout Recommendations: Equip weapons and gear that enhance mobility for platforming sections and provide high damage output for combat encounters.
- Time Management: Efficient navigation and combat are crucial due to the mission's time constraint.
Conclusion
Whisper of the Worm remains one of Destiny 2’s most iconic sniper rifles, offering incredible DPS potential for high-level PvE encounters. By following the quest steps and mastering its mechanics, players can add this legendary weapon to their arsenal.
Whether used for raid bosses, Grandmaster Nightfalls, or Lost Sectors, Destiny 2 Whisper of the Worm is a must-have for sharpshooters looking to maximize their precision damage output. Enhance your Destiny 2 experience with our Boosting services.
Now, grab your fireteam, step into the Taken-infested battlegrounds, and claim your Whisper of the Worm today!
FAQ
Players can obtain Whisper of the Worm through a new questline introduced in The Final Shape expansion. The quest can be started by visiting Zavala, Banshee-44, or the Monument to Lost Lights.
The Whisper Catalyst can be obtained by completing the Heroic version of The Whisper mission. Once acquired, players need to complete specific kill challenges to fully masterwork it.
While it is primarily a PvE weapon, Whisper of the Worm can be used in PvP for long-range engagements, but it lacks PvP-oriented perks, making it less viable compared to other sniper rifles.
Change Log
- 06.03.2025 - Destiny 2: How to Unlock Whisper of the Worm published.

