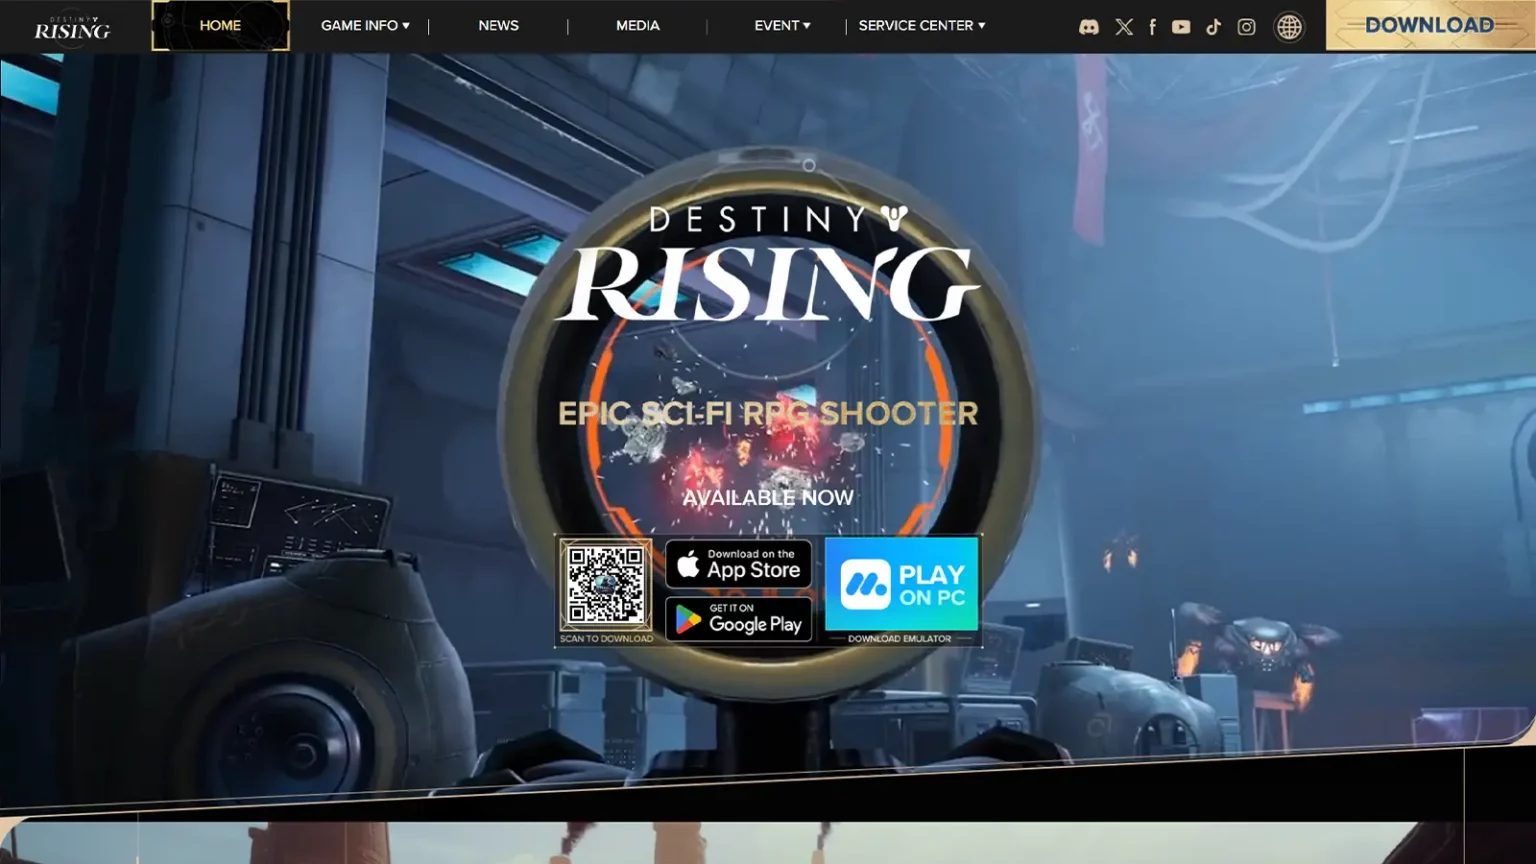
How to Play Destiny: Rising on PC Complete Guide
With the mobile hit Destiny: Rising quickly gaining popularity, many players are looking for ways to enjoy it on a larger screen with smoother performance. Playing on PC not only gives you better graphics and controls but also allows you to take full advantage of customizable settings. In this Destiny Rising emulator guide, we’ll walk you through the simple steps needed to set up the game on your computer, ensuring the best possible experience.
From choosing the best emulators for Destiny Rising to configuring controls and optimizing performance, this guide covers everything you need to get started. Whether you’re a new player trying the game for the first time or a veteran looking for a more comfortable setup, our complete walkthrough will make sure your journey in Destiny: Rising runs smoothly on PC.

Destiny Rising Emulator Guide
To enjoy Destiny Rising on PC, you’ll need an Android emulator that can replicate the mobile environment. Two of the best emulators for Destiny Rising are BlueStacks and MuMu Player, both of which are free and widely supported. They provide smooth gameplay, support for mouse/keyboard or Bluetooth controllers, and allow you to customize your settings for optimal performance.
BlueStacks is considered the most popular choice thanks to its stability, strong community support, and multi-instance management. It’s recommended to use the Pie 64-bit version (Android 9) to avoid crashes and ensure smoother gameplay. This makes it a great pick for players who want reliable performance and access to advanced features like macros and customization tools.
MuMu Player, on the other hand, is a lightweight alternative designed for players with lower-end PCs. It offers high FPS, efficient resource usage, and customizable settings for smoother visuals and optimization. If your priority is stability on modest hardware or you want a more straightforward experience, MuMu Player is an excellent option.
Both emulators give you access to native keyboard and mouse controls, as well as HUD customization to make the gameplay feel natural on PC. Since the developers anticipated PC players would use these tools, the game includes support for them right away. Whether you prefer reliability or lightweight efficiency, this Destiny Rising emulator guide ensures you choose the setup that matches your playstyle.
How to Play Destiny Rising on PC with MuMuPlayer
If you’re looking for the smoothest way to experience Destiny Rising on PC, MuMuPlayer is hands down one of the best emulators available. Developed to handle high-performance mobile titles, MuMu offers lightweight yet powerful performance, making it especially ideal for lower- to mid-range PCs. Unlike heavier emulators that can eat up system resources, MuMu is optimized for high FPS gameplay and even comes with Vulkan rendering support, ensuring stable performance during long play sessions.

Here’s a step-by-step setup guide to get Destiny Rising running on MuMu:
- Download MuMuPlayer from the official website or the official Destiny Rising homepage.
- Install and launch the emulator. The setup process is straightforward and doesn’t require complex configurations.
- Sign in to Google Play Store with the account you used to register Destiny Rising.
- Search for Destiny Rising in the Play Store, download, and install the game.
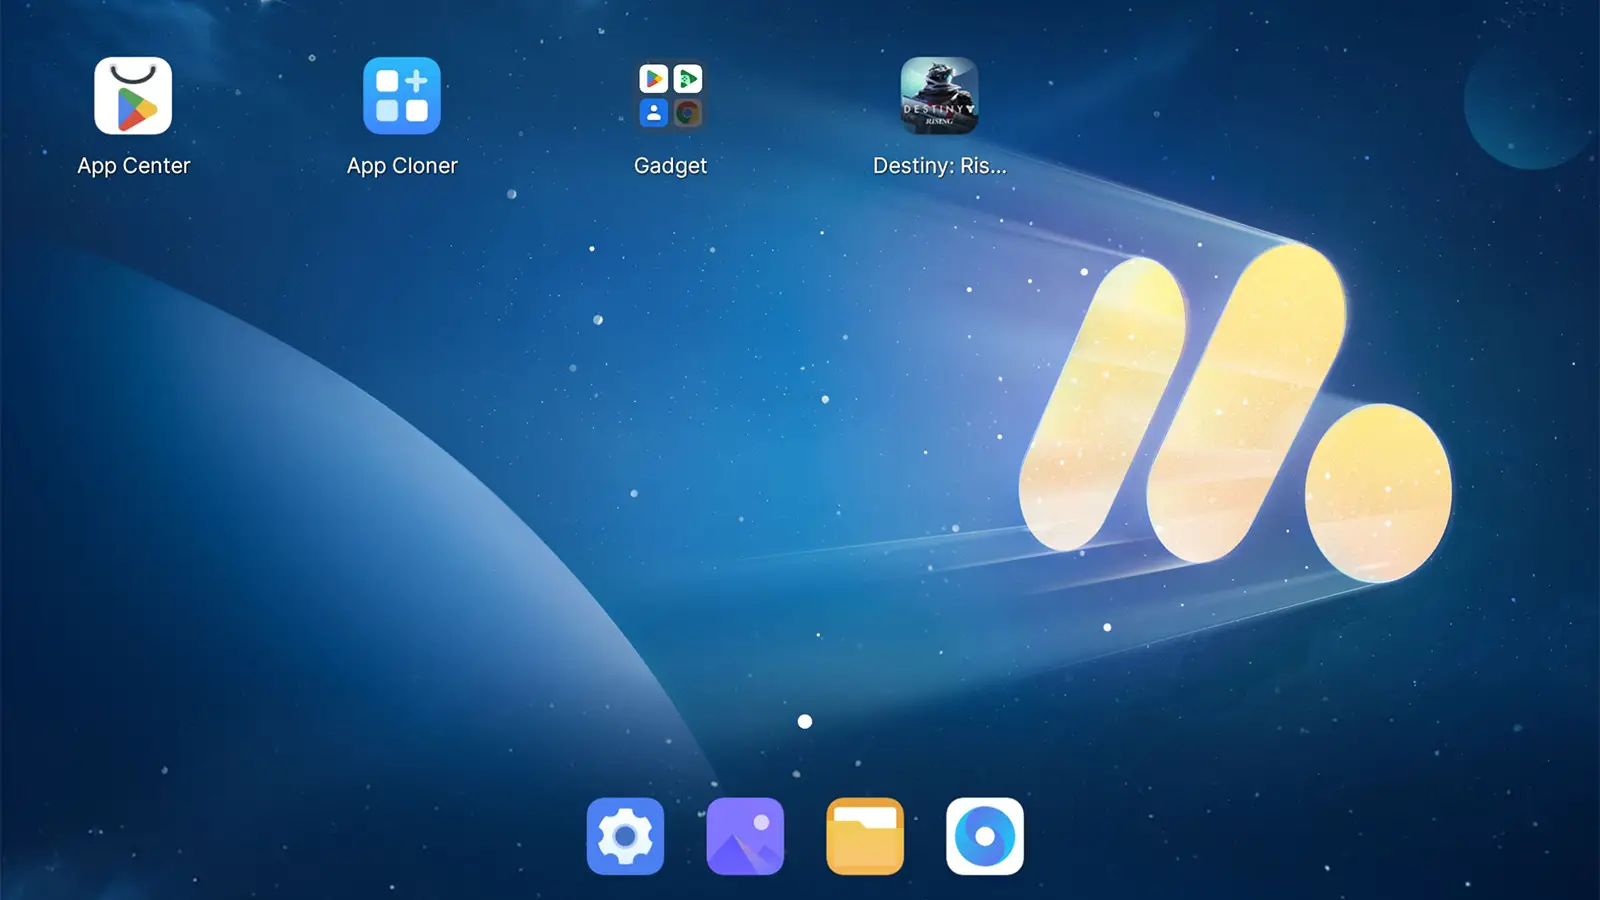
- Once installed, you’ll see the Destiny Rising icon directly on your MuMu home screen. Just click and start playing.
Optimizing MuMuPlayer for the Best Destiny Rising Experience
To get the most out of MuMu, adjusting a few settings can significantly improve your gameplay:
- Graphics Renderer: Set to Vulkan for maximum stability and smoother visuals.
- Resolution: Adjust between 1920x1080 (Full HD) or higher depending on your monitor. MuMu supports ultrawide and even 4K resolutions.
- FPS Limit: If your PC struggles, lock FPS at 60. For stronger systems, raise it to 120+ for ultra-fluid gameplay.
- Performance Allocation: Assign at least 2 CPU cores and 2GB RAM. Higher-end systems can allocate more for near-console quality.
- V-Sync: Enable it to avoid screen tearing and ensure smooth motion during fast-paced action.
- Controller Support: MuMu supports keyboard, mouse, and even Bluetooth controllers like Xbox Wireless, DualShock 4, and DualSense. Custom bindings can also be configured for maximum comfort.
Why Choose MuMuPlayer?
MuMu treats Destiny Rising as if it’s running natively on PC rather than through an emulator, offering sharp visuals, customizable performance settings, and seamless integration with input devices. This means you can enjoy first-person and third-person views with smooth responsiveness, while also stretching the game to widescreen displays without losing quality. For players who value stability and efficiency, MuMu strikes the perfect balance between lightweight design and high-end performance, making it one of the best emulators for Destiny Rising available today.
Playing Destiny Rising on PC with BlueStacks
For players who prefer a more customizable experience, BlueStacks is a fantastic choice for running Destiny Rising on PC. Known as one of the most reliable Android emulators, it offers a wide range of performance tuning and stability options. However, to avoid crashes, it’s crucial to install the BlueStacks 5 Pie 64-bit version, as other builds may not properly support the game.
Step-by-Step Installation with BlueStacks
- Download BlueStacks 5 Pie 64-bit from the official website.
- Install the emulator and launch it on your PC.
- Open the App Player from the bottom-left corner of the BlueStacks window.
- Sign in to the Google Play Store using the same Google account tied to your Destiny Rising registration.
- (Optional but recommended) Install Gmail inside BlueStacks, since some early access invites and registration links are delivered through email.
- Search for Destiny Rising in the Play Store and install the game.
- After installation, you’ll see the Destiny Rising icon appear on your BlueStacks home screen - click it to launch the game.
Best Settings for Smooth Gameplay
- Performance: Set CPU and RAM allocation to the maximum available for your PC. Enable High Frame Rate and adjust FPS up to 120 if supported.
- Graphics: Choose Vulkan as the renderer. This ensures smoother gameplay, as the game can sometimes fail to load correctly with OpenGL or DirectX.
- Display: Run the emulator in Landscape mode with at least 1920x1080 resolution, or 1440p if your monitor allows it.
- Other Tweaks: Enable GPU acceleration for better visuals and hardware encoding for stable performance.
Key Advantages of Using BlueStacks
BlueStacks is particularly strong for players who value precise key mapping, advanced controller support, and the ability to fine-tune performance. It allows you to configure custom bindings for your mouse and keyboard or connect controllers like Xbox Wireless, DualSense, and DualShock 4. If you encounter stability issues, closing background apps and increasing CPU/RAM allocation usually fixes the problem.
Overall, BlueStacks is a great alternative to MuMu Player for players who want more control over settings and performance while enjoying Destiny Rising on PC.
Optimized Settings for Destiny Rising on PC
.webp?0198f4e8cfd87ebab8675aaa8f9b47e3)
After installing Destiny Rising on your emulator of choice, the next important step is fine-tuning the in-game and emulator settings. Proper adjustments ensure smoother gameplay, reduced stuttering, and sharper visuals, allowing you to enjoy the game as if it were a native PC title. Both BlueStacks and MuMuPlayer provide access to advanced settings that can significantly improve performance when configured correctly.
Recommended Settings Breakdown
- Graphics Renderer: Always use Vulkan for best results. Compared to OpenGL or DirectX, Vulkan is far more stable and helps prevent crashes or slow loading issues.
- Performance Allocation: Assign at least 2 CPU cores and 2GB RAM. If you’re on a high-end system, allocate more resources to maximize stability and achieve higher FPS.
- Resolution: Set your display to 1920x1080 (landscape) for a baseline smooth experience. Players with stronger GPUs can increase this to 1440p or 4K for superior visuals.
- FPS Settings: Enable High Frame Rate mode. Start with 60 FPS for lower setups, but if your PC allows, push up to 120 FPS+ for ultra-smooth combat and exploration.
- Full-Screen Mode: Always run the game in full screen for reduced input lag and a more immersive experience.
- Controller Support: Both emulators allow connections to Xbox, PlayStation, and third-party Bluetooth controllers. Alternatively, you can set custom keybinds for mouse and keyboard inside the emulator.
- Advanced Options: Enable hardware encoding and dedicated GPU acceleration if your PC supports it. On MuMu, V-Sync can also be toggled to eliminate screen tearing without major performance loss.
By applying these adjustments, Destiny Rising runs closer to a native PC game - with stable frame rates, improved resolution, and optimized controls. This not only enhances visual quality but also prevents issues like overheating your phone or rapid battery drain, which is common when playing on mobile.
Conclusion
Playing Destiny Rising on PC is not only possible but highly enjoyable with the right setup. By using reliable Android emulators such as MuMuPlayer or BlueStacks, players can experience smooth gameplay, stable performance, and enhanced graphics that far exceed mobile devices. With the correct adjustments to settings like Vulkan rendering, FPS limits, and performance allocation, Destiny Rising can feel like a native PC title. Whether you prefer the lightweight optimization of MuMu or the advanced customization of BlueStacks, both platforms provide excellent options for every type of player. With these tools, Guardians can fully immerse themselves in Destiny Rising’s battles, story, and challenges with sharper visuals and responsive controls.
FAQ
Both MuMuPlayer and BlueStacks work well. MuMu is better for lower-end PCs, while BlueStacks offers advanced tools and higher customization for powerful systems.
Use Vulkan graphics, set resolution to 1920x1080 (or higher if your PC allows), enable High Frame Rate Mode, and allocate more CPU/RAM if possible.
Currently, no. The official way to run Destiny Rising on PC is through Android emulators, since there’s no native PC client yet.
Yes. Both MuMu and BlueStacks are officially recommended solutions and widely used by millions of players. Just be sure to download them from their official websites.
Change Log
- 30.08.2025 - How to Play Destiny: Rising on PC Complete Guide published.

