NW: The Hive of Gorgons Raid Guide
The Hive of Gorgons is New World’s first full-scale raid, introduced during the Season of Opportunity. It’s a 10-player PvE challenge that pushes coordination, mechanics, and gear checks to the limit. Players dive into the Hive to stop a mythical force called the Hercyne, unleashed by the Gorgons after Medusa's defeat.
What is the Hive of Gorgons?
The Hive of Gorgons is the first full raid in New World: Aeternum, launched during the Season of Opportunity. It’s a huge step up for PvE players. This raid is made for 10 players, but you can jump in with just six if you want a bigger challenge. It’s harder than the Sandwurm Trial and offers 725 gear score loot, exclusive perks, and crafting materials you can’t get anywhere else.

Lore
After the fall of Medusa in New Olympus, the Gorgons unleashed the Hercyne a mythical, corrupted force threatening all of Aeternum. Players must gather their strongest allies, dive into the Hive’s heart, and end the Gorgon threat before it spreads further across the land.
The Hive is New World's ultimate PvE test and the gateway to the most powerful equipment currently available in the game.
How to Unlock and Access the Hive of Gorgons
Getting into the Hive of Gorgons is straightforward but you’ll want to be fully prepared before you set foot inside.
Location
The Hive is located in the southern part of Cutlass Keys, just north of the Barnacles and Black Powder Expedition. This area is lush and coastal but densely packed with Angry Earth enemies. Expect resistance even before you reach the entrance. You have two options to enter:
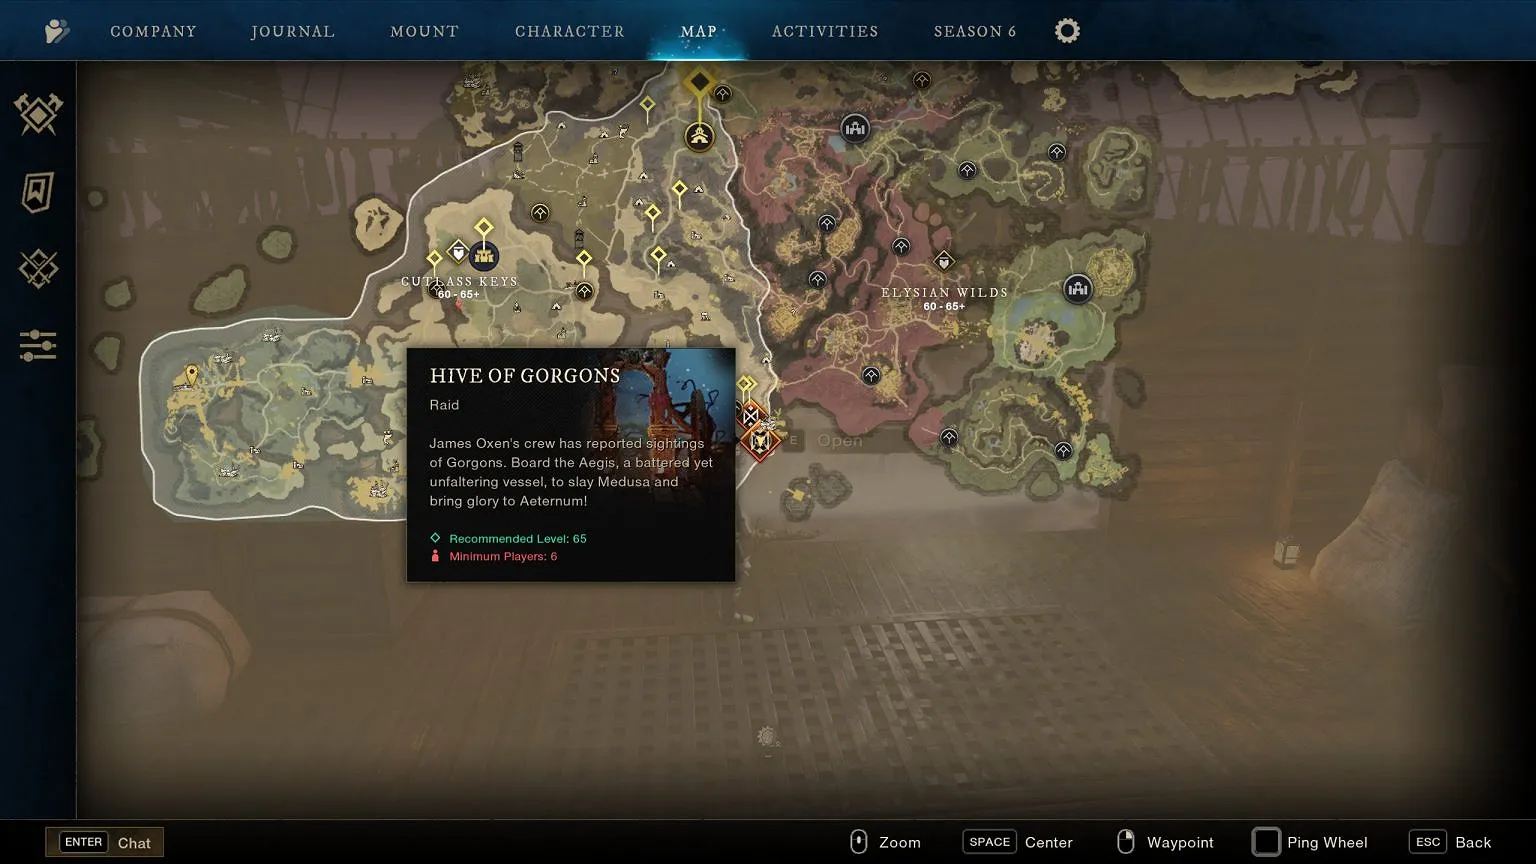
- Walk to the Raid Entrance: Physically travel to the marker on the map. Look for a distinct entrance icon at the Hive’s site.
- Use the Group Finder: Accessible through New World's activities menu. You can queue your group from anywhere in the world once it’s formed.
Entry Requirements
Preparation Checklist
Before heading in, it’s critical to prepare the right consumables and buffs:
- Infused Angry Earth Coatings (extra damage against mobs inside)
- Infused Angry Earth Wards (damage reduction)
- Major Angry Earth Combat Trophies (placed in your houses)
- Powerful Honing Stones (boosts weapon damage)
- Stat Food: Focus on foods that buff Constitution or your primary damage stat.
- Top-tier Gems: Onyx for strike protection, or appropriate gems against nature and elemental damages.
- Correct Weapon Loadouts: Slash and fire damage are most effective here.
Having these ready will dramatically improve your survival and DPS, especially during the harder multi-phase boss fights.
Raid Layout & Bosses Overview
The Hive of Gorgons raid is designed around a three-section structure, each with its own enemies, puzzles, and bosses.
Bosses Strategy
Let’s break down each boss fight in the Hive of Gorgons step-by-step, keeping it practical and clear so you and your team can actually survive and win.
Echidna (First Boss)
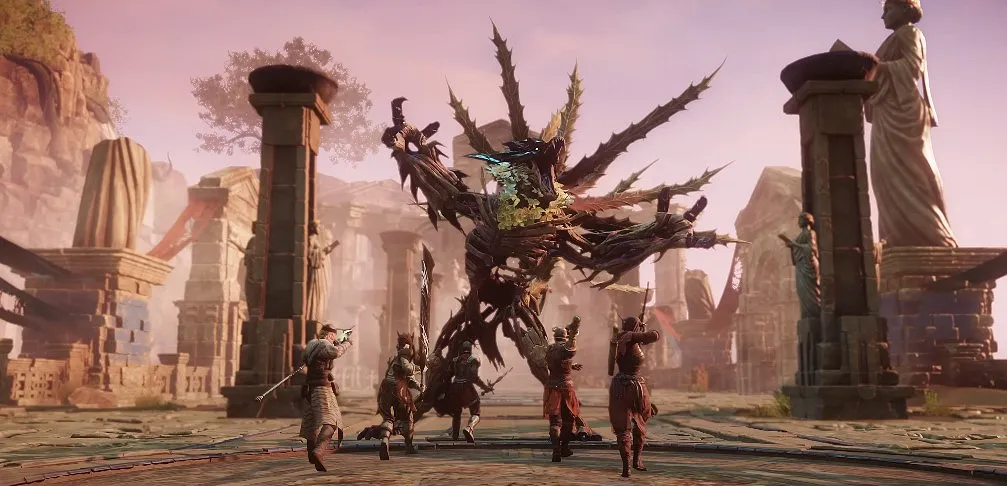
Echidna is a massive Angry Earth beast that tests your group's coordination, stamina breaking, and field awareness.
Mechanics:
- Stone Pillars:
- Echidna spawns stone pillars around the arena.
- Tall pillars give buffs: Increased damage and stamina damage dealt.
- Standing on pillars helps avoid ground AoE stomps.
- Obsidian Crystals:
- Black crystals spawn randomly.
- If not destroyed quickly, they explode into a deadly AoE vine field.
- In Phase 2, unbroken crystals can wipe the group after a boss roar.
- Ground Stomp: A massive AoE from Echidna. Standing on any pillar (even small ones) negates the damage.
- Tail Swipe: Quick 360° tail attack targeting melee players behind Echidna. Dodge or block to avoid getting chunked.
- Rock Throw: Stones shoot from her sides — dangerous especially for melee behind her.
- Phase Changes:
- Phase 2 starts when Echidna hits 50% HP.
- She gains a Leap mechanic: Marks a player with a glyph and leaps at them causing a shockwave.
- Anyone near the target must dodge or die.
- Roars become more dangerous: Players must get off pillars during Roar to avoid fatal damage.
Strategy to Win:
- Assign a pillar team (2–3 ranged DPS) to climb and deal stamina-breaking heavy attacks.
- Melee should heavy-attack Echidna’s back to break stamina faster.
- Designate players to immediately destroy crystals whenever they appear.
- Tanks must position Echidna away from walls to avoid trapping the melee group during rock attacks.
- Save high burst DPS cooldowns for when Echidna is downed (after stamina bar breaks).
- In Phase 2, constantly dodge after the glyph appears and prepare for sudden jumps.
Typhon (Second Boss)
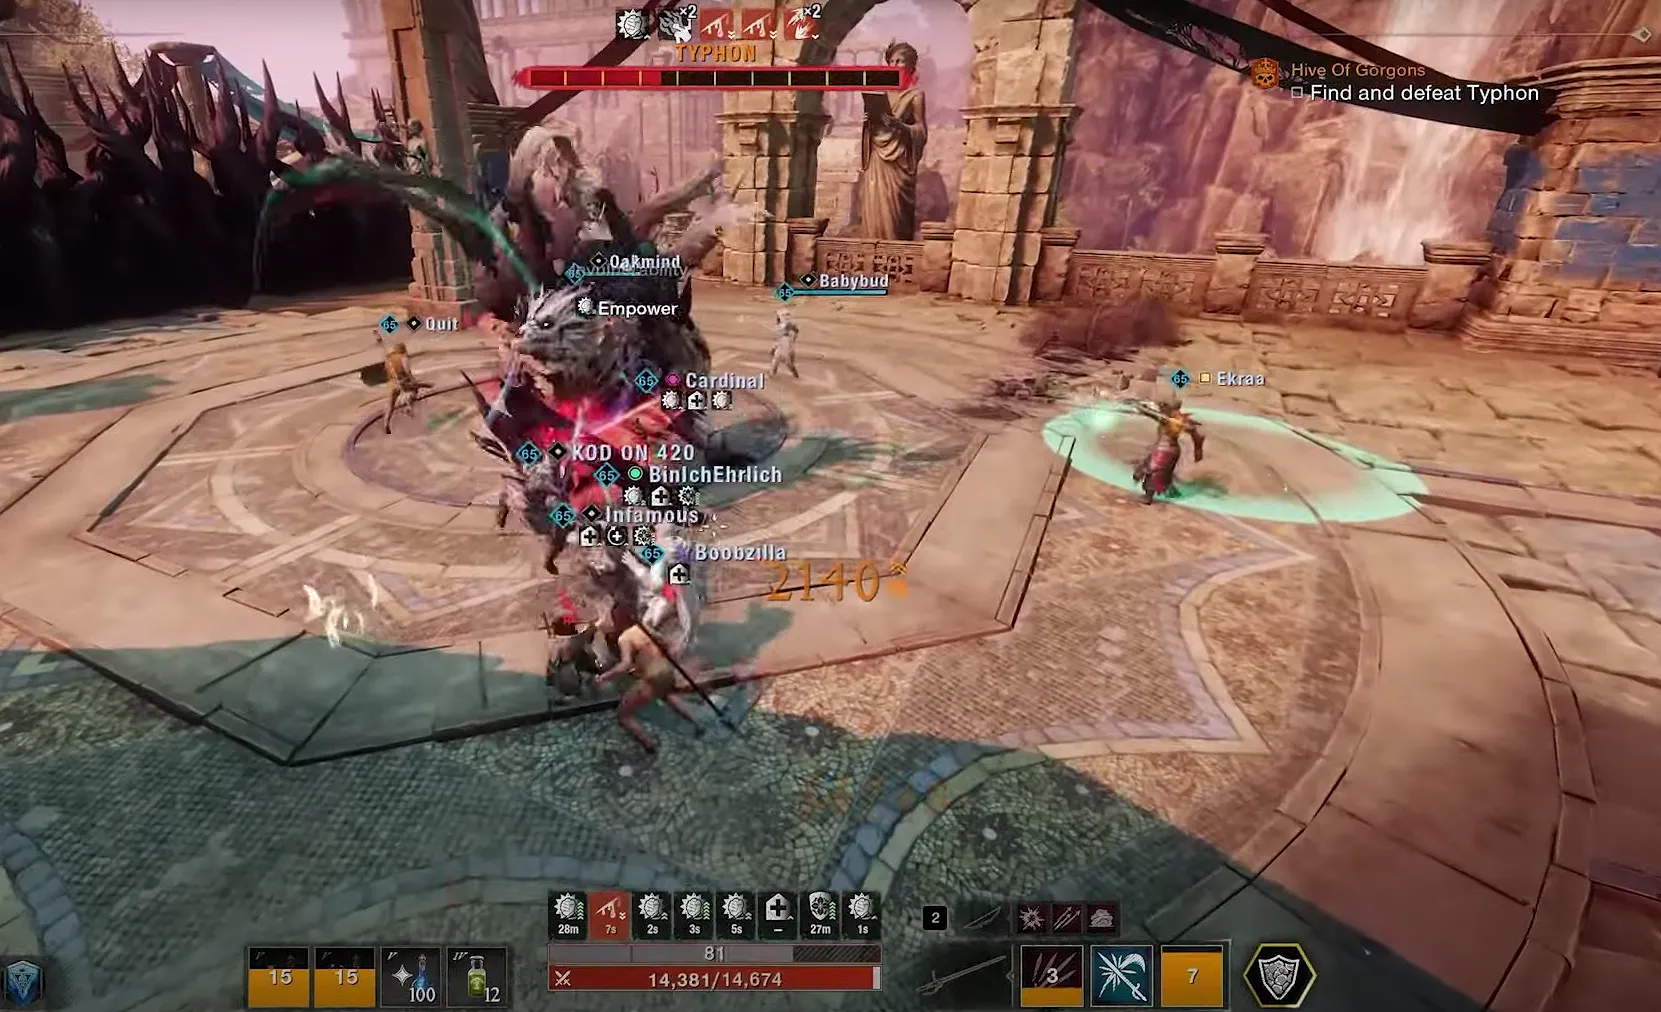
Typhon is smaller and faster than Echidna, but much more deadly because of arena hazards, adds, and wipe mechanics.
Mechanics:
- Lane of Thorns:
- Random sections of the floor (left, center, or right) light up red.
- If you stay in that section when it turns red fully, thorns erupt and instantly kill you.
- You must rotate and reposition constantly.
- Moving Thorns:
- 2–4 players are marked with a red icon.
- If you're marked, thorn AoEs spawn beneath your feet as you move.
- Walk away from the group, sticking to the outer edges of the arena to avoid wiping others.
- Thorn Maidens: Typhon sends out creeping vines that trap players in cages. Teammates must break you out fast or you’ll die.
- Add Waves:
- Wolves: If absorbed, Typhon deals massive draining damage.
- Corvids: If absorbed, Typhon gains stacking +30% Empower (damage buff).
- If not killed before absorption, you will wipe from overwhelming boss damage.
- Charge Mechanic: A random player is targeted with a red marker. Typhon charges them. Must hide behind a pillar to survive.
- Arena Transition:
- At 70% HP and 30% HP, Typhon bursts into a smaller arena.
- First transition: 3 pillars available.
- Second transition: only 2 pillars left — fewer places to hide!
Strategy to Win:
- Add Kill Order: Corvid > Wolf > Spider (Spiders can mostly be ignored).
- Handling Charges: Marked player must hide behind a pillar immediately. Non-marked players DPS while Typhon is stunned.
- Lane Management: Constantly adjust when lanes flash red. Never stack if marked with Moving Thorns.
- Burn Phase: In Phase 3, focus full DPS on Typhon. Ignore adds unless absolutely necessary.
- Utility Tips:
- Gravity Well (Great Axe): Helps clump adds.
- Vines Heartrune: Immobilizes Corvids before they can flee.
Broodmother Medusa (Final Boss)
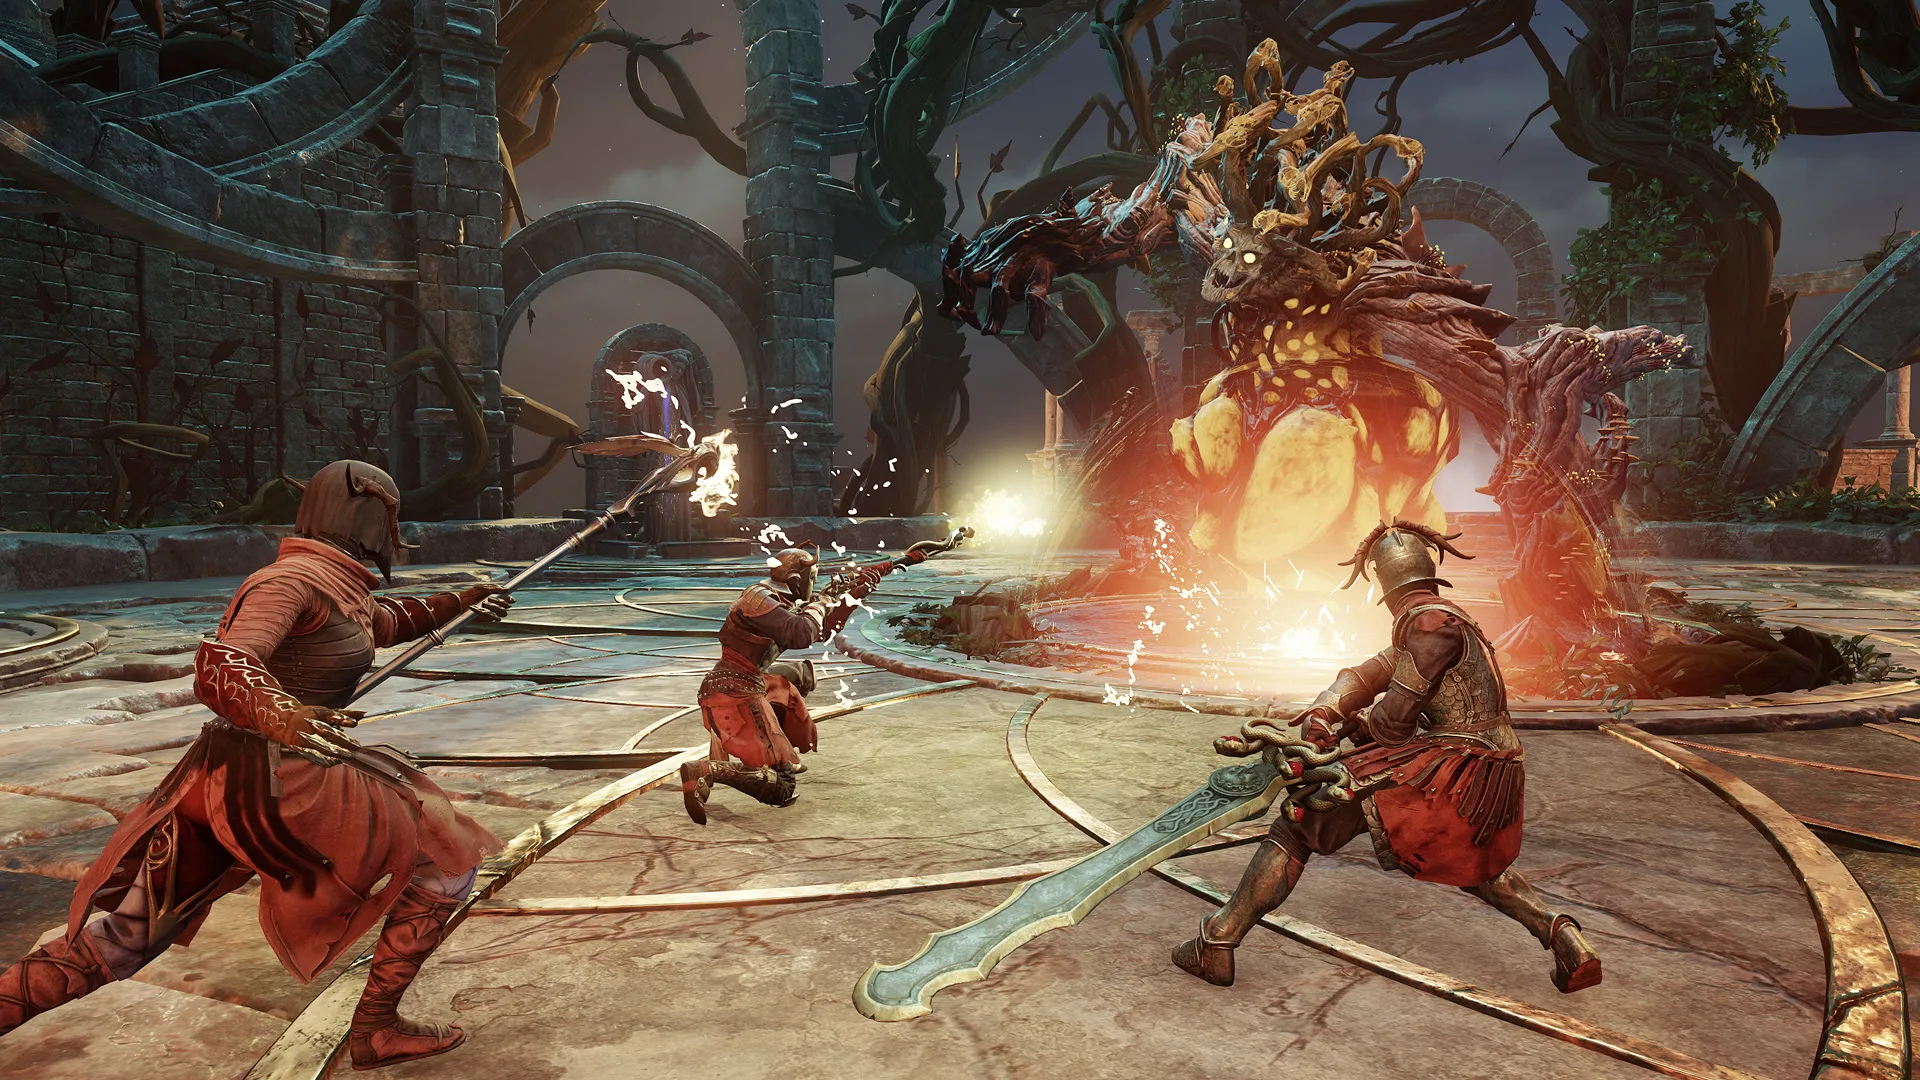
Broodmother Medusa is the ultimate challenge in the Hive of Gorgons raid a pure chaos fight packed with constant debuffs, mass AoE hazards, and heavy add pressure. Coordination and cleansing discipline decide victory.
Mechanics:
- Sleep Clouds (Flowers):
- Vicious Blooms spawn high in the arena and emit drifting white mist clouds.
- Walking through clouds gives Sleep stacks — at 10 stacks, you're put to sleep and become immobile.
- Cleansing Fountains:
- 4 fountains around the arena edges.
- Collect blue water orbs to cleanse poison volcanoes and poisoned players.
- Egg Spawns: Medusa spits Hercyne Eggs that hatch into elite adds if not destroyed quickly.
- Charge Attack: Medusa randomly charges across the arena. Anyone in her path is instantly killed.
- Poison Volcanoes: Erupt randomly across the field. Standing inside gives lethal Poison stacks over time.
- Obstructed Fountains: Sometimes fountains are blocked by veins. DPS must destroy veins to free the fountains.
- Tail Swipe: Medusa's heavy tail slam that deals massive AoE damage. Melee players must dodge quickly.
- Mass Adds + Sleep Traps: Eggs, vines, poison, and sleep clouds can overwhelm the group if not handled fast.
Phases
- There are no strict health-based phases.
- Hazards escalate naturally as Medusa’s HP drops — faster attacks, more chaos, more hazards.
Strategy to Win:
Victory relies on preassigned roles, extreme team coordination, and total hazard awareness. DPS must prioritize room control over boss DPS at all times.
- Assign players BEFORE the pull: Flower killers, Egg destroyers, Fountain cleansers must be designated early.
- Stay mobile at all times: Standing still is fatal when sleep clouds, charges, and poison spawn around you.
- Tank positioning: Always face Medusa away from the group, ideally near fountains for easy access.
- Prioritize safety over DPS: Securing a safe arena is more important than raw boss damage.
- Communicate hazards: Loudly call out sleep clouds, incoming charges, and blocked fountains.
Tips
- Ranged DPS: Focus on killing flowers to limit sleep clouds.
- Dedicated Egg Killers: Prevent adds from spawning by destroying eggs immediately.
- Dedicated Cleansers: Manage fountains and clear poison debuffs quickly.
- Tank Control: Always face Medusa away from the group and keep her near fountains for easier access.
- Team Movement: Rotate quickly and adapt to new hazards to survive the chaos.
Recommended Builds for Hive of Gorgons Raid
Knowing which builds, gear setups, consumables, and tactics maximize your survival and damage output against the Angry Earth and Gorgon forces.
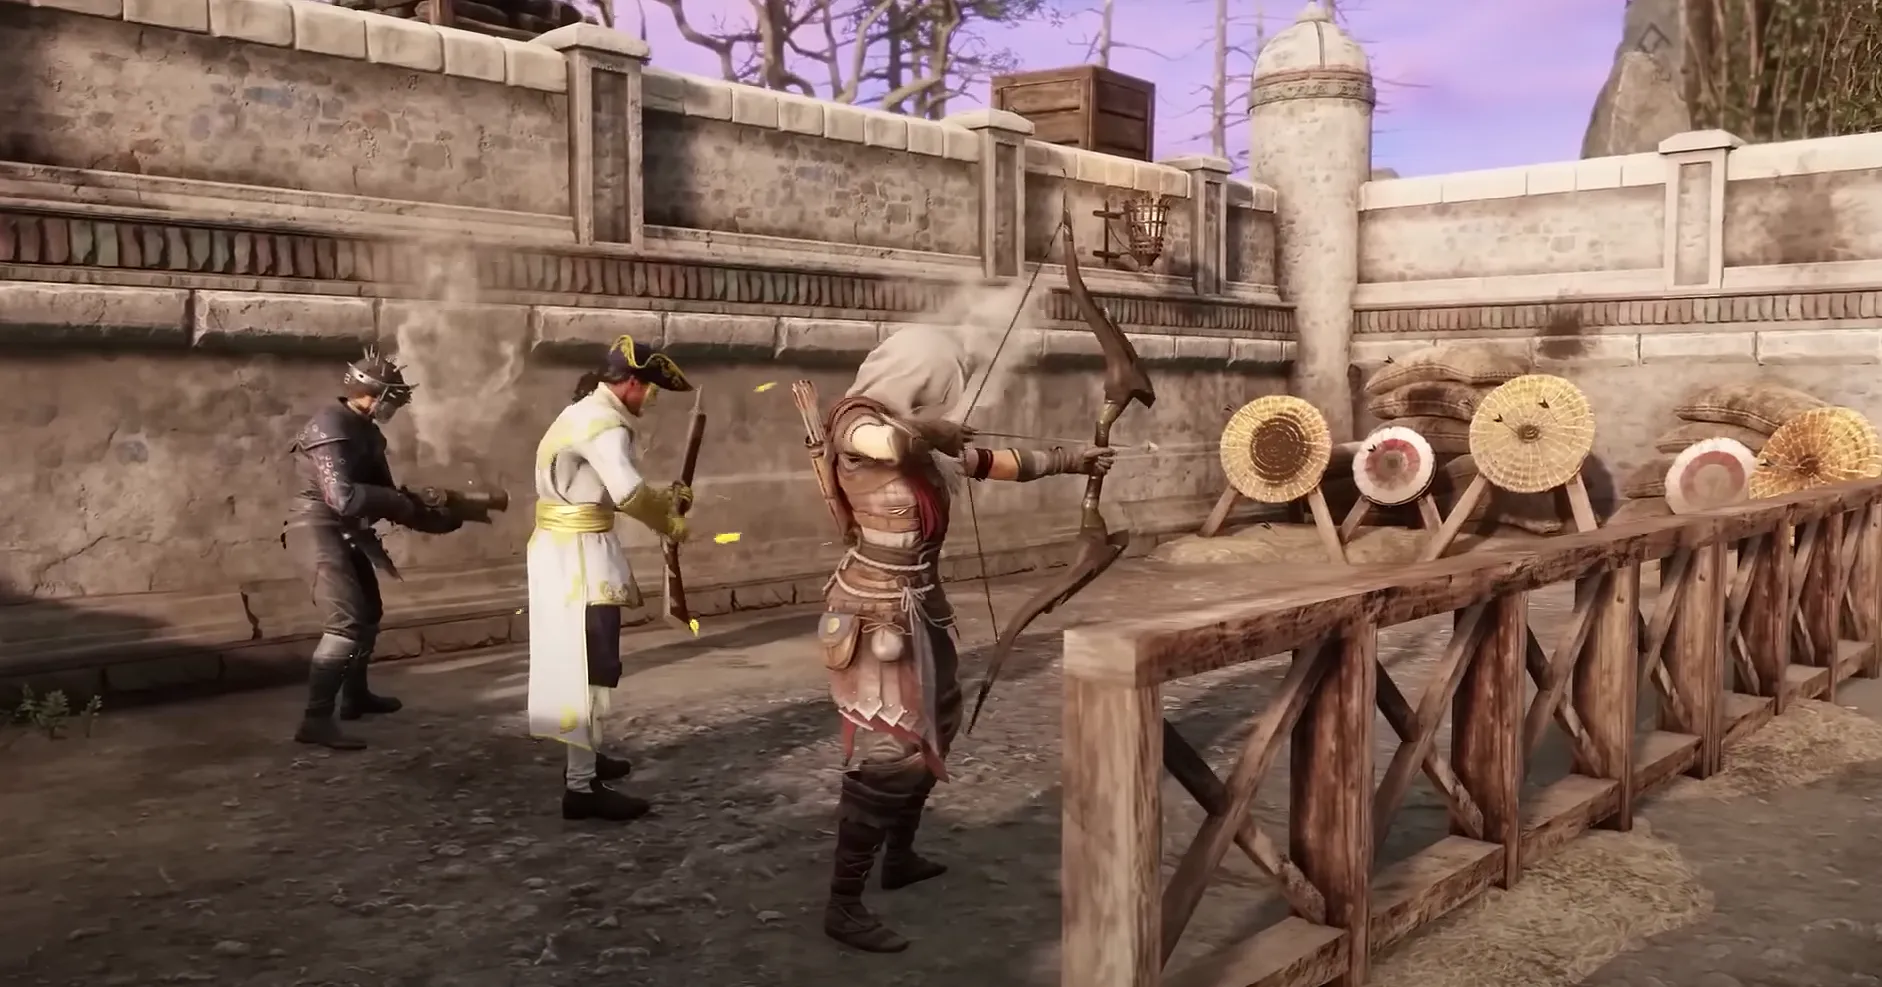
Consumables
Armor Setup
- Angry Earth Ward Gear: Prioritize armor with Angry Earth Ward perks (+5–6% reduced damage taken).
- Medium Armor Weight: Best balance between mobility, stamina recovery, and toughness.
- Onyx Gems: Socket Onyx (Physical Resist) or Nature Resist gems depending on the boss you're facing.
Use Nature Resist Gems for Broodmother Medusa due to heavy poison and nature-based AoEs.
Best Weapon Types
Special Perks and Gems
Rewards and Loot Hive of Gorgons
Completing the raid rewards players with 725 Gear Score loot, exclusive Artifacts, unique Perks, and rare Crafting Materials that are unavailable anywhere else in the game.
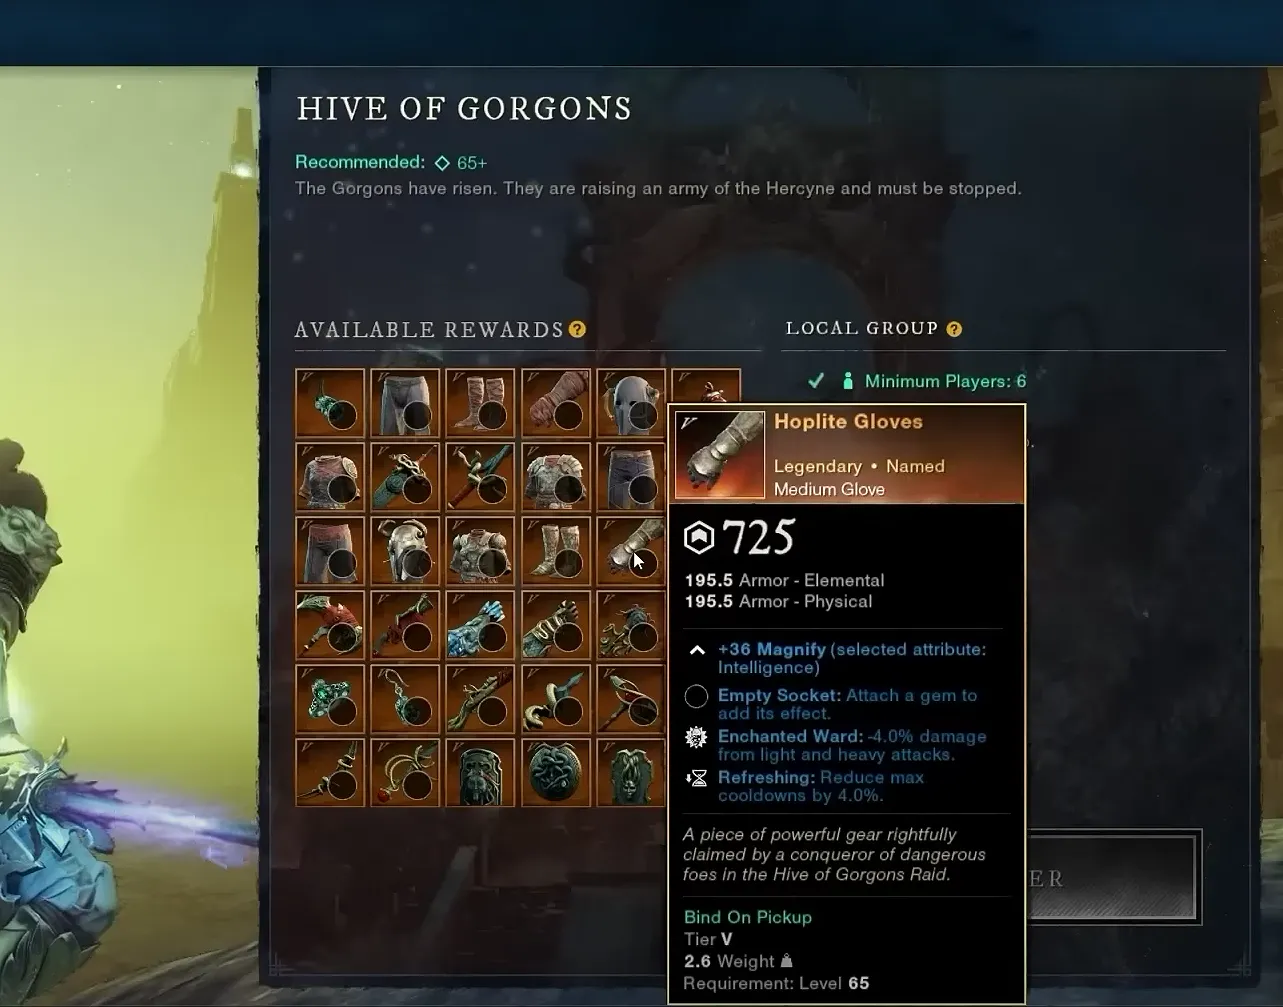
Loot From Bosses
Loot Items
Crafting Materials
Exclusive Raid Gear Perks
Summary
Remember: in the Hive, every small mistake compounds. One missed shot at an orb, one slow cleanse at the fountains, or one DPS forgetting their role during a charge can quickly cascade into a wipe. Bring a balanced setup of slash and ranged damage, and consider backup healers or flexible DPS to adapt between bosses.
Most importantly, manage your pace wisely. The 4-hour timer might seem generous at first, but hesitation, resets, or indecision can quietly eat away at your margin for error. Push forward smartly but efficiently.
FAQ
The Hive of Gorgons is accessible to any level 65 players with endgame gear. Simply travel to southern Cutlass Keys, near the Barnacles and Black Powder Expedition, and either walk into the raid entrance or queue through the group finder.
Mostly Angry Earth enemies. They are weak to Slash and Fire damage types. Bring Angry Earth coatings, ward potions, trophies, and Fire/Slash weapons to maximize your effectiveness.
You can earn weapons, armor, and jewelry with up to 725 Gear Score, currently the maximum in New World Aeternum.
There is no weekly lockout on the Hive of Gorgons, but major loot like crafting materials and tokens typically have daily limits on rewards for completion.
Change Log
- 24.05.2025 - NW: The Hive of Gorgons Raid Guide published.

