Black Ops 6: Liberty Falls Easter Egg Walkthrough
Looking to conquer the full Liberty Falls Easter Egg in Call of Duty: Black Ops 6 Zombies? This in-depth walkthrough breaks down every step, puzzle, enemy encounter, and hidden interaction you’ll face in your quest to complete the main Zombies storyline for this map. Packed with lore, secrets, and tough challenges, this is one of the most complex and rewarding Easter eggs Treyarch has created — and this Liberty Falls Easter Egg guide will make sure you don’t miss a thing.
Expect a mix of high-intensity combat, timed puzzle solving, environmental storytelling, and layered exploration that evolves the Zombies experience beyond anything seen before. Liberty Falls isn’t just about surviving waves — it’s about decoding the story and strategically outsmarting the undead.
Whether you're a solo grinder or part of a well-coordinated squad, mastering this Easter egg will test your loadouts, team communication, and knowledge of the map’s most obscure mechanics. But the rewards — both cosmetic and narrative — make every moment worth the effort.
What Is the BO6 Liberty Falls Easter Egg?
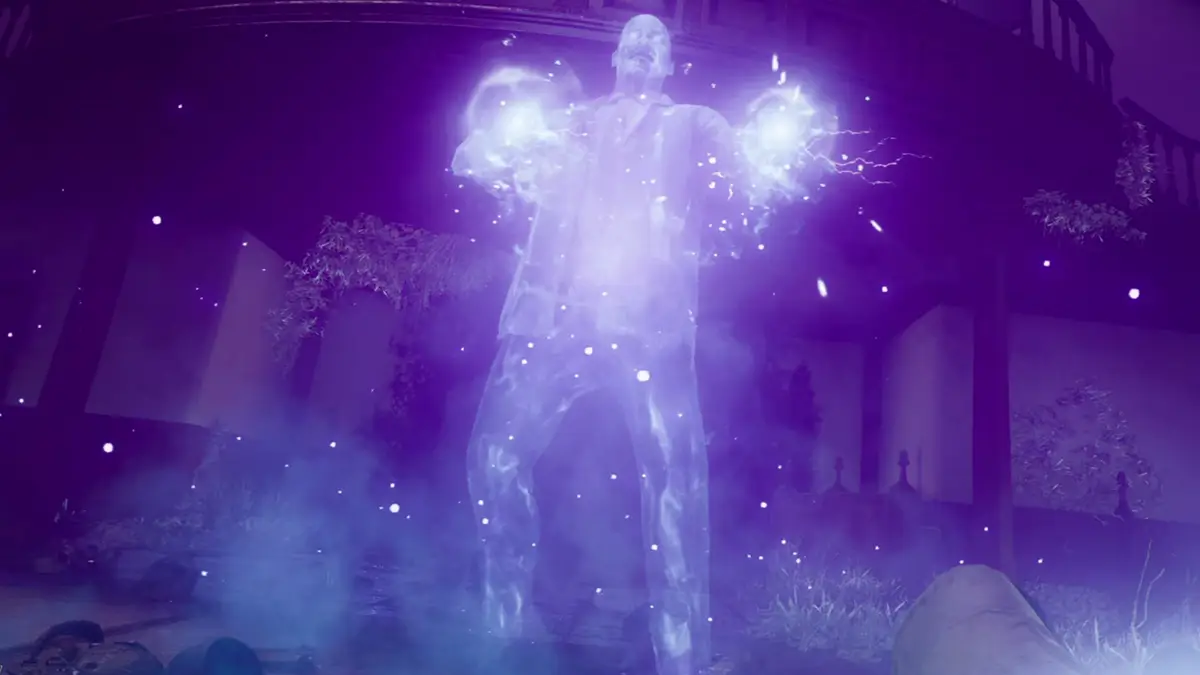
The Black Ops 6 Liberty Falls Easter Egg is the primary narrative-driven questline on the Liberty Falls Zombies map in Call of Duty: Black Ops 6. It serves as a direct continuation of the Dark Aether storyline and is packed with cryptic puzzles, enemy gauntlets, unique equipment crafting, and narrative cinematics. Rather than relying solely on wave progression, this Easter egg demands careful exploration, logic, and timing to unlock hidden objectives and trigger lore-based sequences.
The quest structure is multi-layered, requiring players to first establish access to all key areas of the map, then complete specific challenges that include interacting with custom devices, solving environmental light and sound puzzles, and ultimately battling a powerful elemental boss. Successfully completing the quest not only delivers exclusive cosmetic and gameplay rewards but also unveils one of the most lore-heavy cutscenes in BO6 Zombies — teasing future content and deepening the mystery of the Liberty Falls incident.
PROMO CODE FOR A FIRST ORDER: GREETINGS15. We have a great deal for new customers - get desired boost with a 15% discount. Simply use the promo code at checkout and enjoy your discounted boost right now!
Preparation Checklist
Before diving into the Easter Egg, it’s crucial to approach Liberty Falls with a well-prepared loadout and a clear plan. Unlike casual survival sessions, this quest will push your team’s efficiency and endurance across multiple locations and combat phases. If even one player falls behind in setup, it can jeopardize progress during the more intense segments.
Make sure each player is managing points wisely to unlock map zones quickly and secure high-tier weapons. Use early rounds to stockpile salvage, collect perks, and ensure your team has backup equipment like self-revives, monkey bombs, or decoys. You'll also want to coordinate field upgrades — one player with Healing Aura, another with Energy Mine or Frost Blast — to cover different survival needs in both solo and co-op runs.
Before you begin the quest, make sure you’ve:
- Turned on power in all zones
- Unlocked Pack-a-Punch
- Upgraded at least one weapon to Tier III
- Built and equipped the Signal Device
- Opened the Basement Lab, Pharmacy, and Library areas
We also recommend running with perks like Jugger-Nog, Speed Cola, Quick Revive, and Deadshot Daquiri for later waves. Need a head start on perks and equipment? Explore trusted Call of Duty Boosting Services that help unlock core tools faster for your Zombies loadouts.
Additional Quest Phases (Expanded Breakdown)
How to Pack-a-Punch in Liberty Falls
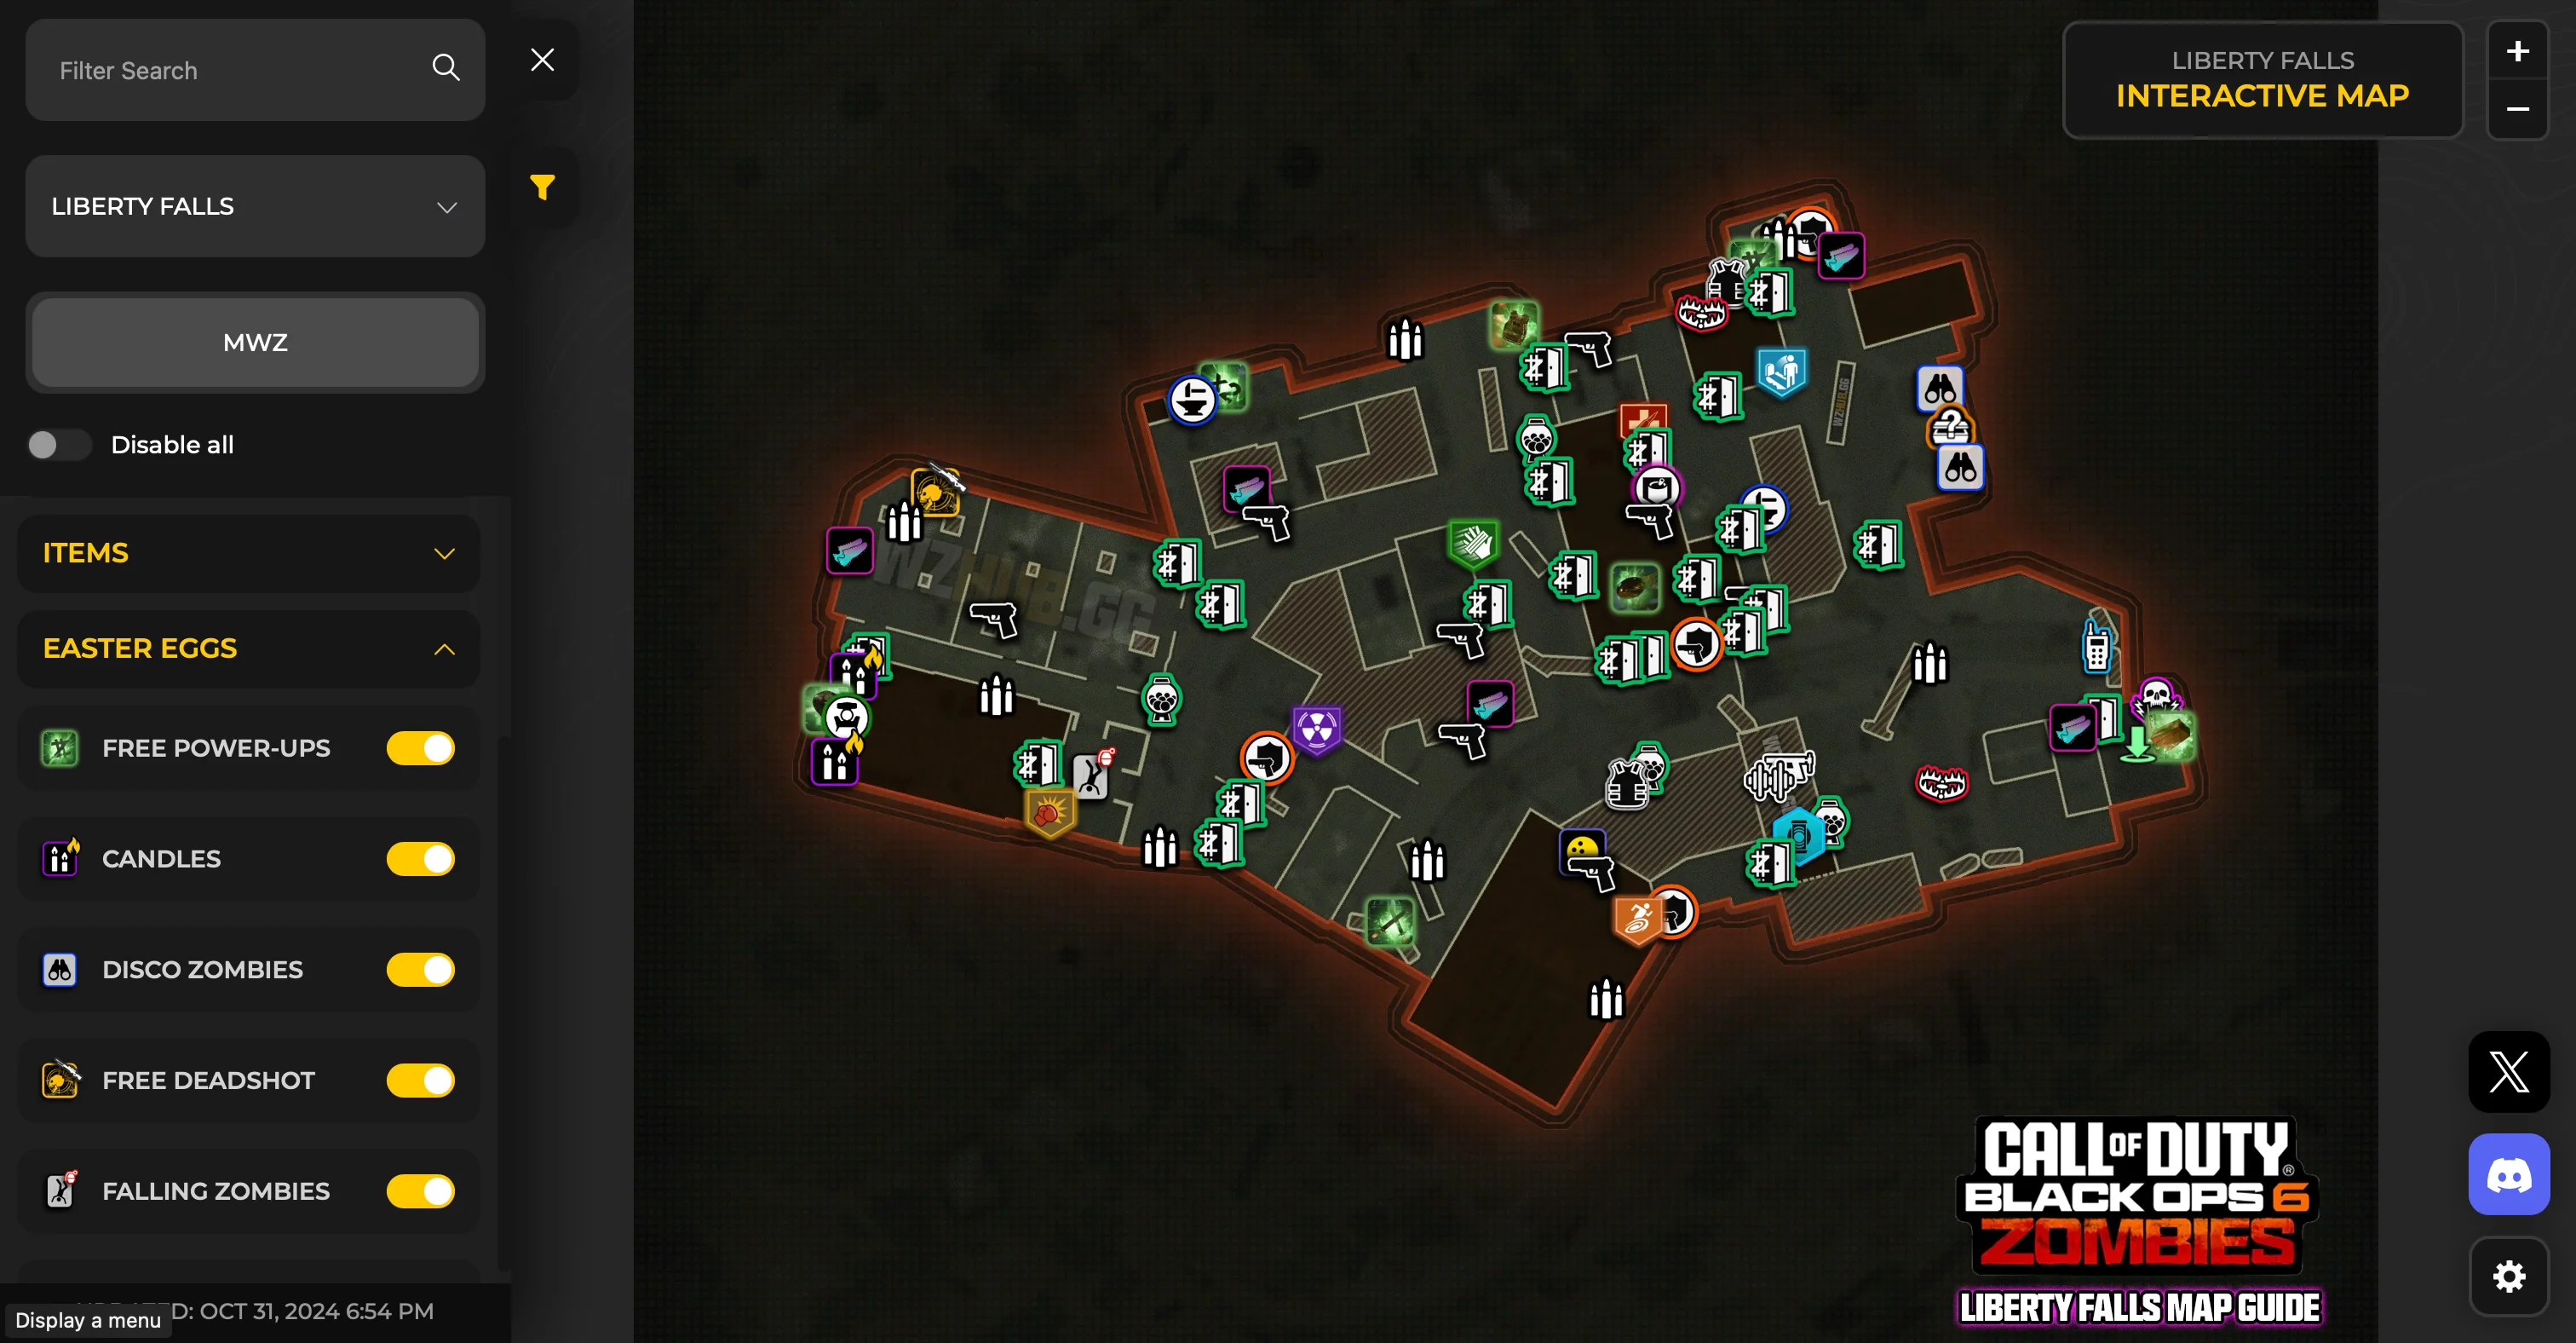
To access the Pack-a-Punch machine, begin by restoring power — this requires locating and activating two critical fuse switches in the Train Station’s upper office and the Power Yard beside the green generator. Once both are active, head to the rooftop just above the station area, where you’ll notice the Pack-a-Punch platform come online with a distinct electrical surge.
This platform not only upgrades your weapons to Tier III but also unlocks elemental mod attachments later in the match, essential for late-stage survival and boss mechanics. You’ll also be able to reroll attachments here for salvage, making it a core part of your long-term build. You can upgrade your weapon up to Tier III here, which is essential for surviving later stages.
Crafting the Jet Gun Wonder Weapon (Thrustodyne M23)
The Thrustodyne M23 is a powerful and unique Wonder Weapon that blasts enemies back using high-powered air pressure. To craft it, you must first locate and collect four specific parts scattered throughout Liberty Falls:
- Pressure Regulator – Found in the Construction Zone, resting behind a barricade near the scaffolding.
- Chassis – Hidden in the Sewer Maintenance area, accessed by blowing open a metal grate with C4 or Semtex.
- Turbine Rotor – On the rooftop café near the radio tower. Use the Grapple Point to reach it.
- Energy Coil – Inside the Projector Room, unlocked after completing the Beacon Synchronization phase.
Once all components are gathered, go to the Underground Workshop (accessed from the Library Basement). Use the workbench to assemble the Thrustodyne M23. This weapon excels at crowd control, instantly disintegrating zombies in a wide cone — perfect for holding off lockdowns or boss add phases.
Interact With the SDG Generator to Begin the Easter Egg
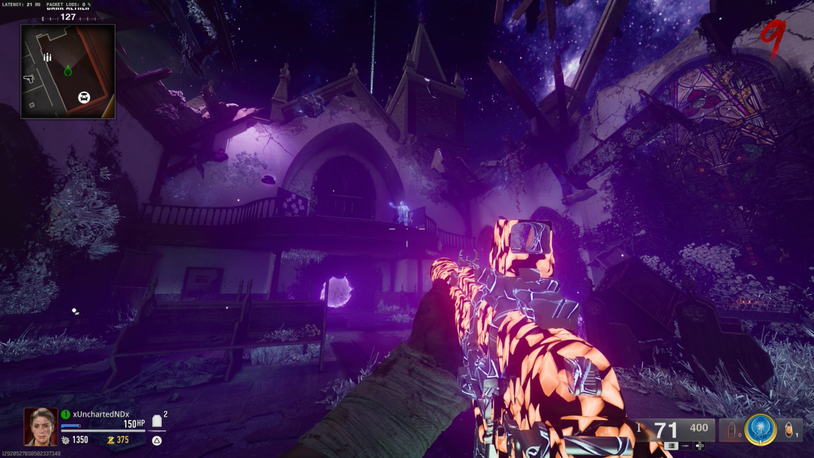
Once the Signal Device is built and equipped, make your way behind the Library where the SDG Generator is located — a large console with flickering blue lights and cables leading into the underground area. When you interact with it, the first sequence of the Easter Egg officially begins. You'll get a short voice transmission and visual pulse effect on-screen. From this point, players will see new objectives activate on the HUD, beginning with the hunt for components required to assemble the LTG Device — a crucial machine that manipulates the Aetherstorm's unstable energy for further progression.
Find the Missing Components for the LTG Device
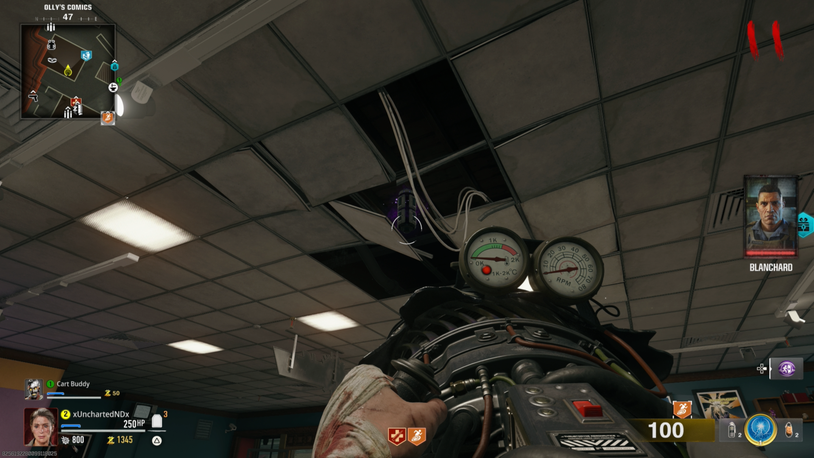
Once the SDG Generator sequence is activated, your squad must retrieve three essential components to build the LTG Device — a key tool for opening Aether portals:
- LTG Housing – Found beneath the Plaza Fountain. First, drain the water by interacting with the valve near the Firehouse entrance. Once dry, drop down to retrieve the housing from the exposed base.
- Cooling Rod – Head into the Pharmacy and unlock the back freezer using the Pharmacy Key (obtained from a side-objective or boss drop). Inside, you'll find the coolant system, which needs to be safely extracted.
- Aether Conduit – Go to the Library’s upper floor and use the Grapple Gun to reach a previously inaccessible ledge. The conduit will be glowing purple, indicating its Aether-charged nature. Watch for a spawn ambush after picking it up.
Construct the LTG Device
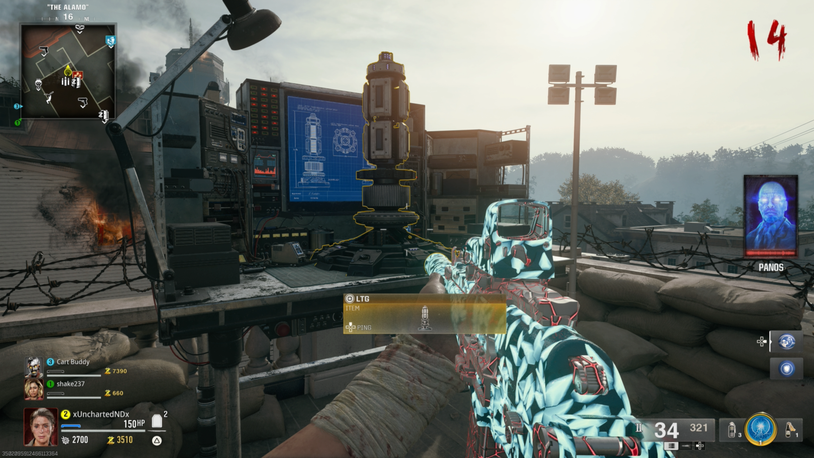
Once all three components have been collected, take them to the generator console near the Firehouse garage, next to the flame-vent machinery. Here, you'll find a crafting table marked with a wrench icon. Hold to interact and construct the LTG Device.
This unit appears as a wearable backpack tool with a cable tether system. Once equipped, the player can direct and charge Aether Canisters via specialized traps across the map. It's worth noting that only one player can wield it at a time, so communication is essential when defending and transporting during quest phases.
Place the First Aether Canister in the Trap
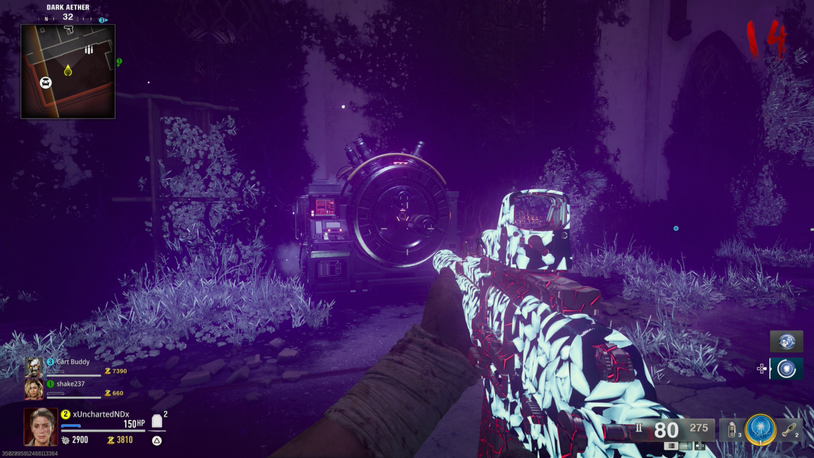
The first Aether Canister is obtained from the Riverside Pump Station area, but you'll need to clear a group of elite zombies before collecting it. Once secured, follow the objective marker to the designated trap location — a ritual pedestal embedded into the concrete near a storm funnel site.
The pedestal will pulse with a blue glow, indicating it's ready to receive the canister. Hold to place it and prepare for an incoming horde triggered by the placement.
Defend the LTG Storm Portal in Riverside
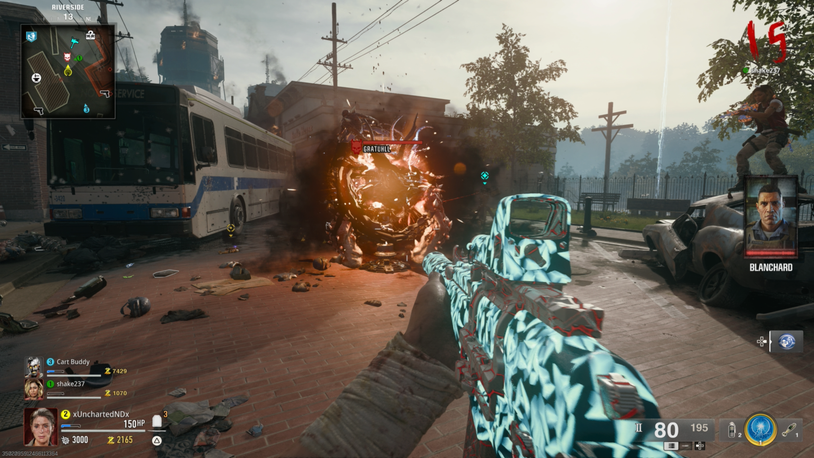
After placing the first canister, a timed lockdown begins — this time lasting two minutes. The LTG Portal will slowly power up while attracting increasingly aggressive zombie waves. Enemies will include Manglers and a mix of explosive and gas-spitting Plaguehounds. Set up your defenses in the nearby alley choke points and make use of environmental hazards like exploding barrels or electric traps. DPS coordination and area denial (like Frost Blast or Molotovs) are essential here to keep the generator safe.
Charge the First Aether Canister
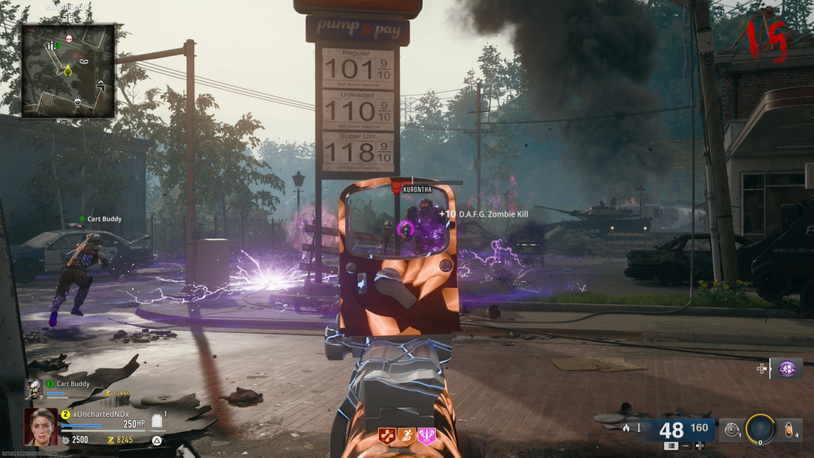
After the horde is cleared, the canister enters its charge phase. You'll need to stay near it to maintain the power conduit — stepping too far away or letting it absorb damage will pause progress. During this phase, more elite units spawn, including fast-running Tempest Echoes that can drain your health rapidly. Use Ring of Fire or an upgraded Wonder Weapon to shred through these enemies quickly. Once the charge meter fills to 100%, the canister glows purple and becomes retrievable.
Return the First Aether Canister to the SDG Generator
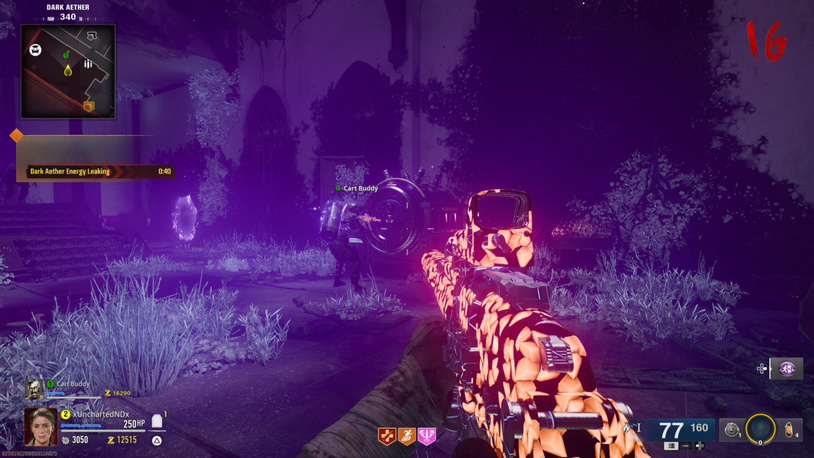
Now that the first canister is fully charged, a carrier player must physically transport it back to the SDG Generator. This task is risky — while carrying, the player is slowed, can't use tactical equipment, and drops the canister if downed. Enemies will spawn continuously along the route. Designate a defender escort, throw distraction tools, and coordinate movement around safe respawn zones. Once safely delivered, insert the canister into the rear chamber of the SDG unit to initiate the second wave of objectives.
Use the Strauss Counter to Locate the Projectors
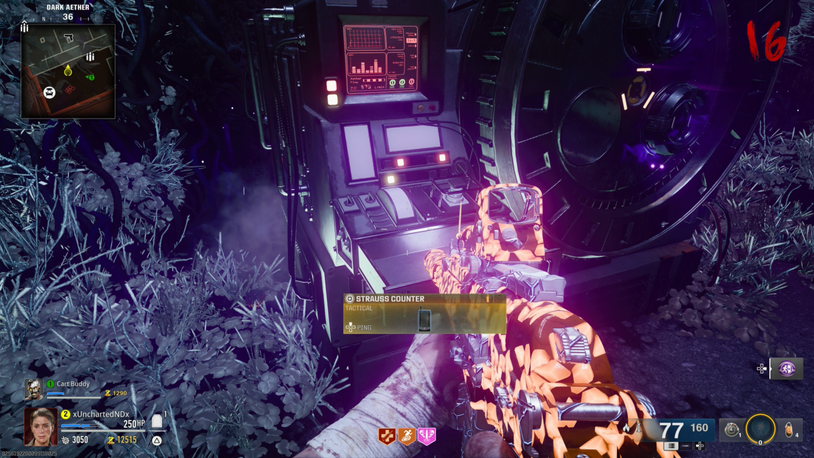
Once the first canister has been installed and processed, the next stage of the quest involves locating spectral projectors hidden around Liberty Falls. Head to the Library Archives and activate the Strauss Counter, a spectral frequency reader that emits pulses. These pulses create an audio cue and blue-light distortion when facing a nearby projector. Projectors are embedded in walls, bookcases, and alleyway signage — you'll need to manually interact with three to reveal cryptic footage and unlock further progression. Each projector activation will spawn a wave of spectral enemies, so keep your squad prepared.
Collect the Second Aether Canister
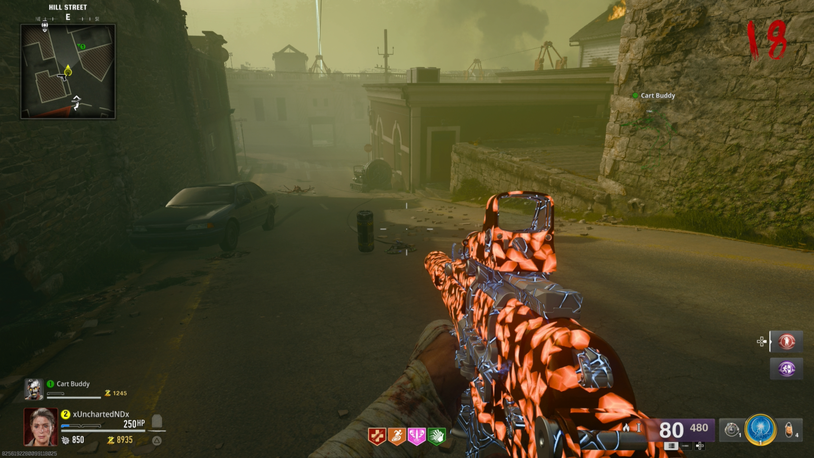
After syncing with the projectors, the second Aether Canister becomes available in the Cemetery Catacombs. This area is only accessible once you’ve powered the gate console located at the Mausoleum entrance using charged Aether energy. Inside, the canister is embedded in a corrupted altar and guarded by a Disciple mini-boss that periodically summons plague minions and shields itself with a dark aura.
The fight takes place in tight quarters, so area damage weapons or cryo mods are especially effective. Once defeated, the altar unlocks and the canister becomes retrievable.
Place the Second Aether Canister in the Trap
Take the newly collected canister to the Graveyard Crypts, located behind the Chapel ruins. Slot it into the designated trap pedestal marked by runic etchings and glowing sigils. As with the first canister, this action initiates a combat phase — but this time the location is enveloped in low visibility due to persistent Aether fog. Visibility is limited, and spawns are erratic. It’s advised to place Claymores or stun traps in advance to cover your flanks while holding the line.
Defend the LTG Storm Portal in the Cemetery
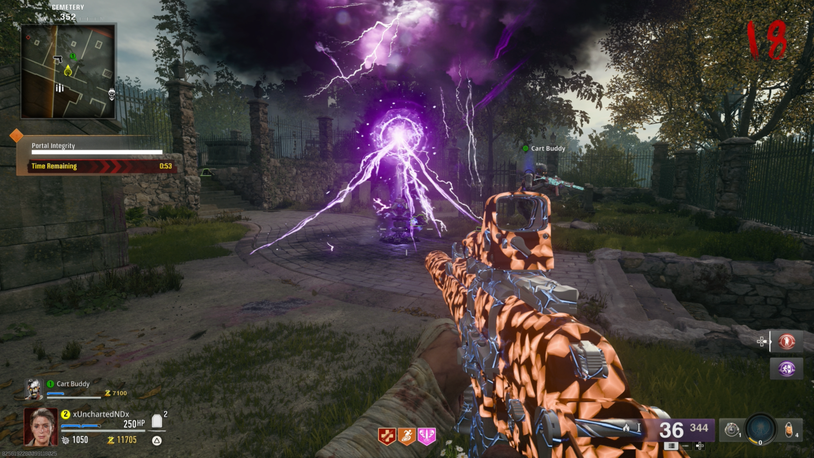
Once the trap is active, the LTG Storm Portal begins drawing in power. Unlike the Riverside event, this portal spawns Aether Specters — ghost-like enemies that phase through cover and appear suddenly. On higher waves, these are joined by Tempests and fire-resistant zombie variants. The environment includes poison gas vents and crumbling tombstones that can collapse and block exits. Use field upgrades like Frost Blast or Tesla Storm to slow enemy advances. Surviving this phase will charge the portal and stabilize the second canister.
Charge the Second Aether Canister
After the defense, the second canister begins absorbing ambient Aether energy. This stage introduces Hellhound patrols and Wraiths — fast-moving, clawed specters that deal high burst damage. The canister must be defended in a tight corridor behind the chapel’s crypt, forcing players into tight team formations. Keep explosive ammo and monkey bombs ready, and rotate positions every 30 seconds to avoid flanks. The canister reaches charge capacity in 90 seconds, after which it can be safely extracted.
Return the Second Aether Canister to the SDG Generator
With the canister fully charged, begin your escort back to the SDG Generator. As soon as you pick it up, a temporary blackout consumes the map, drastically reducing visibility and disabling minimaps and HUD markers. Random lightning strikes and enemy ambushes occur during this route. Assign one carrier and two defenders with LMGs or burst rifles. Avoid going underground — the Sewer route is blocked. Once returned to the Generator, place it into the opposite port from the first canister to trigger the final portal sequence.
Survive the Final Encounter in the Dark Aether
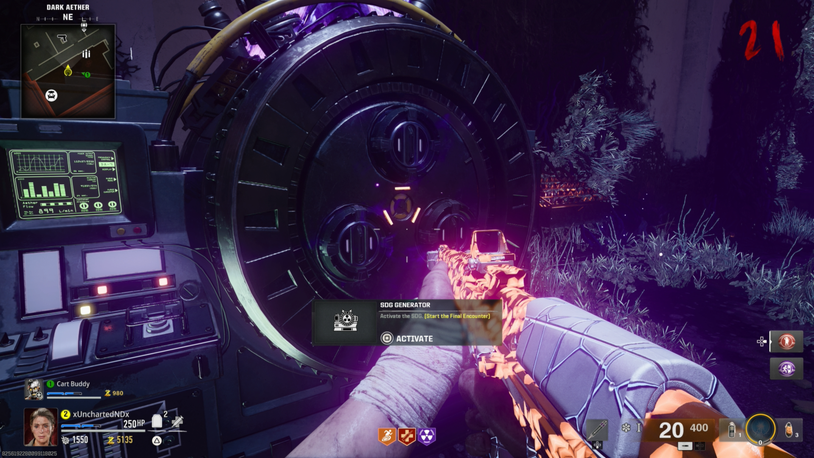
After returning both canisters, a massive surge powers up the SDG Generator, opening a tear into the Dark Aether. This is the final and most challenging sequence. Entering the portal transports your squad into a twisted, color-drained dimension resembling Liberty Falls but corrupted by ethereal energy.
You must survive a gauntlet of elite enemy types — including multiple Disciples, Tempests, Mimics, and The Emergent's shadow form. As you move through corrupted zones, the environment alters: gravity shifts, fog conceals enemies, and Aether anomalies warp movement.
The final fight takes place in a collapsed version of the Train Station. The boss cycles through elemental attacks at random and summons clone versions of itself to confuse players. Use every Wonder Weapon, field upgrade, and perk you have. Once The Emergent falls, interact with the blackened relic on the altar to trigger the finale cutscene and complete the quest.
If you’re short on time or want to streamline your progression, services RBZ Liberty Falls Easter Egg Boost can get you through the toughest stages with expert help.
Easter Egg Rewards
Successfully completing the Liberty Falls Easter Egg comes with a suite of high-tier rewards that reflect both your gameplay skill and story progression. These aren't just cosmetic; some have practical benefits in future matches or unlock further lore entries. Here’s what you’ll receive:
- Operator Skin: Fallen Sentinel – A unique skin unlocked only by completing the Easter Egg solo. It features glowing Aether runes and a reactive animation during killstreaks.
- Calling Card: Echoes of Liberty – An animated calling card that reflects your completion of the quest and syncs with Dark Aether theme loadouts.
- 3x Random Tier IV Schematics – These schematics can unlock advanced equipment upgrades or permanent field upgrade bonuses usable in future Zombies matches.
- Zombie Codex Entries: Chapter 1–3 – New lore documents that expand on the narrative behind the Liberty Falls outbreak, The Emergent, and connections to the Dark Aether. They also foreshadow content in future maps.
These rewards are a badge of honor for players and offer long-term utility, especially for those progressing through BO6 Zombies’ evolving storyline and item unlock systems.
Bonus Tips & Strategies
Mastering the Black Ops 6 Liberty Falls Easter Egg is as much about sharp instincts and communication as it is about raw firepower. These practical tips will help streamline your strategy and increase your odds of success without overwhelming your team with too many overlapping tasks:
- Coordinate field upgrades — stack Ring of Fire cycles and Healing Auras for efficient boss takedowns.
- Leave a single zombie alive when transitioning between steps to buy time for exploration and gear setup.
- Don’t overlook side tasks — they often reveal intel, bonus schematics, or Pack-a-Punch discounts.
- Designate roles — one player carries objectives, others protect or manage crowd control.
- During blackout phases, rely on your minimap compass for basic orientation and regrouping.
- Combine Deadshot Daquiri with a precision rifle like the Kilo 141 to maximize critical hits.
- Equip Monkey Bombs or Decoy Grenades before any trap defense — they’re lifesavers when things spiral.
- Don’t delay on Wonder Weapons — prioritize crafting or pulling one before the mid-game canister stages.
Also, for players looking to optimize their grind, BO6 Ranked Play Boost and Call of Duty Boosting Services can accelerate unlocks and let you focus on enjoying the full Easter Egg experience with better gear and perks.
Recommended Loadouts for the Liberty Falls Easter Egg
To handle the evolving threats and survival phases of the Black Ops 6 Liberty Falls Easter Egg, here are some top-tier loadout picks that have proven most effective across solo and co-op runs:
Primary Weapons:
- Kilo 141 (Pack-a-Punched) – Great recoil control and consistent damage output.
- Thrustodyne M23 – Ideal for crowd control, especially in lockdown phases.
- XM4 or AMAX – Balanced rifles with flexibility for both solo clearing and team support.
Secondary Options:
- Launcher (like the RPG or M79) – Useful for boss fights and grouped zombies.
- Shotgun with explosive rounds – Devastating in close quarters during charge phases.
Perks (Minimum 4):
- Jugger-Nog – Increased health is essential for multi-phase encounters.
- Speed Cola – Faster reloads help with high-pressure horde control.
- Quick Revive – Vital in solo play and to quickly recover teammates.
- Deadshot Daquiri – Enhanced critical damage and accuracy against elite enemies.
Field Upgrades:
- Ring of Fire – Amplifies damage significantly, perfect for boss DPS.
- Healing Aura – Crucial for team recovery during blackout and charge segments.
- Tesla Storm – Effective for area denial and temporary team protection.
With these tools equipped, your team will be ready for every mechanic and enemy type this Easter Egg throws at you. For players looking to skip the grind and jump straight into the action, a Call of Duty: Round Based Zombies Boost ensures you get to the heart of the Liberty Falls experience with maximum efficiency.
Conclusion
The BO6 Liberty Falls Easter Egg is more than just a hidden side quest — it's the culmination of masterful map design, strategic combat, and long-form storytelling in Zombies. It seamlessly blends puzzle-solving with action, creating a high-stakes experience that pushes every player to communicate, adapt, and optimize their builds.
From intense lockdowns to shifting boss mechanics, every phase of this Easter Egg challenges your timing, awareness, and coordination. Completing it not only unlocks exclusive cosmetics but deepens your understanding of the evolving Dark Aether lore. For veteran players and newcomers alike, this is a standout highlight in Black Ops 6 Zombies — one that rewards both skill and curiosity.
With this guide at your side, you’re fully equipped to tackle Liberty Falls. Whether it takes one run or twenty, the journey through its twisted alleys and haunted catacombs is worth every second.
FAQ
Yes, it is fully soloable. However, certain steps such as lockdowns or boss phases are more difficult without teammates — pack proper field upgrades and crowd control gear.
The Thrustodyne M23 is ideal for controlling zombie hordes and essential during storm portal defense phases.
You unlock the exclusive Fallen Sentinel Operator Skin, along with high-tier schematics and lore items.
Change Log
- 22.04.2025 - Black Ops 6: Liberty Falls Easter Egg Walkthrough published.

