Clash Royale: Best 2v2 Decks Overview
2v2 mode in Clash Royale is pure chaos — double the cards, double the elixir, and double the fun. But if you want to win more and lose less, having the right deck makes a huge difference. In this guide, we’ll go over the best 2v2 decks in Clash Royale right now, explain how they work, and why they’re strong.
What Is 2v2 Mode in Clash Royale?
2v2 is a casual and classic multiplayer game mode in Clash Royale, where two players team up against another duo.
Each player brings their own deck, elixir bar, and plays independently — but both sides share the same three towers (King + Crown Towers), and win or lose as a team.
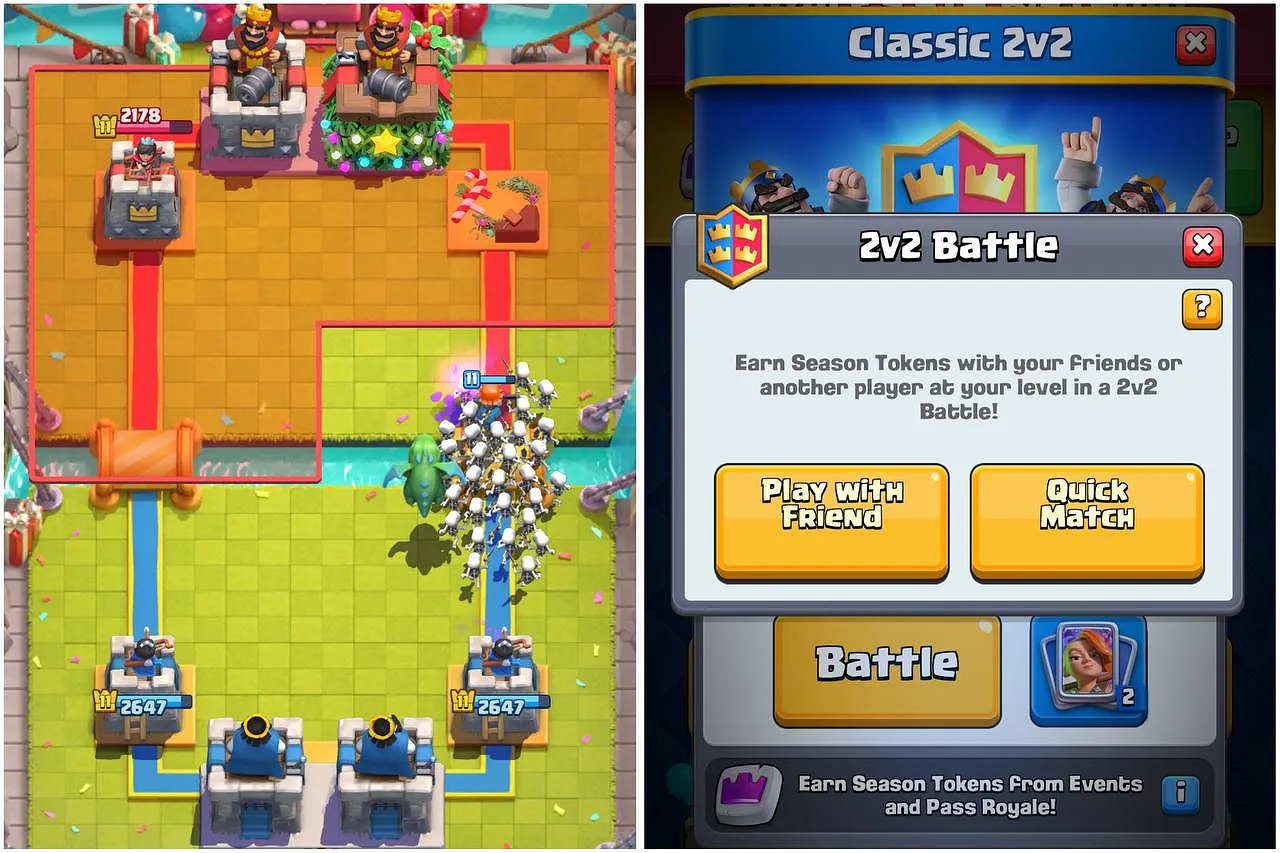
Some decks are built specifically to support teammates, defend massive pushes, or stack splash damage.
When two players time their combos right, you can pull off some crazy double-lane attacks, overwhelm with swarms, or even clone double Golems for insane plays.
PROMO CODE FOR A FIRST ORDER: GREETINGS15. We have a great deal for new customers - get desired boost with a 15% discount. Simply use the promo code at checkout and enjoy your discounted boost right now!
Best 2v2 Decks Clash Royale
If you're looking to crush the 2v2 arena with your friend or random teammate, these are the best 2v2 decks in Clash Royale right now. They’re fun, powerful, and surprisingly forgiving — perfect for coordinated plays.
Bridge Chaos Combo (Relentless Pressure Deck)
Overwhelm opponents before they can even defend.
- Average Elixir Cost (Deck 1): 3.1
- Average Elixir Cost (Deck 2): 3.3
Here’s how it plays:
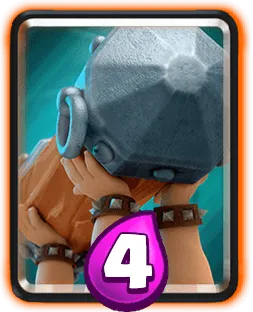
- Fast-Paced Bridge Spam: Both players constantly throw out troops like Battle Ram, Bandit, Goblin Gang, and Royal Hogs at the bridge. The goal is to force out defensive elixir from the enemy team and break through before they can recover.
- Split-Lane Pressure: One player can push one lane with Bandit + Battle Ram, while the other pressures the opposite lane with Royal Hogs or a Goblin Gang + Princess combo. This splits the enemy defense and creates confusion.
- Chip Damage Engines: Cards like Dart Goblin, Princess, and The Log slowly wear down towers with constant poke. If left unchecked, these can do serious damage over time.
- Defensive Utility: Even though it’s an aggressive deck, you’re not helpless on defense. The Log, Poison, and Fire Spirit help clear swarms, while Princess and Magic Archer hold the backline with strong splash.
- Cycle Abuse: Both decks are low-cost (3.1 / 3.3 average elixir), meaning you’ll often outcycle enemy counters. If they used Log on one Princess, you’ll likely have another already coming down the lane.
This bridge spam deck shines by flooding both lanes with fast troops like Bandit, Dart Goblin, Goblin Gang, and Battle Ram. You’re constantly forcing the enemy to react, and most can't keep up with the speed or volume.
Lava Hound Miner Poison (Chip & Burn Duo)
Slow pushes that melt towers over time.
- Average Elixir Cost (Deck 1): 4.1
- Average Elixir Cost (Deck 2): 4.1
Here’s how it plays:
- Double Lava Hound Pushes: Hard to deal with. They soak tower hits while you stack Flying Machines, Cannon Carts, and Poison zones behind them.
- Miner + Poison: Acts as a cleanup engine, chipping the tower while clearing defensive troops like Archers, Guards, or Goblin Gang.
- Cannon Cart and Valkyrie: Provide excellent defense on the ground. They’re perfect to stop Bridge Spam and punish overcommitted opponents.
- Flying Machine, Mega Minion, and Inferno Dragon: Cover aerial threats while doubling as support in pushes.
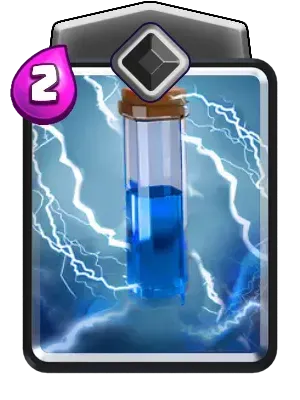
- Zap: Gives you cheap utility for resetting Sparky/Inferno and clearing Skeletons or Bats that might ruin your push.
Both players run a nearly identical Lava Hound deck, creating a relentless stream of flying tanks, support units, and Miner Poison cycles that wear down towers while defending with strong ground control.
Magic Archer Bridge Spam (Controlled Chaos Duo)
Relentless spam with sharp aim and fast punishes.
- Average Elixir Cost (Deck 1): 3.8
- Average Elixir Cost (Deck 2): 3.6
Here’s how it plays:
- Magic Archer: The centerpiece—angle him properly to deal chip damage through enemy troops, and snipe defensive units from across the river.
- Battle Ram + Bandit/Valkyrie: Fast and dangerous pushes that force early elixir use from opponents and break through sloppy defenses.
- Flying Machine + Inferno Dragon / Mega Minion: Deliver safe aerial DPS that survives behind tanks. Their range allows you to pressure while staying out of harm’s way.
- Lightning and Poison: Provide flexibility: Lightning for big threats and splash removal, Poison for area denial and spell-cycle pressure during chip phases.
- Lumberjack + Zap/Log: Lumberjack adds rage support and strong single-target damage, while Zap and Log control small swarms and reset Sparky/Infernos.
With strong bridge spam and value spells, the deck can rapidly flip defense into counter-pushes while controlling the pace of the game.
Golem Lava Witches Clone (Double Trouble Beatdown)
Clunky elixir? Maybe. But when both tanks roll in and Clone lands just right, towers vanish.
- Average Elixir Cost (Deck 1): 4.1
- Average Elixir Cost (Deck 2): 4.3
Here’s how it plays:
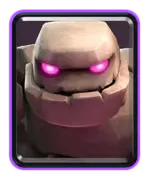
- Overwhelming Force + Clone Abuse: One player anchors with Golem + support (Deck 1), while the other floods the sky with Lava Hound-based pressure (Deck 2). Both bring Witches and Valks to cover ground swarms and generate insane value.
- Clone Combo: When you Clone Night Witch or Witch behind a tank, the skeletons/bats snowball fast. Toss in Lava Pups and you’ve got a tower-melting soup.
- Spell Support: Lightning and Fireball clear the path, enabling uninterrupted pushes.
- Stall Defense: Tombstone and Valkyrie help delay counter-pushes and buy time for your big setup.
- Double Push Sync: It’s heavy, but when both sides build up massive pushes together, Clone on stacked troops can end games instantly if the opponent makes one mistake.
Giant PEKKA Piglets Control (Split Lane Dominators)
A 2v2 control combo that locks down both lanes and chips towers with safe pressure.
- Average Elixir Cost (Deck 1): 3.8
- Average Elixir Cost (Deck 2): 3.9
Here’s how it plays:
- Control Style Core: This 2v2 pair mixes solid defense with safe chip pressure. Deck 1 focuses on Giant-based single-lane pushes with ranged support, while Deck 2 brings split-lane Royal Hogs and PEKKA to control and counter heavy threats.
- Split-Lane Pressure: Royal Hogs + Dart Goblin = consistent pressure in one lane. Giant + Musketeer builds on the other. This forces constant elixir splitting from your opponents.
- Tornado + Baby Dragon: Classic combo to clear swarms or group troops for massive value.
- Spell Cycling: Double Fireballs and cheap spells like Zap or Arrows help you punish and maintain control.
- Slow Burn Victory: You won’t always win with a single push. Instead, wear down opponents with smart defense, counter-pokes, and constant lane shifting. It’s all about control, patience, and punishing mistakes.
Tips for Playing 2v2 in Clash Royale
These tips will help you climb with the best 2v2 decks Clash Royale.
- Don’t Double Up Elixir Waste: Each player has their own elixir in this game mode, so don’t drop identical cards at the same time unless planned. Two Fireballs on one group of enemy troops = wasted elixir. Communicate or learn to read your teammate’s plays.
- Alternate Roles: Tank vs Support: In many 2v2 decks, one player should handle tank units like Golem, Lava Hound, or Battle Ram, while the other supports with splash damage, spells like Poison or Log, or ranged attackers like Magic Archer or Dart Goblin. This combo ensures solid defense and offensive synergy.
- Play Reactive, Not Aggressive (Unless It’s Bridge Spam): Don’t go all-in unless your partner is ready. Wait for enemy units to commit, then defend and counter push. Exceptions exist—bridge spam decks thrive on relentless pressure, especially when both Bandit and Battle Ram hit lanes together.
- Value Spells = Free Wins: In 2v2, it's easier to hit 3–5 troops with one Fireball, Lightning, or Poison. Always look for high-value spell moments to break their rhythm and deal heavy chip damage. This is critical in the arena when you're trying to overwhelm opponents.
- Don’t Forget Defense: It’s easy to overcommit on offense with two players, but best 2v2 decks always include control tools—Tornado, Baby Dragon, Ice Spirit, or defensive buildings like Cannon or Tombstone. Balance is everything.
- Play with a Regular Teammate (If Possible): 2v2 shines when you can coordinate with a friend or clanmate. You can even create deck combinations with synergy, like Lava Hound + Miner Poison, or Magic Archer bridge spam + Mega Minion chip pressure.
If you’re serious about climbing in Clash Royale or just want your best 2v2 decks to hit harder with higher-level cards, check out the Clash Royale Boost Services!
Summary
2v2 is one of the most enjoyable and unpredictable game modes in Clash Royale. The best 2v2 decks Clash Royale has right now are strong because they balance offense and defense, pressure and control. If you're playing bridge spam, lava control, or double clone chaos, always keep an eye on what your teammate plays and support them with elixir-efficient trades.
FAQ
Top options include Bridge Spam variants, Lava Hound + Miner Poison, Golem Clone combos, and PEKKA control setups. These decks offer great synergy, value, and versatility in 2v2 battles.
You play alongside a teammate, both with separate elixir bars and decks. Good communication and synergy make a big difference compared to solo play.
It helps, but random teammates can work too if your deck is balanced and reactive. Use decks from the Clash Royale Best 2v2 Decks list for higher win consistency.
Change Log
- 08.04.2025 - Clash Royale: Best 2v2 Decks overview published.

 The Log
 Dart Goblin
 Princess
 Goblin Gang
 Battle Ram
 Bandit
 Magic Archer
 Fire Spirit
 Royal Hogs
 Poison
 Lava Hound
 Cannon Cart
 Miner
Miner
 Mega Minion
 Flying Machine
 Valkyrie
 Zap
Zap
 Inferno Dragon
 Lightning
 Tombstone
 Lumberjack
 Golem
Golem
 Night Witch
 Witch
Witch
 Minions
 Fireball
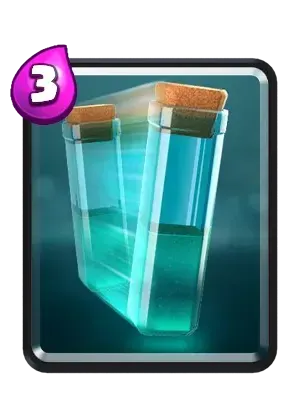 Clone
Clone
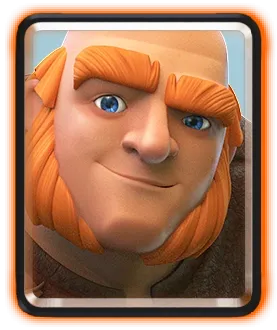 Giant
Giant
 Prince
 Knight
 Musketeer
 Archers
 Arrows
 P.E.K.K.A
 Baby Dragon
 Tornado
