

Black Ops 6 Terminus Easter Egg: Main Quest Steps
Terminus is the island Zombies map in Black Ops 6. Its main Easter Egg, “No Mo' Modi,” takes you from powering the Project Janus facility to the Patient 13 fight. The quest can be completed solo or with a squad. This walkthrough separates the required route from optional side secrets and corrects several easily confused locations: you hack sea buoys, reconnect two broken nodes, and defuse bombs in the Bio Lab.
Before committing to the full quest, decide between Standard and Directed Mode. Directed Mode displays main-quest objectives and caps round progression while you work through them; it disables side quests and other optional Easter Eggs. Standard Mode leaves the discovery and side activities open. A guide to the main quest should not promise that every side Easter Egg works in Directed Mode.
Terminus main quest at a glance
- Activate the three AMP Generators and raise the Pack-a-Punch lift in the Bio Lab.
- Obtain the DRI-11 Beamsmasher from the Mystery Box or build it through its own side quest.
- Use the Beamsmasher on the correct Tentacle Trap to find the Hard Drive; deliver it to Peck.
- Read the clock, playing card and injury sign to enter Nathan's code, then defeat him.
- Collect the underwater keycard, survive the Shipwreck lockdown and connect the two broken nodes.
- Take Peck's Hacking Device, hack the three sea buoys and defuse the three Bio Lab bombs.
- Prepare equipment, enter the boss arena and defeat Patient 13.
The order matters. In particular, the Beamsmasher is needed for the Hard Drive step, and Nathan's defeat precedes the keycard and Node Connectors. If a prompt does not appear, check that the preceding dialogue or objective finished before assuming the item is missing.
For help with the main or side quest, the existing RBZ Terminus Island Easter Egg Boost page describes the service. Follow the in-game requirements for the specific activity you choose.
Start by powering the island
Follow the main objective markers to the three AMP Generators. The route begins at the Guard Station, continues through the Living Quarters and finishes in the Bio Lab. Defend each generator until it completes its power cycle. At the Bio Lab, interact with the underwater control to raise the Pack-a-Punch platform. The three-generator sequence is common to a normal Terminus run and gives you the room you need for later quest steps.
The official Terminus map guide recommends turning power on early, learning the island's routes and upgrading weapons before tougher rounds. Open the necessary passages and learn where the Guard Station, Research Office, Sea Tower, Shipwreck and Bio Lab connect. The trip to the buoys later is timed, so knowing the water route now pays off.
Get the DRI-11 Beamsmasher
You need the Beamsmasher to extract the Hard Drive from a Tentacle Trap. It can come from the Mystery Box, but that route is random. Building the weapon gives you a route you can deliberately follow. The build is more involved than simply turning on three laptops: it requires opening the Research Office, using the Multiphasic Resonator, solving a code and completing the island orb sequence.
Open the Research Office
Apply Dead Wire to a weapon. Ride the Pack-a-Punch lift and shoot the linked electrical boxes with that weapon, following the current as it moves from the Bio Lab toward the Living Quarters and Rec Yard. The chain opens the Research Office. Kill the pinned zombie inside to obtain the EMF Fob. The boxes must be hit in their sequence; shooting a random panel elsewhere does not complete the chain.
Use the resonator and island orbs
Take the EMF Fob to the Sea Tower and open the briefcase for the Multiphasic Resonator. Place it on the Research Office terminal and activate the three laptops around the island. Read the symbol clues in that office to solve the terminal's code for your match. The symbols produce a match-specific answer, so copying a static code from someone else's run will not work.
When the terminal directs you to the first island, bring the resonator. On Castle Rock Island, interact with the blue orb and deposit the energy dropped by the marked enemies. Pick up the resonator again when the orb moves. Repeat the process with the green orb on Crab Island and the purple orb on Temple Island. The final stage awards the AMP Munition. Return to the Research Office and assemble the DRI-11 Beamsmasher at its workbench.
Keep track of the resonator each time the orb moves. Leaving it behind is a common reason the next island stage cannot be started. If you got the Beamsmasher from the Mystery Box, skip the construction sequence and proceed to the Hard Drive.
Find Nathan and the three-digit code
Use the Beamsmasher's beam on the active Tentacle Trap with the damaged vent or glowing particles to obtain the Hard Drive. Possible traps include the Living Quarters, Holding Cells and the two Bio Lab entrances. The correct trap can vary. Bring the Hard Drive to Peck at the Guard Station and wait for the dialogue to finish before going to Nathan's chamber in the Bio Lab.
Nathan's keypad code is assembled from three clues, read in a fixed order:
- The hour hand of the clock in the Interrogation Rooms gives the first digit.
- The playing card on the Mess Hall board gives the second digit.
- The “Days Since Last Injury” sign in Engineering gives the third digit.
Record the digits you see in your own match and enter them at Nathan's chamber. There is no universal code to copy. Prepare for a fight before interacting with the relief valves. In co-op, all players need to turn a valve at the same time to release Nathan. Defeat the HVT Amalgam and let the sequence finish before looking for the next item.
Upgraded weapons, armor, Perks and a way to handle surrounding zombies make this fight easier. The exact equipment is a matter of preference; no particular optional GobbleGum is a prerequisite for the main Easter Egg.
Collect and install the Node Connectors
After Nathan, interact with the Communications computer and find the Project Janus Keycard underwater in the Bio Lab. The keycard unlocks the Shipwreck area containing two Node Connectors. Picking one up starts a lockdown: survive the enemies in the room before leaving. In solo play, you carry one connector at a time, so plan the return trip.
Three connection sites can be checked, but only two need repair in a run. Look below the Sea Tower at the Docks, in the Sea Caves near Speed Cola, and on Crab Island. One site is already intact; insert the connectors in the two broken lines. This is why a guide that tells you to install a connector in one fixed location can be misleading. After repairing both, return to Peck in the Guard Station for the Hacking Device.
Hack the buoys and defuse the bombs
Use the Hacking Device on the three marked buoys at sea, to the north, southeast and southwest. They are buoys with equipment on top, not separate “Water Satellites” that you find at the Docks. Once the first buoy is hacked, you have two minutes to complete the other two. A boat makes the route easier; pay attention to sea hazards and enemy attacks while interacting with each buoy.
Finishing the buoy sequence starts another timed step. Return to the Bio Lab and defuse three bombs there within five minutes. Look around the Melee Macchiato side of the room, including the upper and lower levels. In a squad, protect the player using a defusal prompt. Solo players can use equipment to distract zombies. Do not leave this step for later exploration; failure ends the run.
After the bombs are defused, you can take time to prepare for Patient 13. Repair armor, upgrade a reliable weapon, replenish ammunition and arrange your squad before entering the boss door. Check that each player is ready: the boss arena is a commitment, not a regular room you can leave to finish another map task.
Fight Patient 13
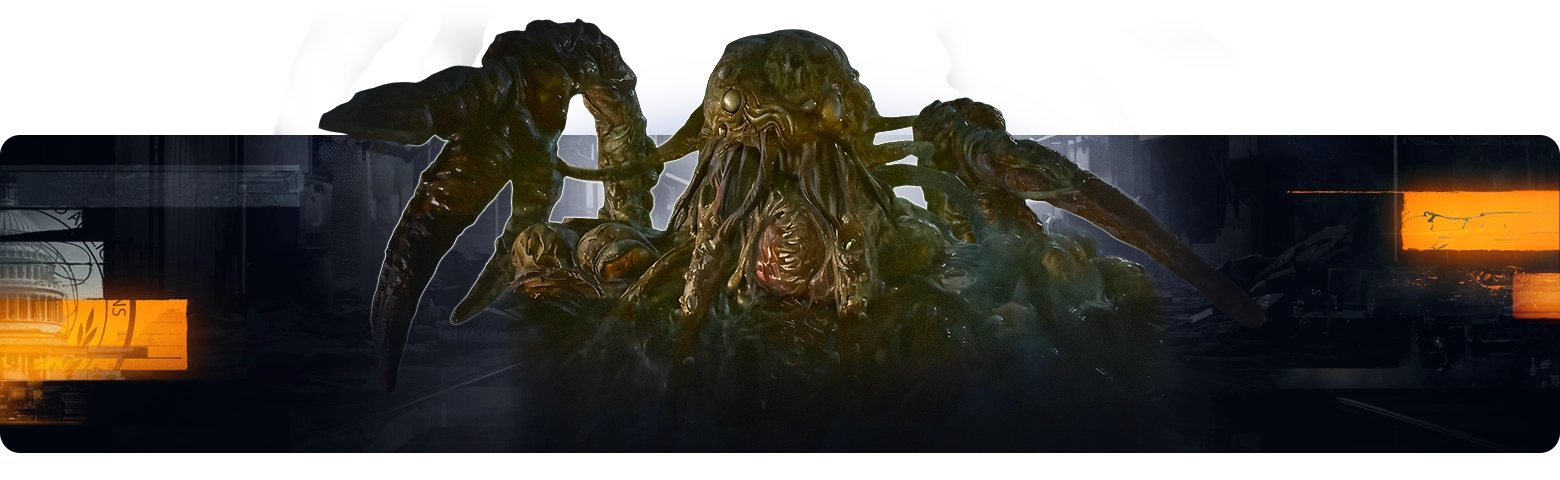
Enter through the opened door at the bottom of the Bio Lab when your squad is ready. Patient 13 has multiple phases with different visible weak points. Shoot the glowing targets when they are exposed, keep moving to avoid arm attacks and clear the enemies that crowd the platform. Conserve ammunition for the windows when damage to the boss matters most.
The later phase includes a blue electrical attack that can down an exposed team. Break line of sight or use the water when the attack is telegraphed. Watch for the tongue grab as well; a teammate can help by damaging the mouth if someone is caught. The water is useful for avoiding some boss attacks, but you still need to manage positioning and enemy pressure.
The fight is easier when you enter with a well-upgraded weapon, armor, perks and enough resources to handle a prolonged encounter. The main quest ends when Patient 13 falls and awards the “No Mo' Modi” achievement or trophy. A launch-only early-completion reward mentioned in older guides was tied to a deadline before Directed Mode arrived; do not treat it as a current reward.
Side Easter Eggs: separate from the main route
Terminus has optional secrets as well as the Patient 13 quest. The original article mixed side activities such as basketball, fishing, the crab game, a stuffed-animal companion and a talisman into the required walkthrough. None of those is needed to repair the network or enter the boss arena. They can offer resources or simply provide another activity in a Standard match.
Do optional secrets when you have spare time and a clear objective. For example, the basketball trick can yield Essence, while other secrets may give power-ups or equipment. Their exact triggers are different from the main quest and can be easy to confuse with a required node or device. If you are following the main Easter Egg, complete the power, Beamsmasher, Nathan, connectors, buoys and bombs sequence first.
Directed Mode is built around the main quest and disables side Easter Eggs. If you want to hunt the basketball, crab, meteor or other map secrets, use Standard Mode. Do not interpret a missing side-quest prompt in Directed Mode as a broken main-quest step.
Questions players often hit mid-run
Where are the Terminus nodes?
The possible connection sites are below the Sea Tower at the Docks, in the Sea Caves near Speed Cola, and on Crab Island. Only two are broken in a given run. Check all three, then use the two Node Connectors from the Shipwreck at the broken sites.
Do I have to build the Beamsmasher?
No. You can obtain it from the Mystery Box, but that is random. The build route lets you deliberately earn it through the Research Office and island orb steps. Either way, the Beamsmasher is needed for the Hard Drive.
Why does the Nathan code from another guide not work?
The clock, card and injury sign give the code for your match. Read them in that order and enter your own digits. A static example from another run is only an illustration of the clue order.
What is timed after the Node Connectors?
The first hacked sea buoy starts a two-minute window for the remaining buoys. Completing those leads to a five-minute bomb-defusal stage in the Bio Lab. Prepare a boat route and defensive equipment before starting the first hack.
Can I complete the main quest in Directed Mode?
Yes. Directed Mode provides on-screen main-quest objectives and a round cap while you progress. It does not include the optional side Easter Eggs that Standard Mode leaves available. The old early-completion deadline is over, so choose the mode that fits how much guidance you want.
If you want more general CoD services, the Call of Duty Boosting Services category remains available. For Terminus itself, use the exact main or side objective you want when planning a run.
