FFXIV: Cruiserweight Raid Guide
The Arcadion Savage: Cruiserweight is the newest hardcore raid tier introduced in Final Fantasy XIV’s Dawntrail expansion. Focused on fast-paced mechanics, layered visual cues, and punishing timing windows, this encounter set pushes coordination and skill to the edge.
With four brutal floors, increasingly complex mechanics, and tight enrage timers, Cruiserweight demands that each player in your party pull their weight. Whether you're aiming for week-one clears or catching up on BiS loot, this guide breaks down everything you need to know for a successful climb through this savage-tier gauntlet.
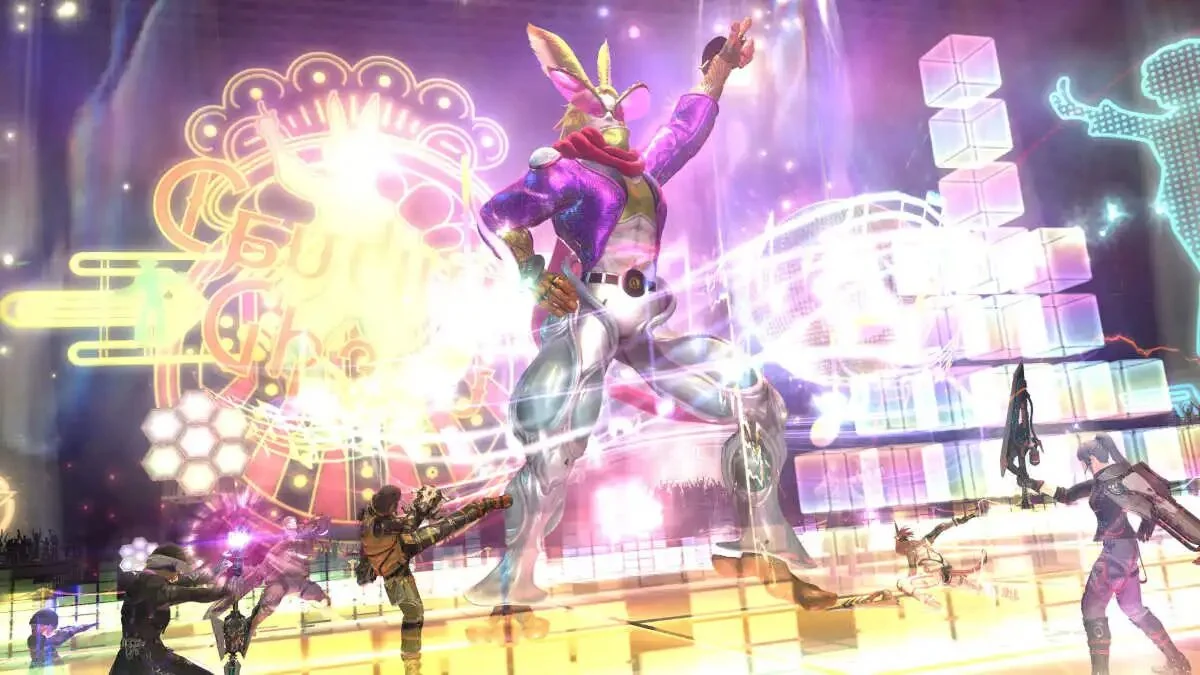
How to Unlock The Arcadion Savage (Cruiserweight)
Unlocking access to The Arcadion Savage: Cruiserweight requires players to meet a few key milestones. To start, you'll need to complete the storyline quest "Souls Under Siege," which becomes available after finishing "The Neoteric Witch." Once that is done, visit Yaana in Solution Nine (X:22.2, Y:16.6) to begin the Arcadion raid series.
After clearing all four fights in the normal version of The Arcadion, speak with the Stylish Stranger at (X:19.1, Y:18.8) in Solution Nine to unlock the Savage version. When Savage becomes available (from April 1), players will need to complete the quest "The Lone Wolf" and talk to Gabbro (X:22.3, Y:17.1) to begin accessing the tougher fights.
The item level requirements for each encounter are:
- M1 (Savage): iLvl 730+
- M2 (Savage): iLvl 735+
- M3 & M4 (Savage): iLvl 740+
Keep in mind that progression is locked weekly. If you skip a floor, you won’t be eligible for rewards from earlier bosses until the weekly reset, which happens every Tuesday at 08:00 GMT.
Full clears, loot, and achievements guaranteed.
Cruiserweight Bosses
Dancing Green (M1)
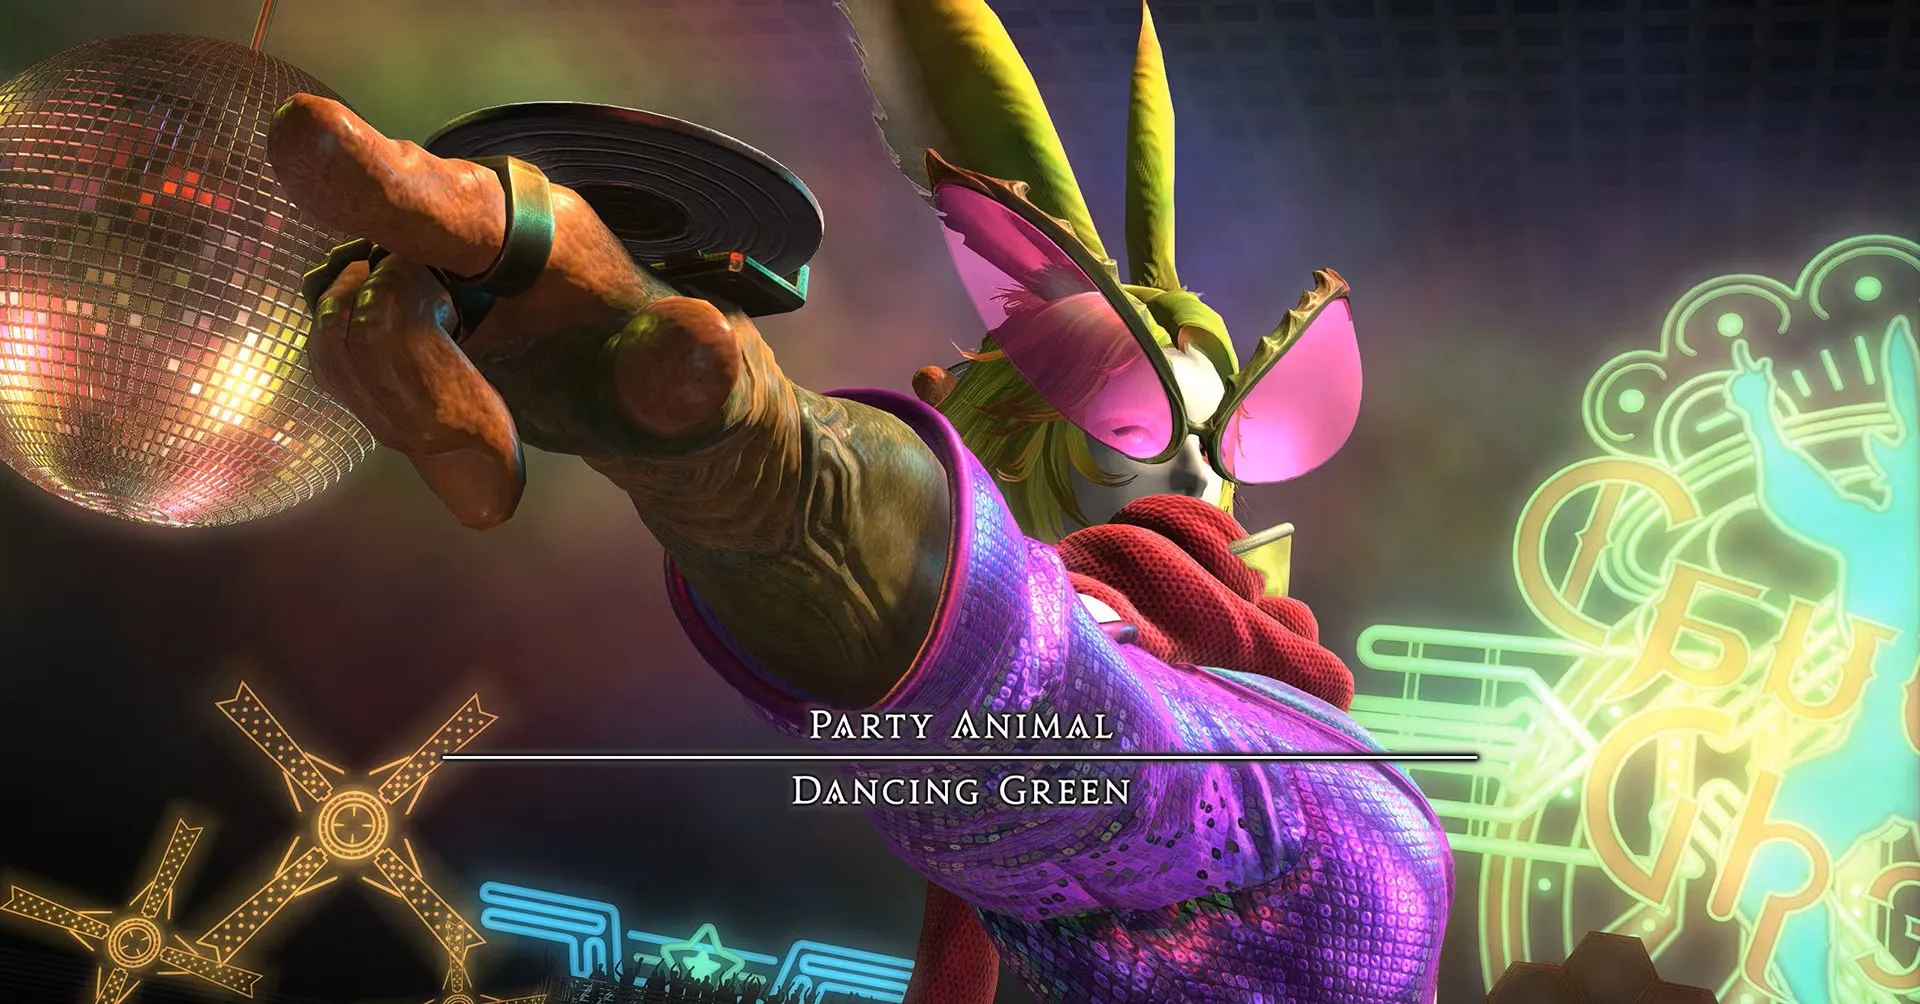
Dancing Green kicks off the Cruiserweight Savage tier with a flashy, rhythm-focused encounter. This fight demands quick movement, awareness of visual patterns, and precise tile positioning on an 8x8 grid—touching the edge means instant death.
Phase 1 – Opening Routine: Introduces major cleaves and AoEs:
Do the Hustle: Wide cleave with no warning.
2-snap & 4-snap Twist: Successive cleaves on one side with a final untelegraphed hit.
Funky Floor: Checkerboard AoEs culminating in Full Beat, a stack mechanic.
Deep Cut: Strong tankbuster.
Phase 2 – Spotlight Mechanics: Each player receives debuffs requiring precise movement:
Disco Infernal: Timed debuff-cleansing spots.
Ride the Waves: Linear AoEs from the north.
Let’s Dance / Let’s Pose: Posed-based cleaves that increase in speed.
Phase 3 – Overlap Madness: Old and new mechanics stack:
Frogtourage Phase 2: AoE clutter with movement-based dodging.
Directional Disregard: Visual cues removed, forcing instinctive reactions.
Tight DPS checks and fast execution make this a challenging opener.
Sugar Riot (M2)
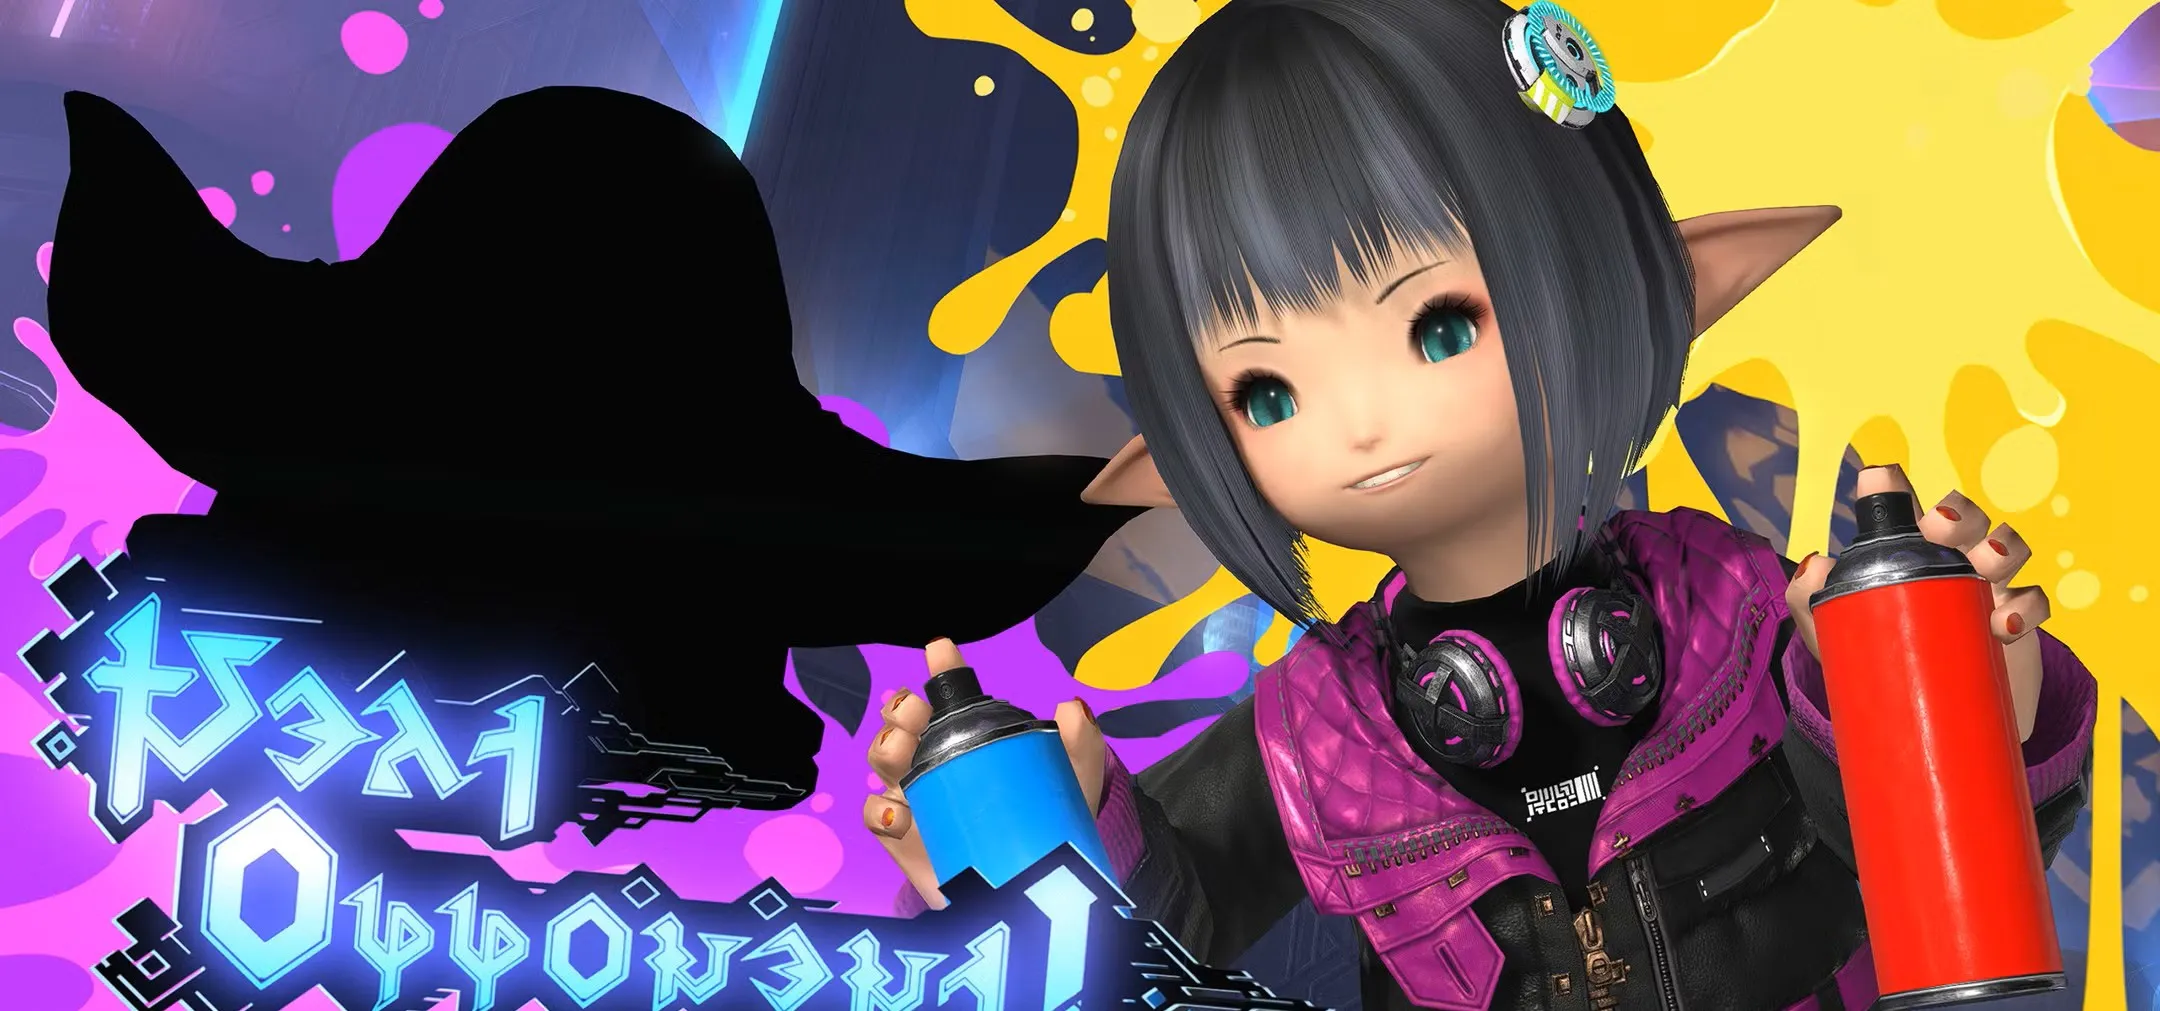
Sugar Riot brings a chaotic, painter-themed challenge filled with drawing-based mechanics. The boss creates AoEs by “painting” the arena, combining Single and Double Style elements that force players to adjust positioning quickly.
Phase 1 – Painting Practice:
Paint Bombs and Sweet Shot create layered AoEs and arrows.
Mouse Style and Brush Style determine cast patterns.
Players must weave between safe zones and follow subtle telegraphs.
Phase 2 – Spotlight Puzzle:
Heaven Bombs explode in sequence; spacing is key.
Tile of Thunder and Layer (Black/White): Spread AoEs with color and element gimmicks.
The arena transforms repeatedly; players must read terrain and aim for tight positioning.
Phase 3 – Surgescape:
Sugar Riot paints massive AoEs with overlapping hazards.
Players gain debuffs like Pudding Pop and must handle stacking effects.
Task of Fire and Double Style create overwhelming visuals that test recognition and reaction.
The key to victory is tracking Sugar Riot’s evolving art and reacting with agility and coordination.
Brute Abombinator (M3)
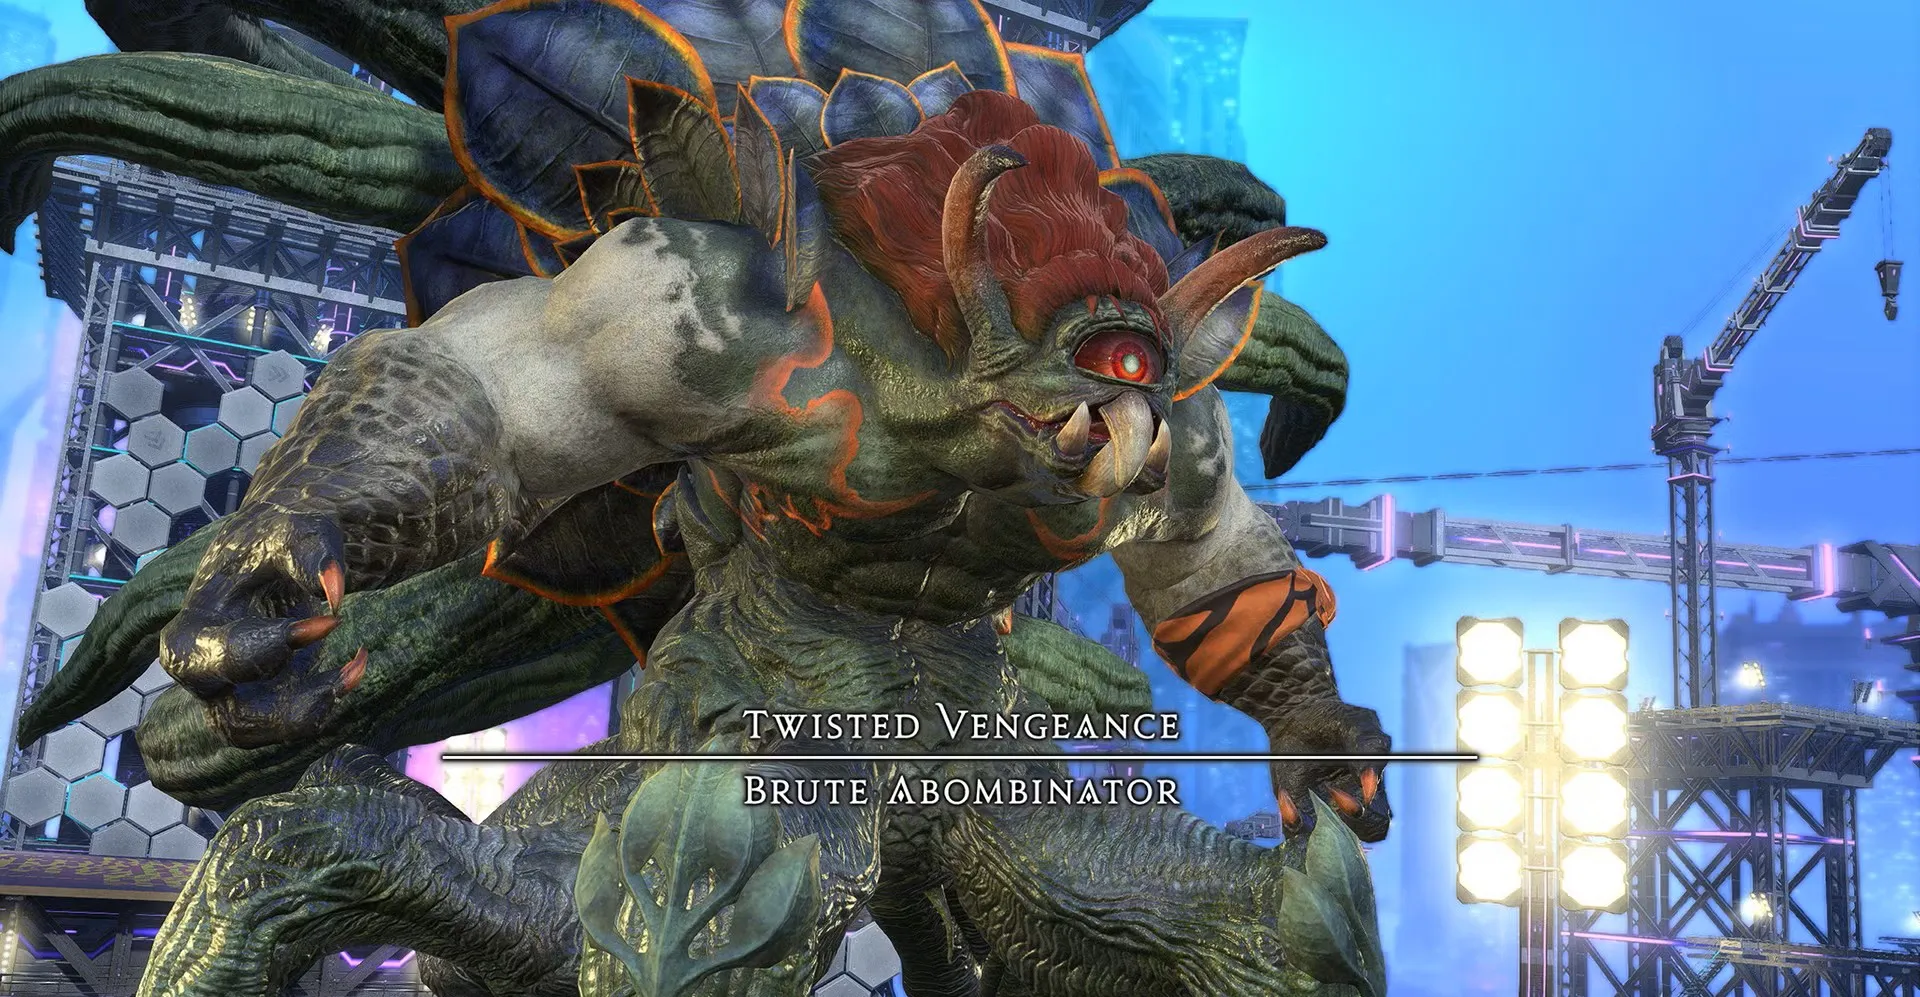
Brute Abombinator raises the intensity with an aggressive, weapon-focused brawl. Each phase evolves the arena and mechanics further, layering hazards and forcing split-second decisions.
Phase 1 – Demolition Ring:
Alternates between sword and club markers for AoEs.
Brutish Swing into Brutish Bombardment and Brutish Spin sets up dodging sequences.
Players must dodge chained AoEs and manage mid-fight adds.
Phase 2 – Pillar Platform:
Arena shifts to a new height, adding movement-based mechanics.
Boss uses Directional Disregard and glowing limb telegraphs.
The team must respond quickly to leap mechanics and elevated cleaves.
Phase 3 – Core Cage:
Brute uses both sword and club AoEs in rapid succession.
Staggered Bait and Tower Ruin punish mistimed movement.
Final rotation loops many earlier mechanics, demanding full team focus and execution.
This encounter is a true test of spatial awareness and mechanical recall.
Howling Blade (M4)
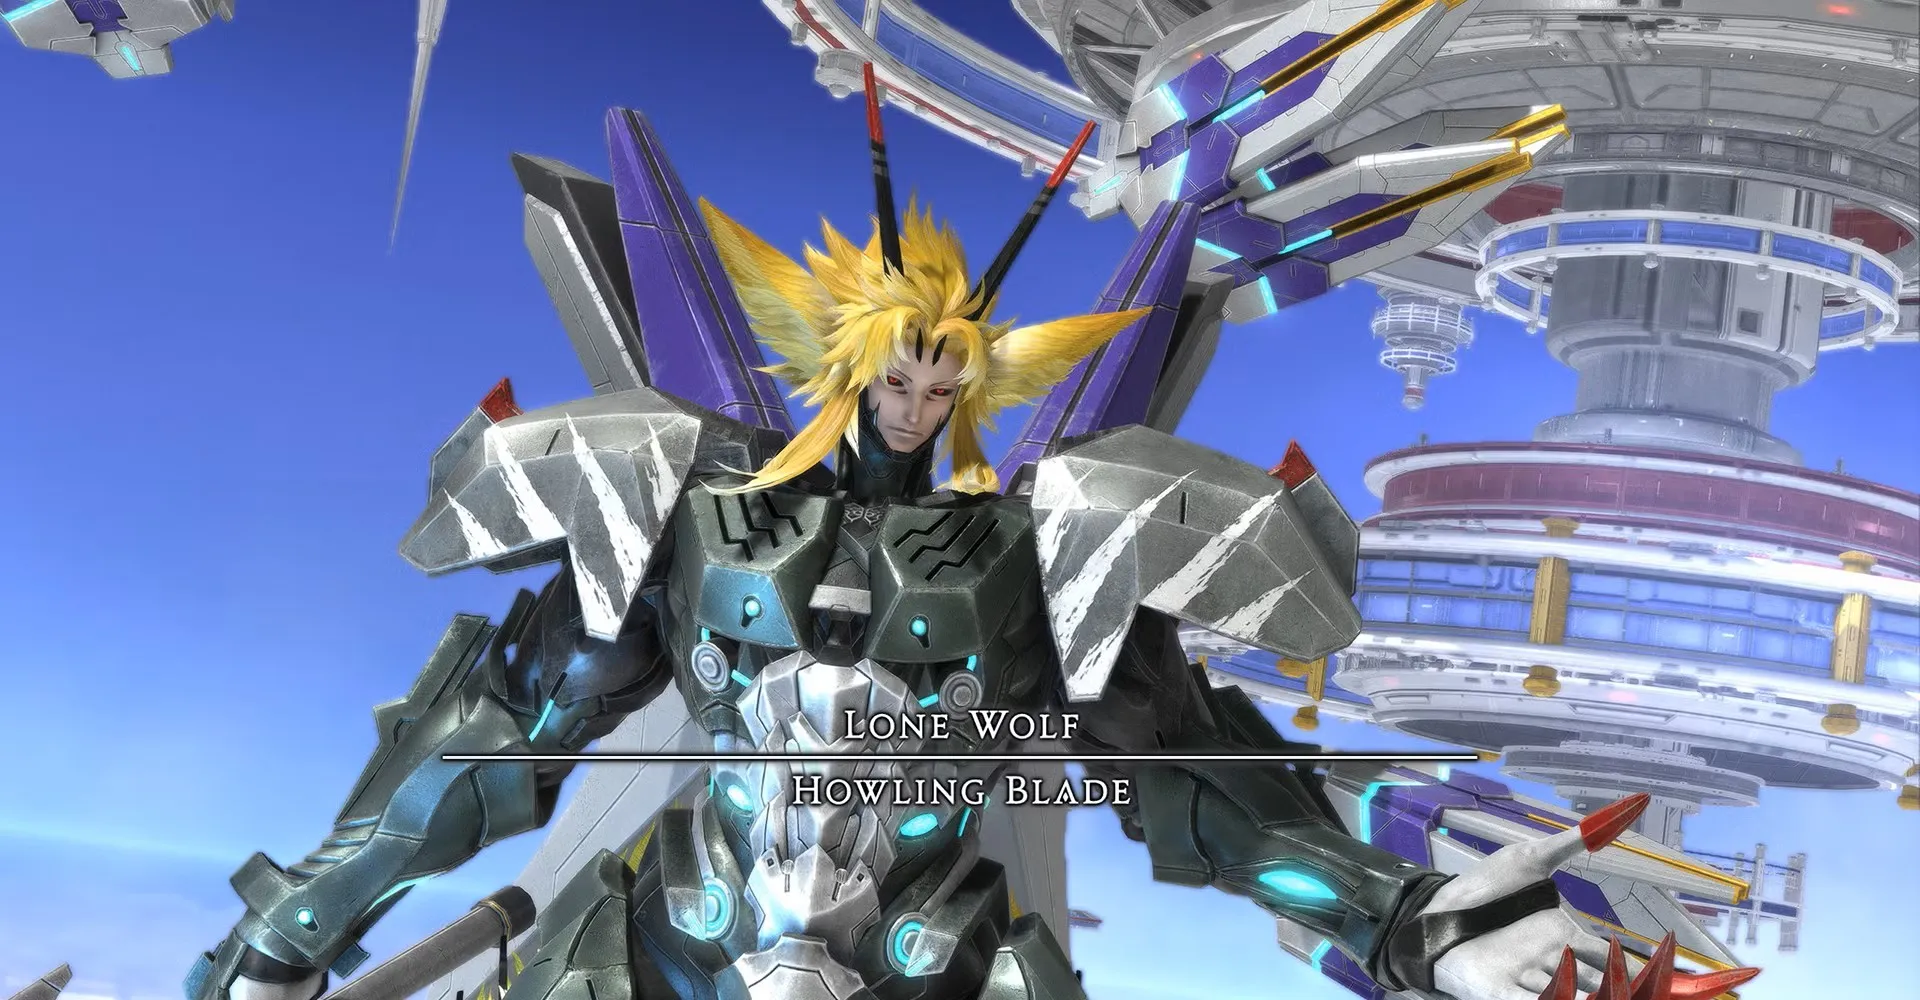
Howling Blade serves as the final and most intense challenge in the Cruiserweight tier. This multi-phase duel features relentless cleaves, positioning traps, AoE layering, and reactive illusions that push your raid’s coordination to the limit.
Phase 1 – Shadowsplitter:
Opener features Extrajacent Pursuit, Great Divide, and a double Tantrum targeting tanks.
Illusions appear with Wolves' Reign. Players must dodge frontal AoEs based on sword glow.
Adds fire massive cleaves. Terrastrial Rips and Tidal Flare punish missteps.
Phase 2 – Add Phase:
Two adds spawn using Waves of Stone and Wolf of Wind.
They must be defeated before Saber Intensity hits 100%.
Mechanics echo earlier phases with increased pressure and overlapping AoEs.
Phase 3 – Stormshaper Finale:
Final sequence stacks high-damage cleaves, illusions, and Tidal Threat.
Players must read weapon glows and shift rapidly between safe spots.
Finishing strong here requires near-perfect movement and team synergy.
Howling Blade caps off the tier with a punishing test of awareness and execution. Expect a satisfying challenge.
Cruiserweight Rewards
Clearing The Arcadion: Cruiserweight encounters grants both Normal and Savage rewards depending on difficulty. Here’s a breakdown of what you can earn:
Normal Mode Rewards
Each floor drops gear tokens that can be exchanged at Hhihwi (X:8.7, Y:13.4) in Solution Nine:
- Head / Hands / Feet: 2 tokens
- Body / Legs: 4 tokens
- Accessories: 1 token
Clearing M4 also rewards a Cruiser Holosaber (1/week), and collecting 7 allows you to purchase a Universal Tomestone 2.0. This special currency is used to buy powerful weapons.
Savage Mode Rewards
Savage difficulty offers direct loot coffers and higher item level gear (IL 760). Each boss drops a coffer that transforms into gear for your current job:
- M1: Accessories, Jewelry (Ring, Necklace, Bracelet, Earrings)
- M2: Head, Hands, Feet, plus Upgrade Items (Glaze, Tomestone)
- M3: Body, Legs, plus Upgrade Items (Ester, Twine)
- M4: Weapon, Random Weapon, Mount, Orchestrion Roll, Facewear
Each floor also drops AAC Illustrated: CW Edition tokens, which are tiered from I to IV. These tokens are used to purchase guaranteed loot from Hhihwi. Token costs vary depending on gear type. Example:
- Weapon (8x CW Edition IV)
- Head (2x CW Edition II)
- Legs (6x CW Edition III)
Some Savage encounters also provide upgrade materials for IL 750 Historia gear, enhancing them into IL 760 Augmented Historia variants:
- Universal Tomestone 2.0 (Weapon Upgrade – M2)
- Evercharged Ester (Weapon Augment – M3)
- Evercharged Twine (Armor Augment – M3)
- Evercharged Glaze (Accessory Augment – M2)
Clearing M4 (Savage) can also reward:
- Peerless Orchestrion Roll
- Air-Wheeler C9 Mount
- Groovy Glasses Facewear (also drops in Normal mode)
Loot restrictions reset every Tuesday at 08:00 GMT, so plan your clears accordingly to maximize weekly progression and rewards.
Tips for Success
- Assign roles and mechanics early – Make sure everyone knows who’s handling what: stacks, mitigations, debuffs, and boss positioning. Clear communication up front avoids chaos mid-fight.
- Leverage raid tools and diagrams – Use macros, visual markers, and cheat sheets to help teammates remember where to go during quick transitions or split phases.
- Pre-pot and maintain uptime – Optimize damage with pre-pull potions, food buffs, and proper alignment of raid buffs. Every little bit helps with DPS checks.
- Review and adjust – Record your runs or use logs to identify patterns in mistakes. Are people dying to the same mechanic? Fix it early.
- Use voice comms for callouts – Especially helpful during overlapping mechanics and final phases. Even brief reminders like "left safe" or "tank LB now" can save a run.
- Plan your raid week – Clear in order (M1–M4), and be mindful of lockouts. Aim to complete earlier fights first to preserve loot eligibility.
- Respect progression pacing – Don’t rush headfirst into M4 before stabilizing earlier encounters. Build consistency one fight at a time.
Conclusion
The Arcadion Savage: Cruiserweight tier delivers a thrilling gauntlet of high-stakes battles where success hinges on precision, strategy, and tight-knit teamwork. Every boss encounter pushes your party’s coordination and mechanical mastery to the limit, making every clear feel well-earned.
Whether you're chasing your first kill, refining your execution, or targeting Best-in-Slot gear, this guide offers essential insights to help you stay efficient, avoid common pitfalls, and fully enjoy the rewards of raiding at the highest level in FFXIV.
With careful preparation, clear communication, and commitment to learning, your team can master the groove and conquer The Arcadion's toughest trials. See you at the top!
FAQ
For Savage, M1 requires iLvl 730+, M2 needs iLvl 735+, and M3/M4 demand iLvl 740+.
Each boss drops a treasure coffer and a CW Edition token. M4 also drops a weapon and bonus rewards like mounts or orchestrion rolls.
Change Log
- 22.05.2025 - FFXIV: Cruiserweight Raid Guide published.

