Final Fantasy XIV: FRU Guide
Final Fantasy XIV's Futures Rewritten Ultimate (FRU) is a pinnacle raid experience introduced in Patch 7.11, designed to test the skills, coordination, and perseverance of even the most seasoned players. This high-stakes encounter brings a fresh take on the beloved Eden raid series from the Shadowbringers expansion, blending challenging mechanics with visually stunning new content. Players will need to prepare meticulously, as the raid offers complex multi-phase fights, each featuring unique mechanics and escalating difficulty. This comprehensive guide covers everything you need to know about unlocking FRU, mastering its challenges, and earning its coveted rewards, ensuring your journey through Eorzea's toughest trial is both rewarding and memorable.

Unlock Requirements
To access FRU, players must meet specific criteria to ensure they are prepared for this challenging content:
- Prerequisites: Completing the fourth floor of the AAC Light-Heavyweight Savage raid series is essential. This content serves as a benchmark to test your party’s coordination and mechanical knowledge. Once cleared, speak with the Wandering Minstrel in Tuliyollal (X:11.1, Y:14.6). He will regale you with tales of the raid, officially unlocking FRU for your group.
- Party Composition: Assemble a full party of eight players, consisting of two tanks, two healers, and four DPS (with an ideal mix of melee and ranged). This balanced team setup ensures sufficient damage output while providing ample support for healing and mechanics. Ensure every member is equipped with an average item level of 730 or higher, as this will significantly impact your survivability and damage throughput during the raid.
Exclusive loot, progress, and achievements guaranteed.
Encounter Overview
The Futures Rewritten Ultimate (FRU) raid is a grueling test of skill, strategy, and teamwork, divided into five distinct phases. Each phase presents escalating challenges that demand precise execution, clear communication, and adaptability from every party member. Here’s a detailed breakdown of each phase and what to expect:

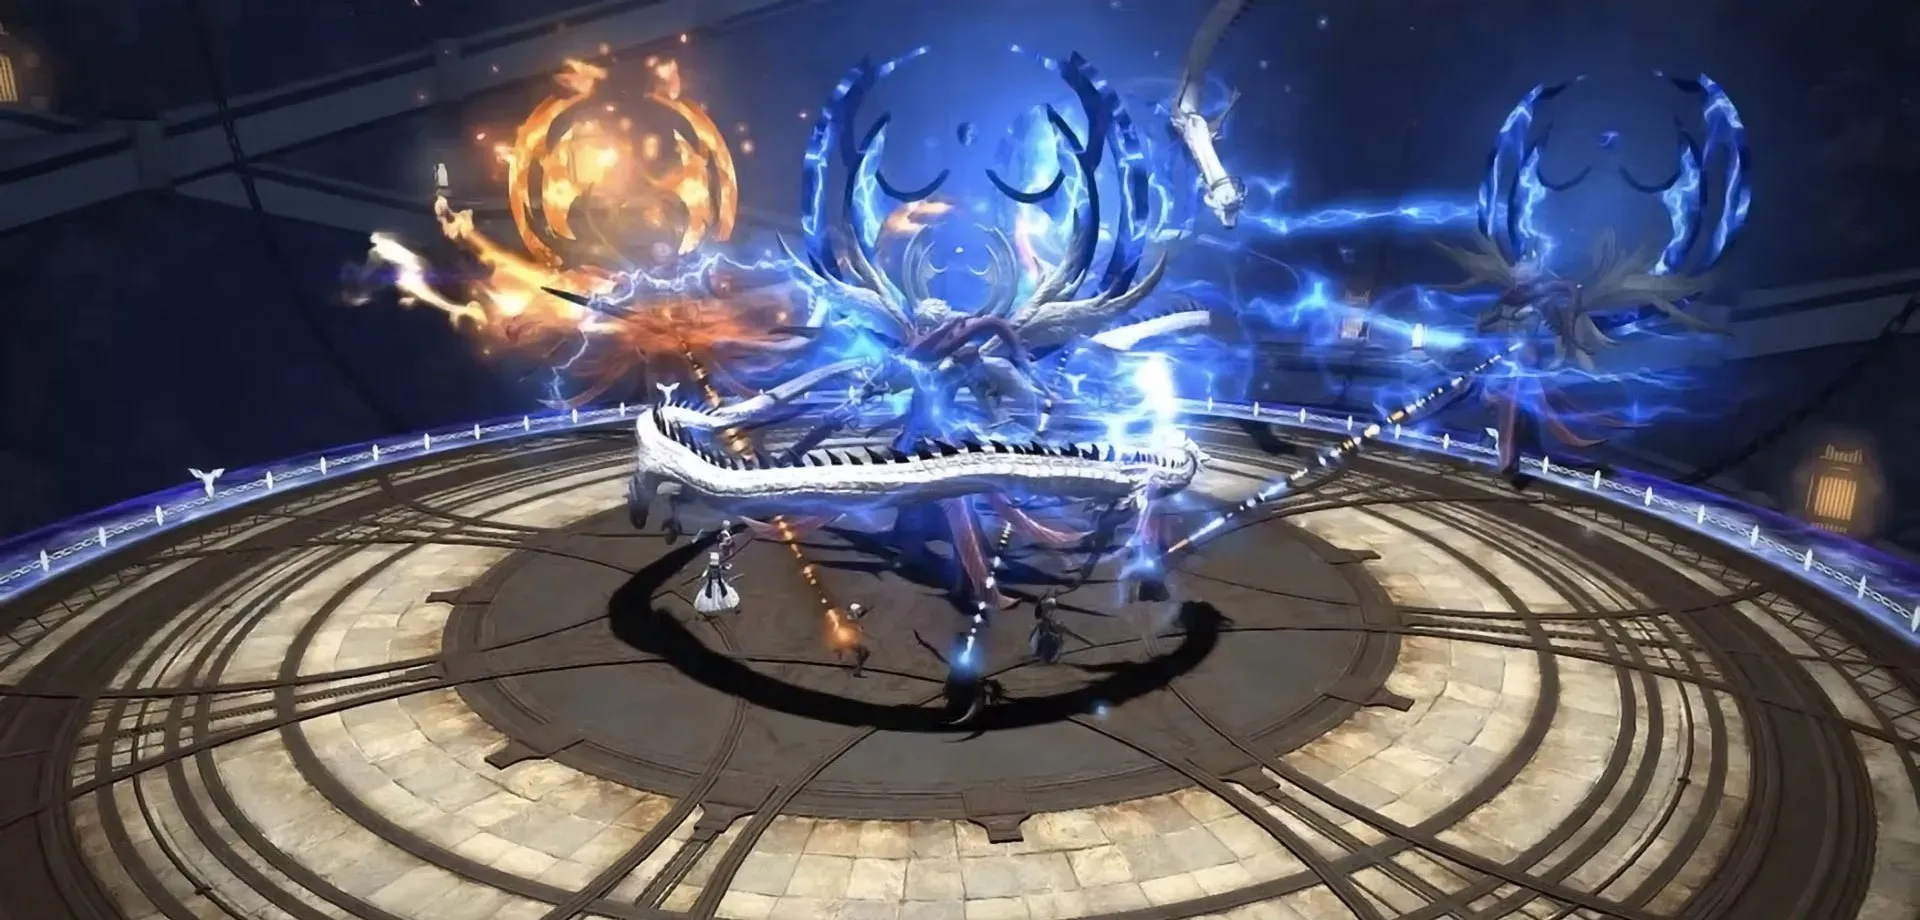
Phase 1: Fatebreaker
- Sequential Strikes: The boss executes a series of coordinated melee and magical strikes, requiring tanks to alternate mitigations and swap at precise moments.
- Unstable Elements: The battlefield shifts between fire and ice zones. Players must adjust their positioning to avoid extreme elemental damage.
- Limit Break Suppression: Fatebreaker nullifies player Limit Break usage periodically, requiring precise planning for burst damage phases.
- Elemental Mechanics: Players must navigate alternating zones of fire and water, where stepping into the wrong element triggers devastating damage or instant death. Mastering the mechanics of these zones is crucial for survival.
- Tank Busters: Tanks must manage periodic heavy-hitting attacks that can wipe the party if mishandled. Proper mitigation rotation and communication are essential.
- Raid-Wide Damage: Healers need to preemptively position and react quickly to heal AoE surges that occur periodically, balancing group-wide health while avoiding hazards.
Phase 2: Usurper of Frost
- Glacial Collapse: A massive AoE attack covers the arena in icy terrain, causing movement debuffs.
- Frostbound Chains: Players are tethered to teammates and must coordinate movement to avoid shattering.
- Chilling Winds: Periodic knockback effects push players towards the edges, making positioning crucial to survival.
- Slippery Platforms: This phase introduces ice-covered terrain, requiring players to manage their movement to avoid sliding into lethal traps.
- Freeze Debuffs: Party members can be afflicted with freeze debuffs that incapacitate them. Healers must prioritize cleansing these debuffs while managing consistent AoE damage.
- Add Management: DPS players must stagger their damage output to eliminate adds that spawn periodically, ensuring they don’t overwhelm the party.
- Positioning Challenges: Tanks must reposition the group strategically to avoid cleave attacks while maintaining aggro on multiple enemies.
Phase 3: Oracle of Darkness
- Void Sentinels: Dark entities appear and charge towards players, requiring quick target prioritization.
- Doom of the Realm: A countdown debuff applies to all players; failure to cleanse it results in instant death.
- Umbral Wave: A radial AoE pulses from the boss, forcing movement coordination across the arena.
- Debuff Coordination: Players must handle debuff mechanics that require precise positioning and teamwork. For example, tethers may demand that players either stack or spread to prevent overlapping damage.
- Complex AoE Patterns: This phase features layered AoE attacks, requiring constant movement and situational awareness from the entire party.
- Tank Swaps: Tanks must frequently swap roles to handle the Oracle’s enrage timer mechanics, ensuring neither tank is overwhelmed by damage or debuffs.
- Communication Is Key: Miscommunication can lead to catastrophic failures. A unified strategy and clear callouts are vital for success.
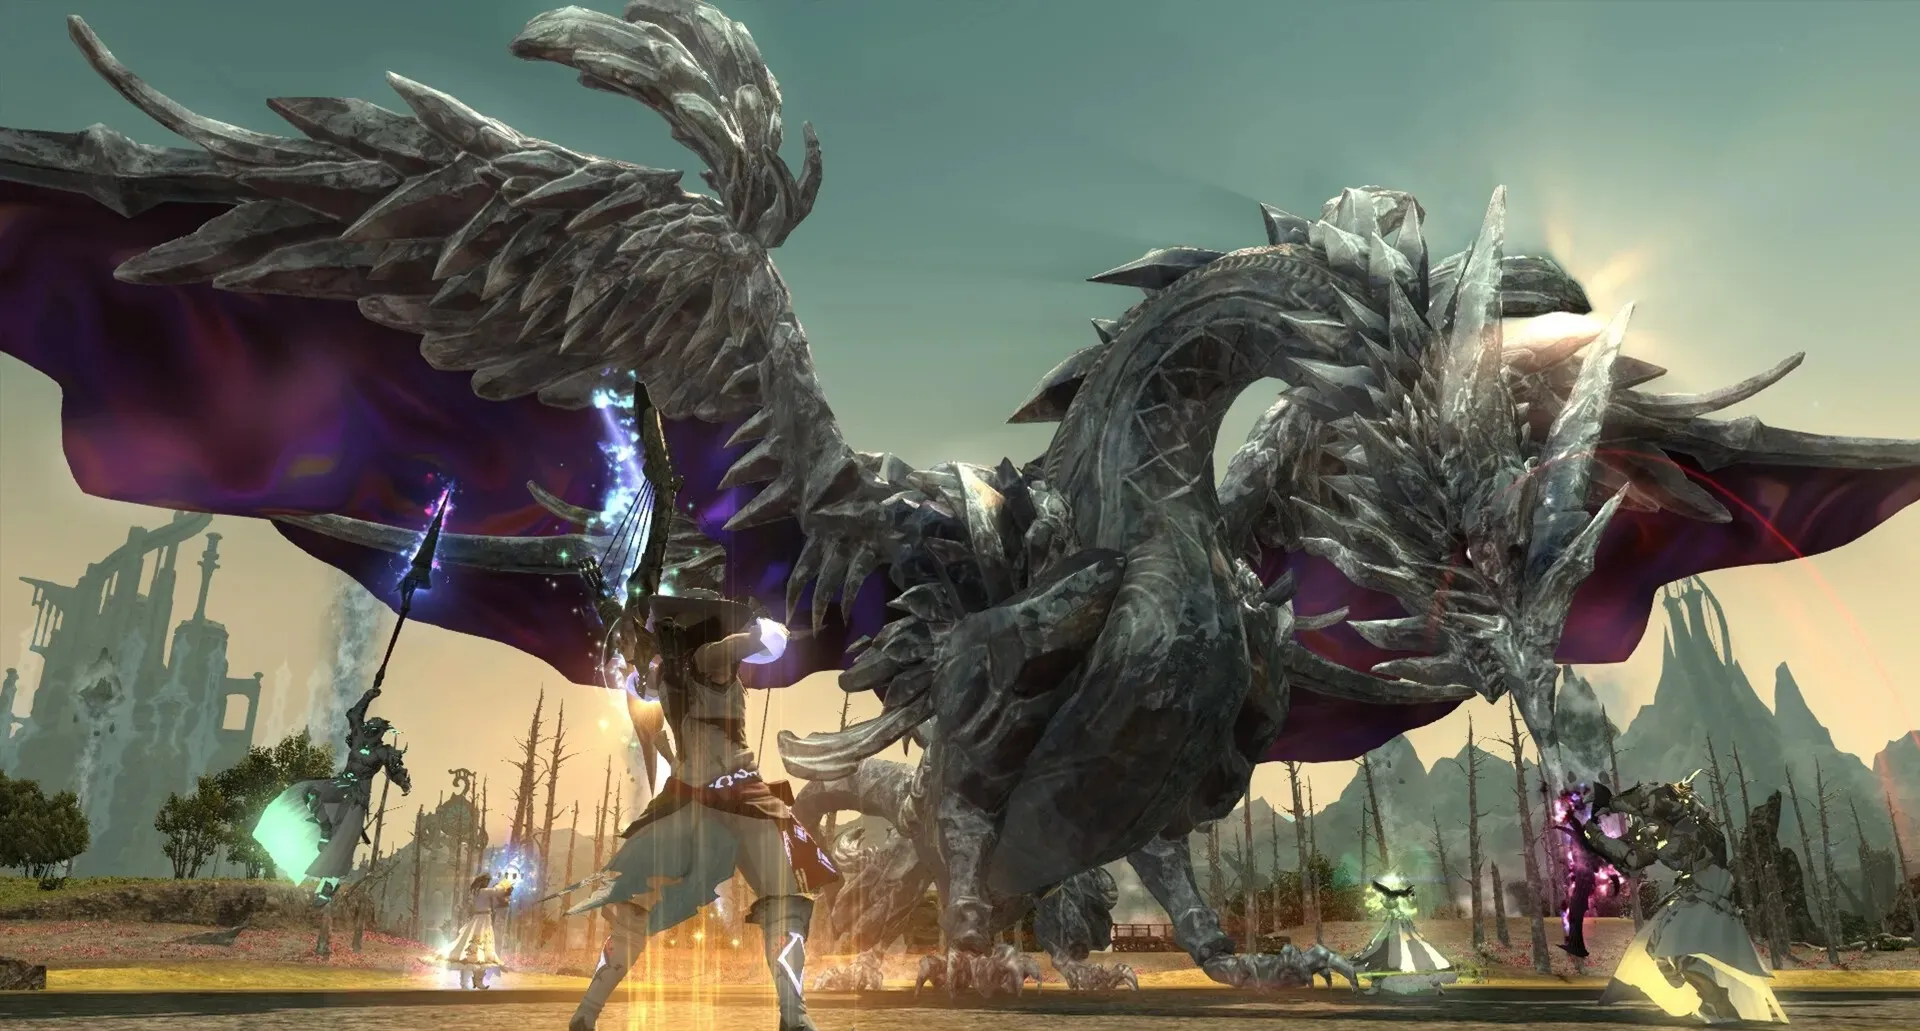
Phase 4: Enter the Dragon
- Draconic Fury: The boss enters an enraged state, increasing attack speed and ability frequency.
- Wingbeat Destruction: Wing attacks cleave specific quadrants of the battlefield, making correct positioning vital.
- Roar of the Ancients: A raid-wide unavoidable attack requiring synchronized mitigation cooldowns from tanks and healers.
- Mechanic Overlap: Mechanics from previous phases are combined in unpredictable ways. For instance, slippery platforms may coincide with AoE tether mechanics, creating high-pressure situations that test the party’s adaptability.
- Pre-Assigned Roles: Assigning specific roles to party members for mechanics can help mitigate chaos and ensure everyone knows their responsibilities.
- Cooldown Management: Effective use of tank and healer cooldowns is critical to surviving overlapping mechanics and raid-wide damage.
Phase 5: Pandora
- Oblivion Surge: Unleashes a stacking debuff that must be managed by alternating movement patterns.
- Reality Collapse: Warps the battlefield into an unstable realm where mechanics from previous phases are repeated randomly.
- Endless Torment: A final enrage timer forces all players to optimize damage output while dodging consecutive AoE attacks.
- Final Test: The ultimate phase combines all prior mechanics while introducing new challenges, such as randomized debuff spreads, high-speed AoE sequences, and a hard enrage timer.
- Constant Movement: Players must stay alert and constantly adjust their positioning to avoid overlapping mechanics and AoEs.
- Team Coordination: Success hinges on flawless execution and synchronized play. Any misstep can lead to a party wipe, especially as the enrage timer approaches.
- Endurance Challenge: This phase is a true test of stamina and focus, requiring every player to maintain peak performance until the end.
Mastering each of these phases will require practice, clear communication, and a solid understanding of mechanics. Teams that prepare thoroughly and remain adaptable will find themselves victorious in one of Final Fantasy XIV’s most challenging encounters.
Rewards
FRU offers exceptional rewards for those who conquer its challenges, making the raid one of the most prestigious in Final Fantasy XIV:

- Title: Completing FRU earns players the prestigious title Genesis of Legends, which signifies mastery over one of the toughest challenges in the game. This title not only serves as a badge of honor but also highlights the player's dedication and skill to the wider community.
- Ultimate Weapon: Upon successful completion, players are rewarded with an Oracle Totem. This rare currency can be exchanged at Uah'shepya in Solution Nine (X:8.6, Y:13.5) for an Ultimate Edenmorn weapon. These weapons not only boast superior stats but also feature intricate designs and glowing effects, making them highly coveted among collectors and competitive players alike.
- Achievements: Exclusive achievements are unlocked upon clearing FRU, offering unique rewards such as mounts, titles, or additional customization options. These achievements often serve as long-term bragging rights for players within the Final Fantasy XIV community.
- Loot Aesthetics: The weapons and gear obtained through FRU feature unmatched visual effects, including particle animations and glowing runes. These items are not only functional but also a statement of prestige, making them standout additions to your collection.
- Community Recognition: Successfully clearing FRU often earns players respect and recognition in the game’s community. Many groups actively seek out players with FRU experience for high-level content, further solidifying its value beyond the immediate rewards.
Preparation Tips
Tackling FRU requires meticulous preparation, as the raid pushes both individual and group performance to the limit. Below are expanded tips to ensure your success:
- Gear Optimization: Ensure every party member is equipped with best-in-slot (BiS) gear for their role. DPS should prioritize stats like Critical Hit and Direct Hit to maximize their damage output, while tanks should focus on Tenacity and Defense for durability. Healers must aim for a balance between Piety for mana sustainability and Spell Speed to handle high-pressure healing situations.
- Consumables: Stock up on high-quality consumables, including max-level food for stat boosts and tinctures for enhanced damage during burst phases. Ensure that every party member has enough items to last multiple attempts.
- Phase Familiarization: Study each phase thoroughly using available guides, video walkthroughs, and practice tools. Familiarity with mechanics will reduce trial-and-error downtime and improve your group's overall efficiency.
- Communication: Clear and consistent communication is vital. Use voice chat to call out mechanics, coordinate cooldown usage, and adjust strategies on the fly. Assign a raid leader to manage overall coordination and keep the group focused.
- Cooldown Management: Tanks and healers must coordinate their defensive cooldowns to mitigate spike damage effectively. DPS players should plan their burst windows for priority targets, ensuring adds are eliminated quickly without disrupting the group’s rhythm.
- Practice Roles and Assignments: Clearly define roles for each party member before entering the raid. Assign individuals to handle specific mechanics, such as soaking AoEs, managing tether mechanics, or positioning for adds, to minimize confusion during the encounter.
- Mock Runs: If possible, run mock trials in similar content to practice movement and mechanics. Savage-tier raids or training dummies can help players refine their rotations and test their response to high-pressure situations.
- Mental Preparation: FRU is a long and demanding raid. Encourage your group to take breaks when necessary to avoid burnout. Staying focused and maintaining morale will significantly impact your success.
Conclusion
Futures Rewritten Ultimate is a raid that embodies the pinnacle of teamwork, preparation, and skill. Every phase is designed to test the limits of coordination and adaptability, rewarding players who put in the effort with unparalleled prestige and recognition.
Success in FRU isn’t just about defeating the bosses—it’s about mastering the mechanics, building synergy with your party, and achieving one of the most challenging feats in Final Fantasy XIV. With the right preparation, determination, and teamwork, you can conquer FRU and cement your place among Eorzea’s legends. Gear up, strategize, and embrace the challenge—your ultimate victory awaits!
FAQ
A standard composition consists of two tanks, two healers, and four DPS (a mix of melee and ranged) to balance survivability and damage.
FRU consists of five phases: Fatebreaker, Usurper of Frost, Oracle of Darkness, Enter the Dragon, and Pandora. Each phase introduces unique mechanics that build upon previous challenges.
Change Log
- 18.02.2025 - Final Fantasy XIV: FRU Guide published.

