Final Fantasy XIV:Jeuno the First Walk Guide
The Echoes of Vana’diel Alliance Raid introduces Jeuno: The First Walk, the first major 24-player raid in the Dawntrail expansion of Final Fantasy XIV. Drawing from Final Fantasy XI, this raid brings classic vibes with fresh challenges — tough bosses, complex mechanics, and top-tier loot!
This guide provides a step-by-step walkthrough of Jeuno: The First Walk raid, covering how to unlock the raid, boss strategies, notable mechanics, and rewards.
How to Unlock Jeuno: The First Walk Raid
Raid Type: 24-player Raid
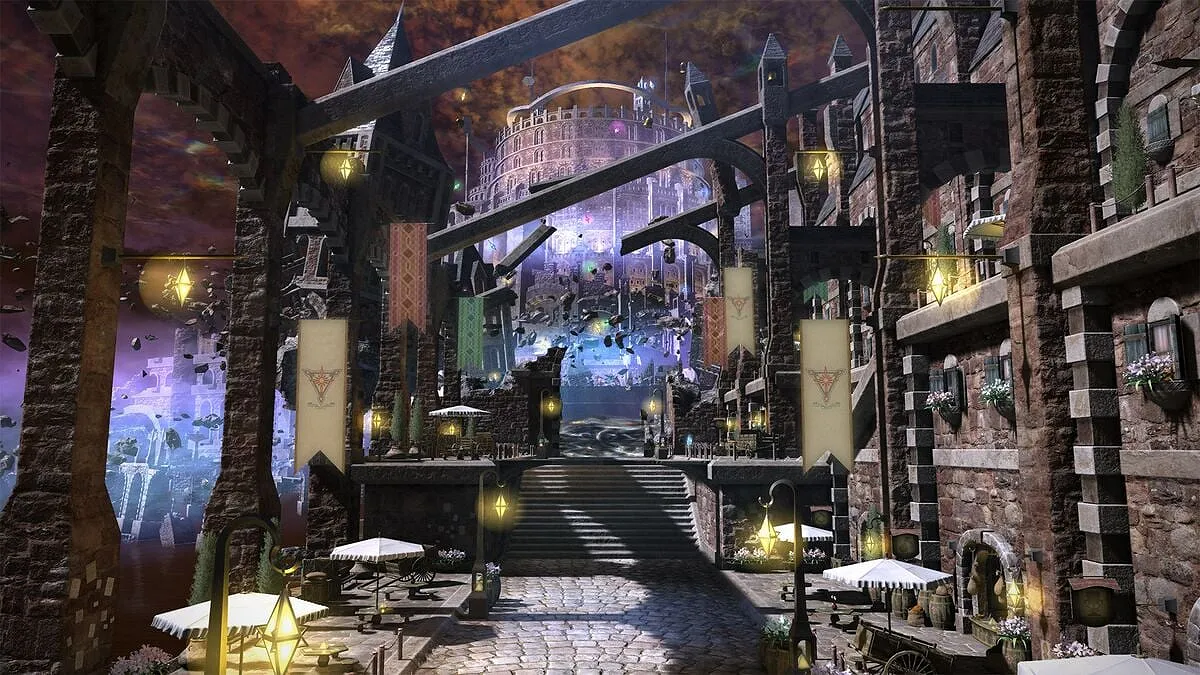
To gain access to Jeuno: The First Walk, you must:
- Complete the Dawntrail Main Scenario Quests
- Speak with the Hoobigo Messenger at Tuliyollal (X:13.0, Y:11.6)
- Accept and complete the quest “An Otherworldly Encounter”
To access Jeuno: The First Walk, players must meet the following requirements.
Requirements:
Level: 100
Minimum Item Level: 695
Party Composition: Three Alliances, each with 1 Tank, 2 Healers, and 5 DPS
Once unlocked, the raid can be accessed via the Duty Finder under the 24-player Alliance Raid category.
Clear raids, level faster, and unlock top-tier rewards with ease.
Jeuno: The First Walk Raid Bosses Overview
The raid consists of four boss encounters, each presenting unique mechanics and challenges. Players must clear waves of enemies between fights before progressing to the next area.
| Boss | Mechanics |
|---|---|
| Prishe of the Distant Chains | Knockback attacks, AoE patterns, and positioning-based mechanics. |
| Fafnir the Forgotten | Environmental hazards, cone AoEs, and movement-based attacks. |
| Ark Angels | Multi-boss council fight with coordinated AoEs and shared health mechanics. |
| Shadow Lord | Memory-based mechanics, clones, and high-damage AoEs. |
Arena Layout:
- The arena consists of multiple platforms, with gaps in between.
- Falling off the platform results in instant death, requiring careful movement.
- Certain mechanics force movement, so be aware of safe positioning before dodging.
The key to success in Jeuno: The First Walk is proper positioning, movement awareness, and quick reaction to mechanics.
Boss 1: Prishe of the Distant Chains
Prishe of the Distant Chains is a fast-paced and highly mobile boss that requires quick reactions, precise positioning, and coordinated teamwork. This encounter introduces stacking AoEs, knockback attacks, and complex avoidance mechanics.
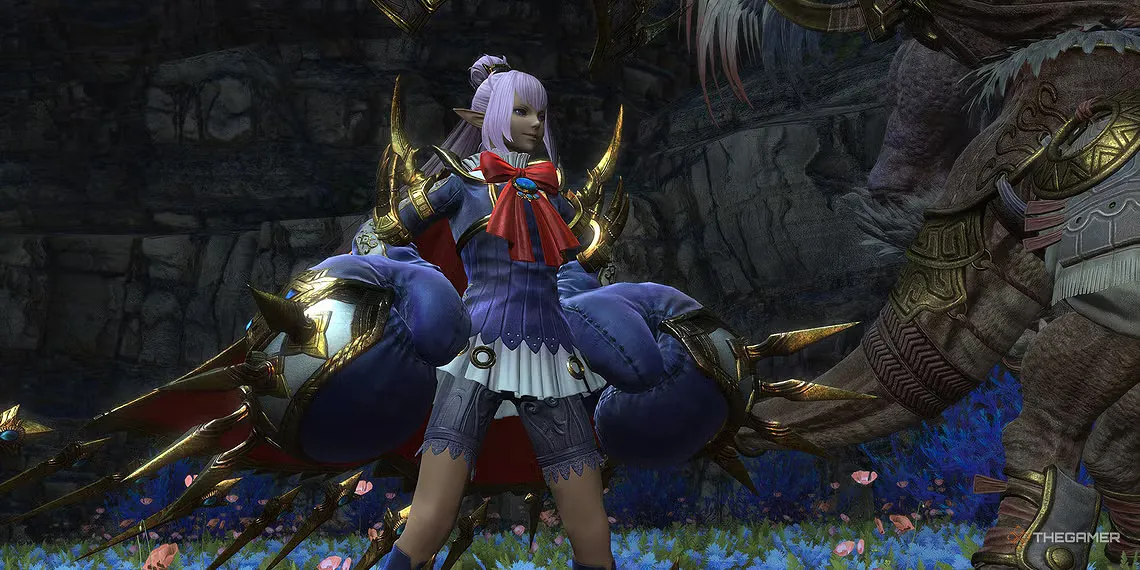
If you don’t dodge Prishe’s attacks right, expect heavy raid damage, knockbacks off the platform, or instant death. Learn her attack patterns to survive!
Mechanics Prishe of the Distant Chains
| Mechanic | Effect | How to Counter It |
|---|---|---|
| Banishga | Raid-wide magical AoE damage. | Mitigate and heal through it. |
| Knuckle Sandwich | Prishe jumps to the center and charges her fist, creating three rings. She swings a number of times, determining which rings will be hit. | Count the swings and move into the first ring hit immediately after the attack resolves. |
| Nullifying Dropkick | A physical tank buster that requires three players to stack with the tank. | Tanks should mitigate; two additional players should soak damage. |
| Banish Storm | Summons staves with arrow indicators. These create moving circle AoEs in the arrow's direction. | Identify the movement pattern and adjust your position accordingly. |
| Holy | Several players are marked for small circle AoEs. Also applies Light Resistance Down. | Spread out to avoid overlapping AoEs. |
| Crystalline Thorns | Spawns thorns on the arena’s tiles, leaving only specific areas safe. | Stand in the safe tiles along the arena’s edges. |
| Auroral Uppercut | Prishe marks players with a distance indicator (only visible to them). The color of the ground indicates the knockback distance: Yellow (short), Orange (medium), Purple (long). | Position yourself to be knocked into a safe area. If unsure, being knocked into thorns is better than falling off the arena. |
| Banishga IV | Raid-wide magical damage followed by orbs spawning around the arena, exploding in sequence. | Mitigate the initial hit, then identify whether explosions will happen inside-out or outside-in and move accordingly. |
| Asuran Fists | A multi-hit stack tower appears in the center. Deals physical damage eight times, with the last hit dealing the most. | All players should stack in the tower and use mitigation. |
Boss 1: Prishe of the Distant Chains – Strategy
Understanding Prishe’s Movements:
- At the start of the fight, observe her initial positioning and weapon stance.
- She telegraphs her major attacks through arm movements, making it possible to predict attack timing.
- She moves frequently, so adjust your positioning constantly.
Handling Knockbacks & Stacking AoEs:
- Watch for Auroral Uppercut - Knockbacks can send you off the platform if you're not careful.
- Use knockback resistance if needed, but always position yourself correctly to avoid unnecessary risks.
- Dodge Banishga IV explosions first, then reposition for follow-up mechanics.
Surviving the Multi-Hit Stack Attack:
- When Asuran Fists appears, group together immediately to reduce incoming damage.
- Tanks should be prepared to use defensive cooldowns, as Prishe follows this attack with a heavy-hitting combo.
Managing Debuffs & Chained Players:
- If you are tethered to another player, move closer to them immediately to prevent damage over time buildup.
- If you are marked for Binding Sigil, move away from the group to avoid splash damage.
Enrage & High-Speed Attacks:
- Prishe enters an enrage phase when her health drops below 15%.
- Expect non-stop attacks with minimal time to react—use mitigation cooldowns wisely.
- All DPS should use their strongest skills to finish the fight before the enrage timer hits.
Boss 2: Fafnir the Forgotten
Fafnir is a large dragon with powerful AoEs, knockbacks, and adds that must be dealt with quickly. His attacks depend on which part of his body glows, requiring players to react accordingly to avoid high damage.
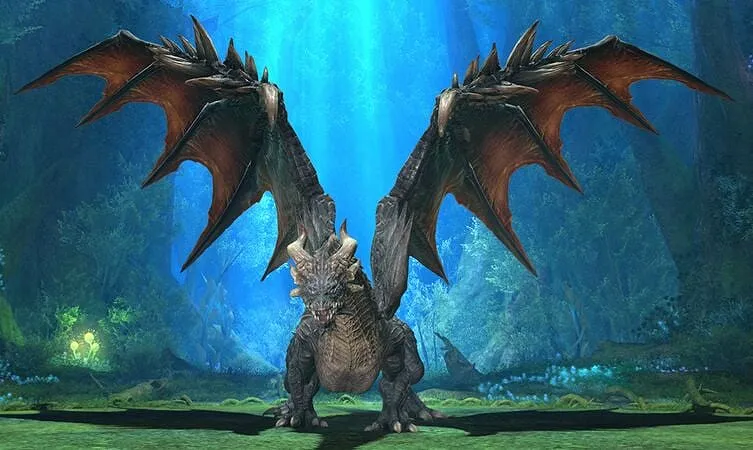
Mechanics Fafnir the Forgotten
| Mechanic | Effect | How to Counter It |
|---|---|---|
| Dark Matter Blast | Raid-wide magical AoE damage. | Mitigate and heal through the damage. |
| Offensive Posture | Fafnir’s body glows (tail, mouth, or claws), signaling its next attack. |
Tail glows - Move in front to avoid 270° cleave. Claws glow - Move away from boss to avoid point-blank AoE. Mouth glows - Stay inside hitbox to avoid donut AoE & fire puddle. |
| Baleful Breath | A line stack marker that hits multiple times. | Tanks stack together to share the damage. |
| Sharp Spike | A targeted tank buster on all three tanks. | Tanks should mitigate and healers must be ready. |
| Darters | Adds spawn and attack players with Pestilent Sphere. | Tanks should grab aggro immediately; DPS should kill them quickly. |
| Hurricane Wing | Ring AoEs appear on the edges and move inward; tornadoes spawn in the arena. | Move between AoEs while avoiding tornadoes. Large tornadoes = instant death. |
| Horrid Roar | Ground-targeted AoEs appear on random players. | Spread out to avoid overlapping damage. |
| Absolute Terror | A large line AoE or side-based AoEs depending on Fafnir’s posture. |
If mouth glows - Move to the sides. If wings glow - Stay in the center. |
Boss 2: Fafnir the Forgotten – Strategy
Recognizing Attack Cues:
- Watch Fafnir’s glowing body part to determine safe positioning.
- Stay in front to avoid a wide tail swipe.
- Move far away to avoid point-blank AoE.
- Stay inside the hitbox to avoid donut AoE.
Handling Adds & Tornadoes:
- Darters spawn - Tanks must pick them up immediately.
- DPS should prioritize adds to prevent overwhelming the raid.
- Hurricane Wing spawns tornadoes—stand near the center to avoid knockback into AoEs.
Surviving Heavy AoEs:
- Absolute Terror triggers AoE attacks based on glowing body parts.
- Identify the glow and move to the safe area before the attack lands.
- Dodge tornado paths and reposition quickly to avoid ground effects.
Final Phase - Enrage & Burst Damage:
- Fafnir enters a high-damage phase—expect rapid, heavy AoEs.
- Stack for healing and use mitigation cooldowns to survive.
- Burn him down quickly before enrage wipes the raid.
Fafnir’s fight requires quick reactions, add management, and proper positioning. By learning his glowing attack cues and handling adds efficiently, players can clear this phase smoothly.
Boss 3: Ark Angels – Multi-Boss
The Ark Angels encounter is a multi-target fight, requiring alliances to focus on their assigned Ark Angel while managing coordinated AoE attacks and interrupts. Failing to interrupt key abilities or mismanaging positioning can lead to instant wipes.
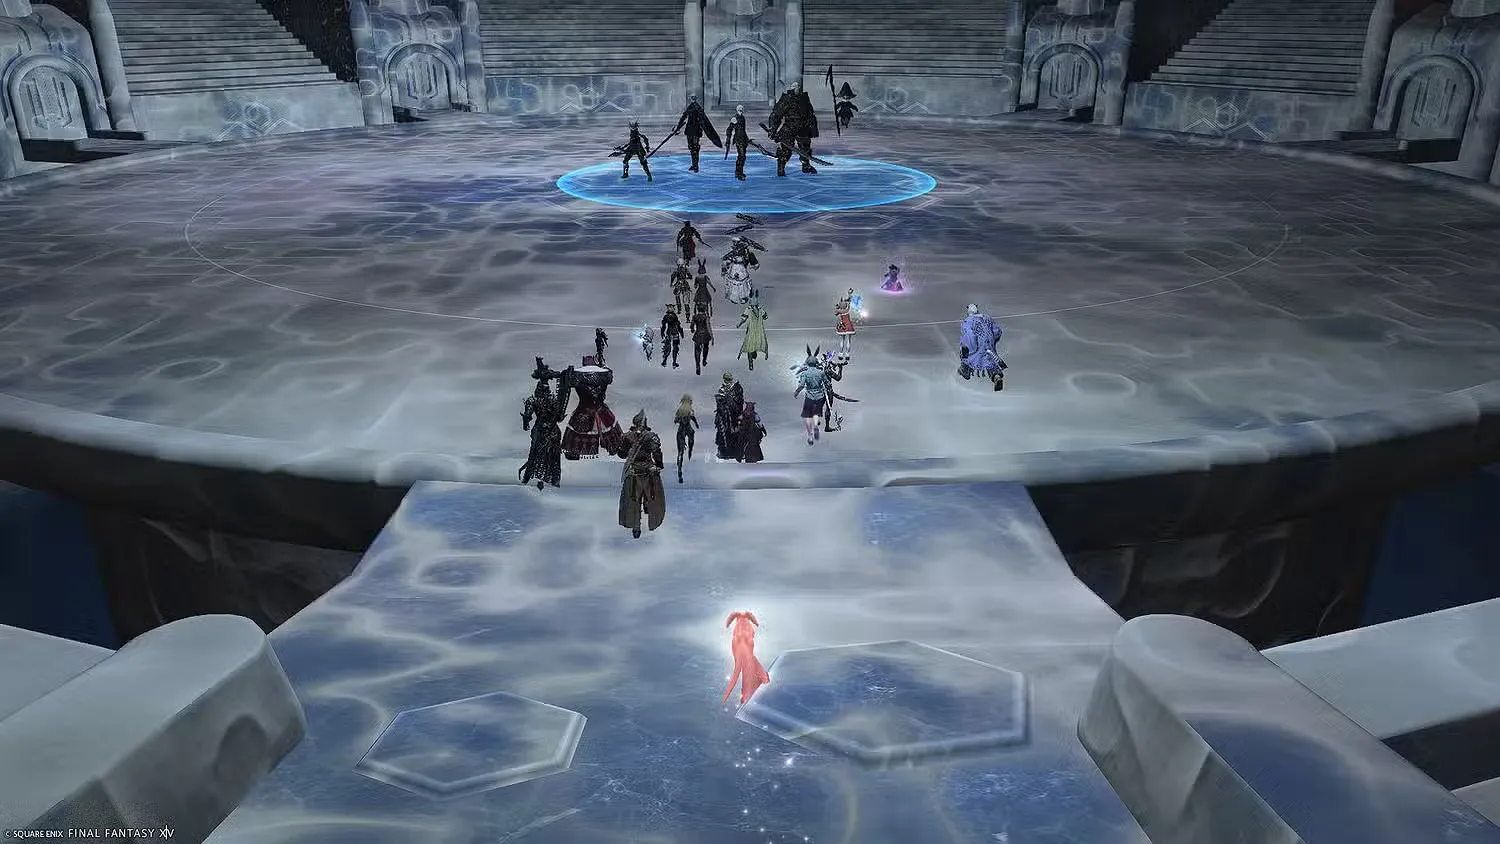
Mechanics Ark Angels
| Mechanic | Effect | How to Counter It |
|---|---|---|
| The Decisive Battle | Each alliance is tethered to a specific Ark Angel and cannot attack others. | Focus only on your assigned Ark Angel until phase transition. |
| Cloudsplitter | A large circular magical tank buster from Ark Angel MR. | Tank mitigation is required; healers be prepared. |
| Meikyo Shisui | Overlapping line AoEs + a gaze attack + expanding AoEs. | Dodge the line AoEs, look away from gaze, and move out of the expanding AoE. |
| Meteor | Raid-wide wipe mechanic if not interrupted (Ark Angel TT). | Tanks or Ranged DPS must interrupt immediately. |
| Havoc Spiral | Rotating conal AoEs ending in a knockback from the center. | Move with the rotation and use knockback resistance. |
| Dragonfall | Ark Angel GK jumps to marked players in a stack marker. | Group up to share damage safely. |
| Guillotine | The boss jumps to the edge and cleaves in a frontal cone. | Move behind the boss to avoid the cleave. |
| Utsusemi | Ark Angel HM summons clones that chase players with Mighty Slash. | Kite the clones away and avoid getting hit. |
| Dominion Slash | Raid-wide magical damage that leaves pulsing AoEs. | Mitigate and move out of lingering AoEs. |
| Cross Reaver | A large plus-shaped AoE. | Move to the diagonal safe spots. |
| Holy | Raid-wide magical damage. | Mitigate and heal through it. |
| Mijin Gakure | A massive explosion that will wipe the raid if not interrupted. | Break Ark Angel EV’s shield and interrupt the ability. |
| Rampage | The boss dashes across the arena and does a large AoE. | Move away from his path to avoid damage. |
| Arrogance Incarnate | A multi-hit stack marker on the group. | Stack together and mitigate. |
Boss 3: Ark Angels - Strategy
Individual Ark Angels:
- The Decisive Battle:
- Each alliance is tethered to a specific Ark Angel.
- Players cannot damage other Ark Angels until their own target is defeated.
- Focus only on your assigned boss before switching targets.
- Havoc Spiral (Rotating Conal AoEs):
- Each Ark Angel casts a series of conal AoEs that rotate in sequence.
- Players must move in sync with the rotation to stay in safe zones.
- Guillotine (Arena-Wide Cleave):
- The boss jumps to the edge and unleashes a massive cleave.
- Dodge behind the boss to avoid instant death.
Shared Mechanics Across All Ark Angels
- Meteor (Raid-Wide Wipe Mechanic):
- Uninterrupted, this ability wipes the raid.
- Tanks or Ranged DPS must use interrupts to stop the cast.
- If cast completes, everyone dies—prioritize stopping it.
- Mijin Gakure (One-Hit KO Attack):
- The Ark Angel casts a massive explosion that wipes the entire raid.
- Players must break a protective shield before the cast finishes.
- All DPS should focus the shield until it breaks to prevent the attack.
Final Coordination & Burn Phase
- Ark Angels gain a shared health pool after each individual boss is defeated.
- All alliances must coordinate AoE damage and mitigation.
- Avoid unnecessary movement—position strategically to dodge remaining AoEs.
- Tanks should rotate cooldowns as bosses become more aggressive.
- Final enrage activates if the Ark Angels are not defeated in time—DPS must burn them down quickly.
The Ark Angels fight requires precise coordination, proper positioning, and quick reaction times. Interrupting key mechanics and dodging rotating AoEs will ensure a smooth clear. Keep communication clear, prioritize interrupts, and focus on execution to defeat the Ark Angels.
Boss 4: Shadow Lord – Final Boss
The Shadow Lord is the final boss of Jeuno: The First Walk, featuring memory-based mechanics, shifting arena phases, high-damage AoEs, and clone attacks. Players must memorize safe zones, react quickly to shifting patterns, and manage multiple attack phases.
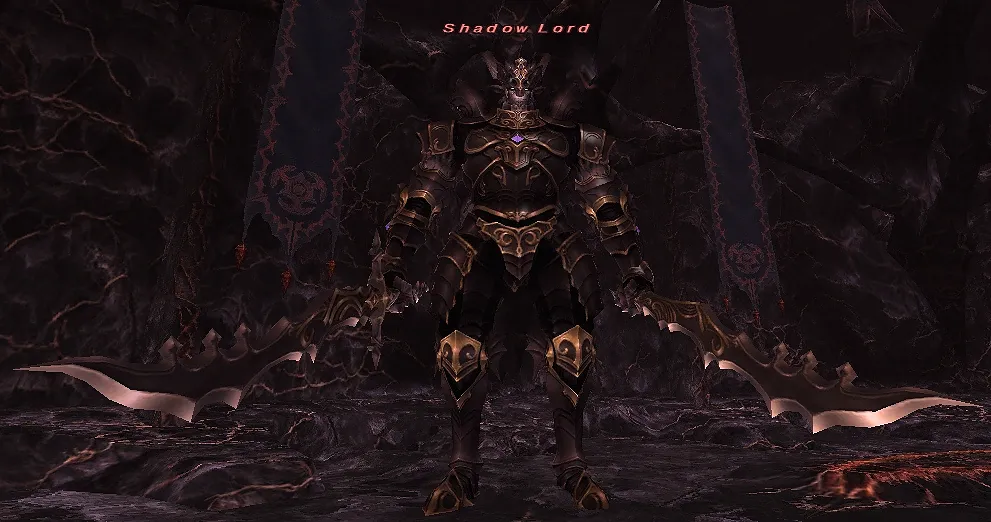
Mechanics Shadow Lord
| Mechanic | Effect | How to Counter It |
|---|---|---|
| Giga Slash | Wide cleaves appear in sequence across the arena. | Memorize the order and move into safe zones before each hit lands. |
| Umbra Smash | Successive line AoEs appear, followed by cascading rectangular AoEs. | Dodge the first set and reposition quickly to avoid the cascading patterns. |
| Flames of Hatred | Raid-wide magical damage. | Mitigate and heal up. |
| Implosion | One orb expands, triggering a point-blank AoE + an arena cleave. | Move to the side opposite of the orb to avoid both AoEs. |
| Cthonic Fury | Alters the arena layout, splitting it into four circles or resetting it. | Be ready to adapt to new movement restrictions. |
| Burning Moat | Circle or square AoEs appear, with arrows showing explosion direction. | Move opposite the arrow to dodge safely. |
| Dark Nebula | A knockback line attack. | Position yourself to be knocked into a safe area, or use knockback resistance. |
| Echoes of Agony | A multi-hit stack marker dealing heavy magical damage. | Stack up and mitigate. |
| Nightfall | Shadow Lord enters a powered-up phase and casts Tera Slash. | Prepare for heavy raid-wide damage and heal quickly. |
| Giga Slash: Nightfall | Three indicators appear before the attack resolves. | Memorize and move into safe zones accordingly. |
| Shadow Spawn | Spawns clones that copy Shadow Lord’s attacks. | Watch both the boss and clones to react to simultaneous attacks. |
| Unbridled Rage | A line tank buster hitting all three tanks. | Tanks must mitigate; non-tanks should move away. |
| Binding Sigil | Three sets of AoEs appear in order. | Stand in the last set, then move into the first after it explodes. |
| Damning Strikes | Three towers spawn that must be soaked by multiple players. | Assign groups to towers to prevent raid-wide damage. |
| Doom Arc | Heavy raid-wide damage with a bleed DoT. | Mitigate and heal through both effects. |
Final Boss Shadow Lord - Strategy
Pattern Recognition & Knockbacks:
- Giga Slash – Three wide slashes appear in order. Memorize safe zones and dodge in sequence.
- Cthonic Fury – Arena splits into four rotating sections. Track movement to stay in safe zones.
- Dark Nebula – Knockback with expanding shockwaves. Position near the center or use knockback immunity.
- Implosion – Expanding orb signals a massive explosion. Move to the opposite side.
Сlones & Expanding AoEs:
- Burning Moat – Sigil-based AoEs explode inside or outside based on arrow direction. Position accordingly.
- Shadow Spawn – Clones mimic Shadow Lord’s attacks. Watch which clone moves first to predict AoEs.
- Dark Nova – Raid-wide AoE with marked player explosions. Tanks stack, others spread out.
Nightfall & Enrage:
- Nightfall - Tera Slash – Increased attack speed & massive raid-wide damage. Mitigate & heal quickly.
- Giga Slash: Nightfall – Three slashes instead of two. Move fast to avoid tighter AoEs.
- Binding Sigil – Three AoE sets explode in sequence. Memorize and dodge into cleared areas.
- Doom Arc – Heavy raid-wide damage + Bleed. Healers must heal ASAP.
The Shadow Lord fight is about memory, positioning, and reaction speed. Players must track patterns, handle clone mechanics, and deal with an evolving battlefield.
Jeuno: The First Walk Rewards & Loot
Completing Jeuno: The First Walk rewards players with exclusive gear, minions, and crafting materials. These items can be used for upgrading equipment, glamours, and collectibles.
| Item | Type | How to Obtain |
|---|---|---|
| Ark Angel-Themed Armor Sets | Armor (Head, Chest, Gloves, Legs, Boots) | Dropped from final chest after defeating Shadow Lord. |
| Nano Lord Minion | Minion | Chance to drop from Shadow Lord. |
| Shadow Lord Card | Triple Triad Card | Rare drop from final boss. |
| Tattered Sheet Music | Orchestrion Roll | Exchangeable for raid soundtrack music. |
| Royal Damask | Crafting Material | Used for crafting high-end gear and furniture. |
Every player receives the following items once per weekly completion::
- 2 Cracked Novaclusters – Used for melding high-tier Materia.
- 1 Ordelle Coin – Exchangeable for augmenting raid gear.
Gear Exchange & Vendor Location
Where to Redeem Gear:
- Solution Nine (X:8.6, Y:13.5) – Trade Ordelle Coins for enhanced raid-tier equipment.
Gear Upgrade Process:
- Obtain Ark Angel-themed armor pieces from the raid.
- Use Ordelle Coins to augment gear at Solution Nine.
- Upgraded versions provide higher stats and better glamours.
Final Thoughts
Jeuno: The First Walk is an exciting raid that blends Final Fantasy XI nostalgia with challenging mechanics. Understanding boss abilities, movement strategies, and optimal positioning is key to successfully clearing the raid. For players looking to optimize their raid experience, consider checking out FFXIV Boosting Services to enhance progression and obtain high-end gear faster.
Change Log
- 19.02.2025 - Final Fantasy XIV:Jeuno the First Walk Guide published.

