The Cloud of Darkness Raid Guide
The Cloud of Darkness (Chaotic) raid in Final Fantasy XIV introduces an epic 24-player alliance battle against a highly empowered, level 100 version of the Cloud of Darkness. As one of the game's most challenging encounters, this raid demands flawless execution of mechanics, exceptional team coordination, and strong personal responsibility.
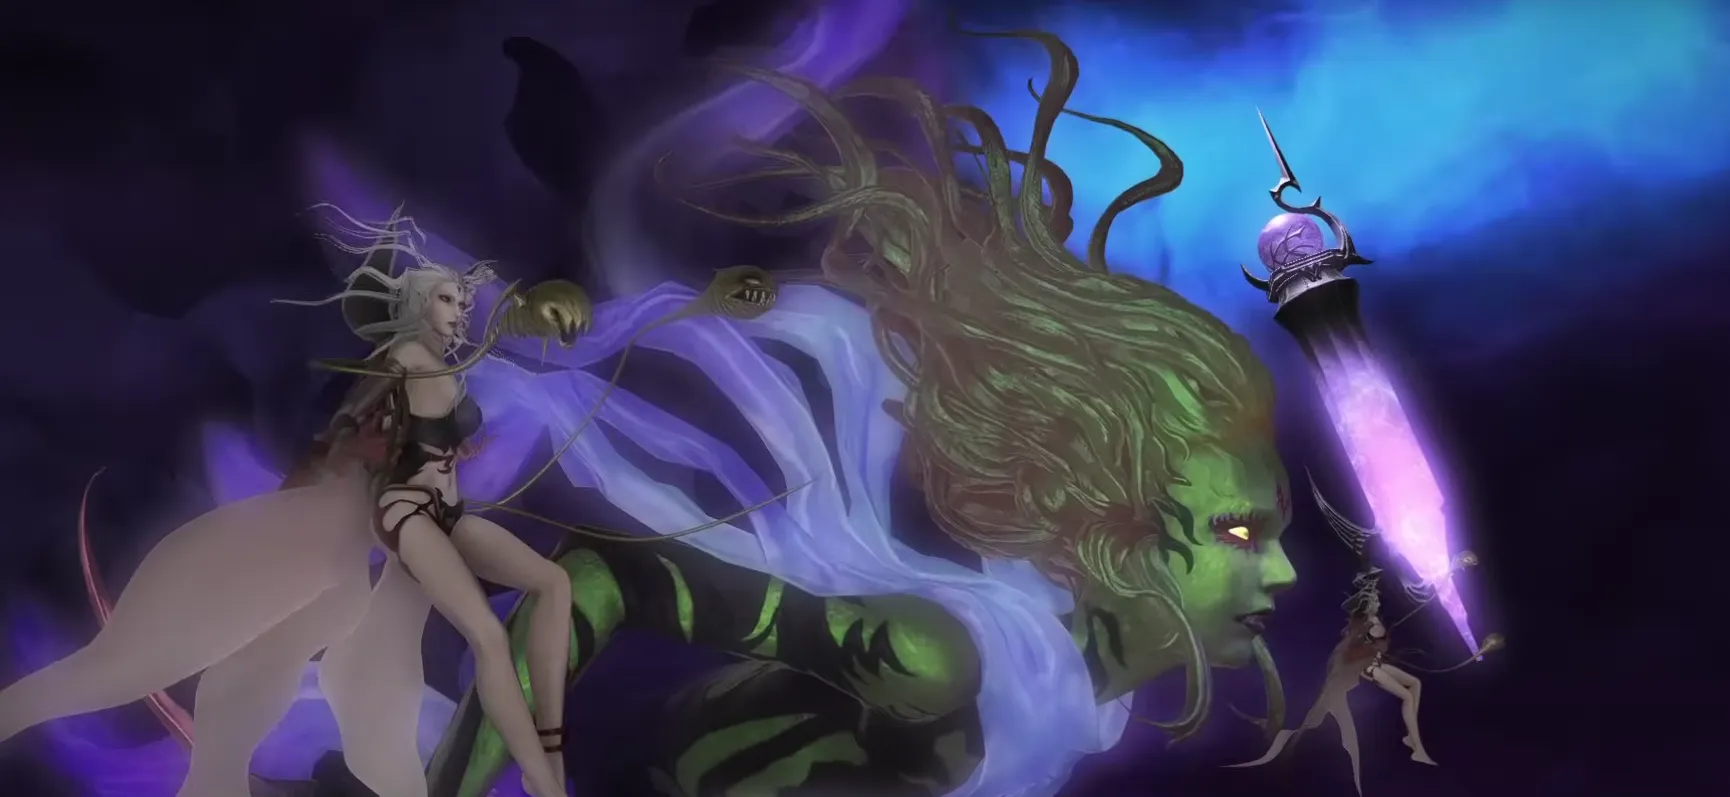
To conquer this raid, you’ll need to master tricky mechanics and work as a team to take down the darkness. The rewards are worth it: item level 730 gear, exclusive mounts, hairstyles, and more. This raid is a must for leveling up your game in FFXIV!
Overview of The Cloud of Darkness Raid
Raid Type: 24-player Alliance Raid
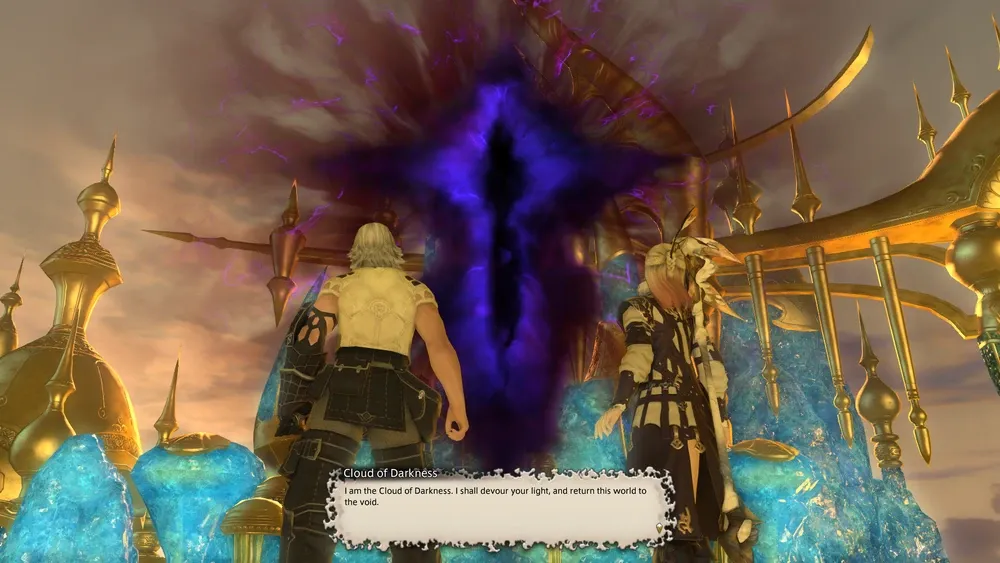
The Cloud of Darkness raid in Final Fantasy XIV is a revamped version of the classic World of Darkness. It cranks up the difficulty with new mechanics, pushing your team to stay sharp, adapt quickly, and work together under pressure.
Requirements:
Quest:To embark on this chaotic alliance raid, players must first
complete the level 100 main scenario quest "Dawntrail" to unlock access to
the World of Darkness.
Wandering Minstrel: After completing "Dawntrail,"
speak with the Wandering Minstrel in Tuliyollal to unlock the chaotic raid.
Minimum Item Level 710: Ensuring players are properly geared is
essential for surviving the increased difficulty and mechanics.
Clear raids, level faster, and unlock top-tier rewards with ease.
Raid Composition
The raid is split into three alliances, each consisting of 8 players. The ideal composition is:
| Alliance | Tanks | Healers | DPS | Tiles Phase Role |
|---|---|---|---|---|
| A-West | 2 | 2 | 4 | Assign one Healer and Tank to go with B in the Tiles phase |
| B-Middle | 2 | 2 | 4 | Choose starting quadrant for the Tiles phase |
| C-East | 2 | 2 | 4 | Assign one Healer and Tank to go with A in the Tiles phase |
A-West, B-Middle, C-East – Clear comms between alliances are key to winning. Spread DPS, healers, and tanks evenly in your group to keep things running smooth and efficient.
Preparation for the Cloud of Darkness Raid in FFXIV
The Cloud of Darkness (Chaotic) raid in Final Fantasy XIV requires good preparation, teamwork, and precise timing to defeat the level 100 Cloud of Darkness. Below, we’ve outlined the key role responsibilities, gear recommendations, and tips to ensure successful raid experience.
Roles and Responsibilities
| Role | Responsibilities |
|---|---|
|
|
|
|
|
|
|
|
|
Gear Recommendations
Aim for at least item level 710 to handle the fight smoothly. Higher gear boosts your damage and survivability, making mechanics less punishing.
Consumables:
- Food Buffs: Pick foods with Crit and Determination to boost your damage and healing.
- Potions: Use Strength or Intellect potions during key burst phases to push out max DPS when it matters most.
Phases and Mechanics in The Cloud of Darkness Raid
Phase 1: Initial Mechanics
Positioning Assignments:
- Alliance A (West), B (Middle), C (East).
- Split into light parties within each alliance for stack mechanics.
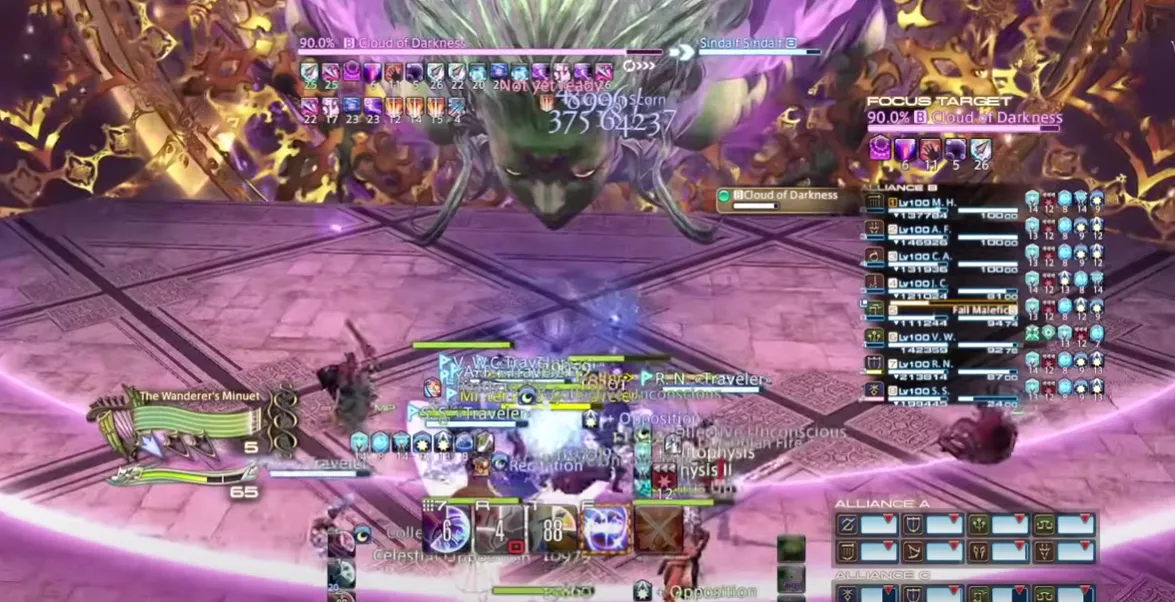
Mechanics and Strategy
Blade of Darkness:
- Boss arm AoEs are clearly marked — watch the signs and dodge fast! A forward attack indicates a point-blank AoE, while a raised arm indicates an AoE that you need to avoid. Be mindful of your positioning relative to the boss to avoid taking unnecessary damage.
- Tip: If the arm is raised, move to the sides to dodge.
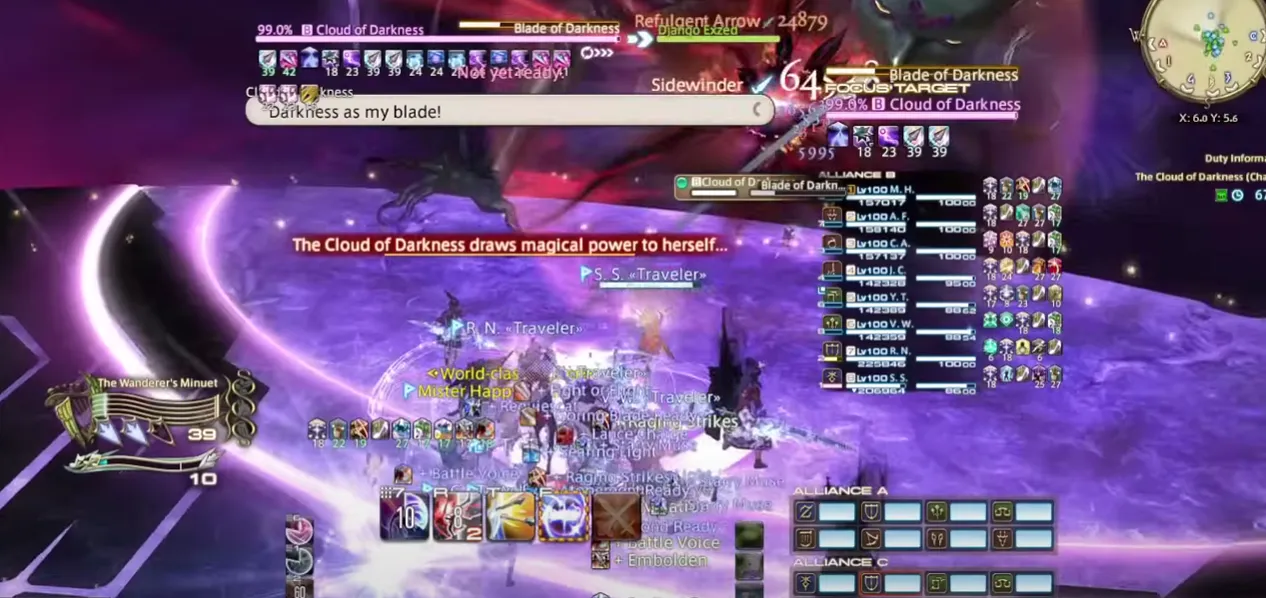
Grim Embrace:
- Visual cues will appear showing which way the boss’s hands will lunge. The hands can move forward or backward, and players need to aim the lunge away from others to avoid overlapping AoEs.
- Tip: Keep an eye on the boss’s hands and move accordingly to avoid clipping others with the AoE.
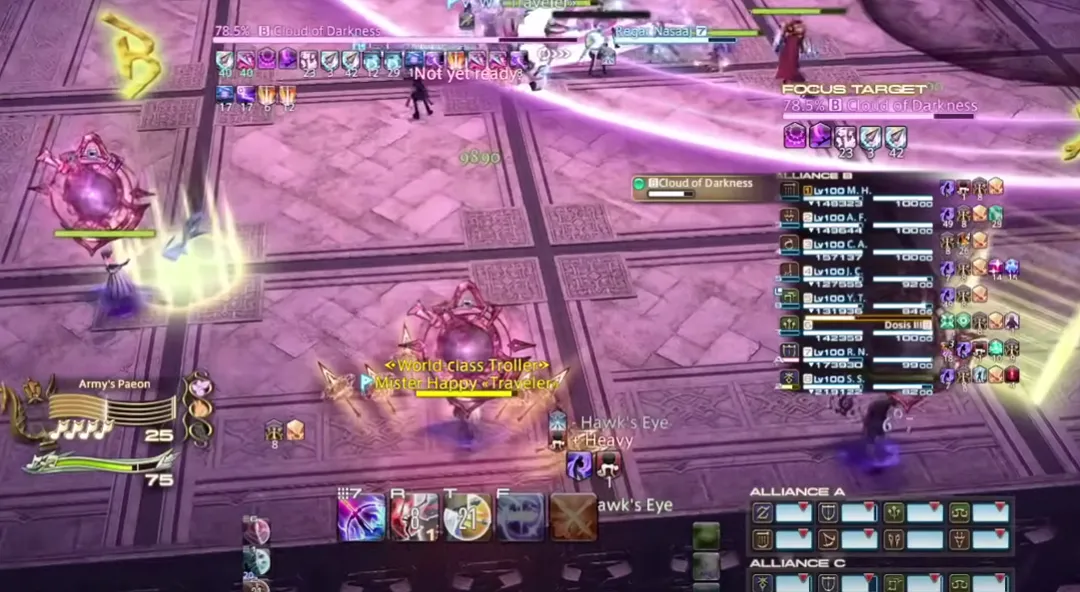
Flood of Darkness:
- A heavy raid-wide damage mechanic that applies a bleed effect to the party. Healers need to act quickly to mitigate the damage, and players must heal immediately to prevent additional stress on the raid.
- Tip: Pre-position healers near players who are likely to take the most damage for faster heals.
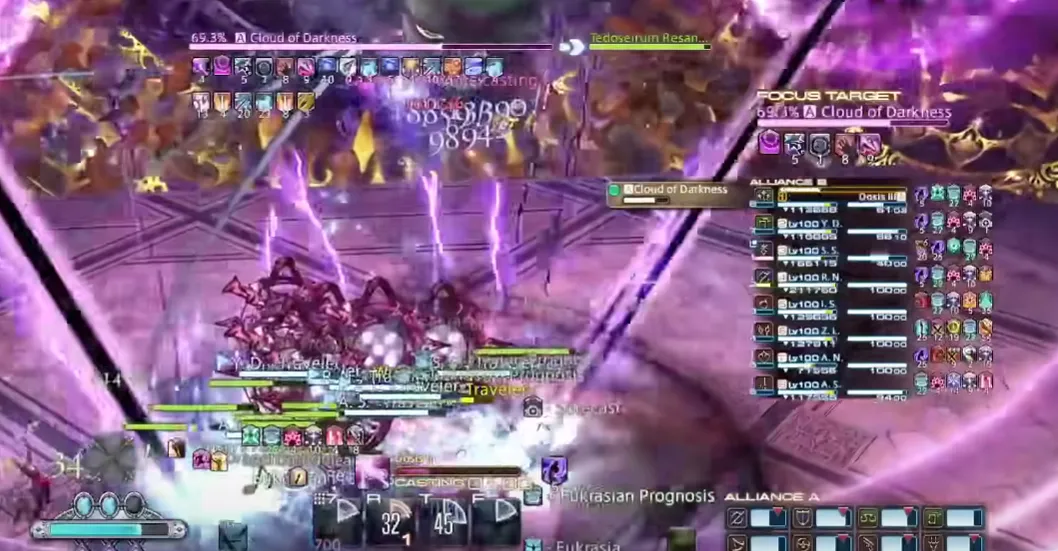
Phase 2: Arena Transformation
Arena Changes:
- The central tiles can only support one player at a time, while outer platforms will spawn Stygian Shadows that need to be dealt with immediately.
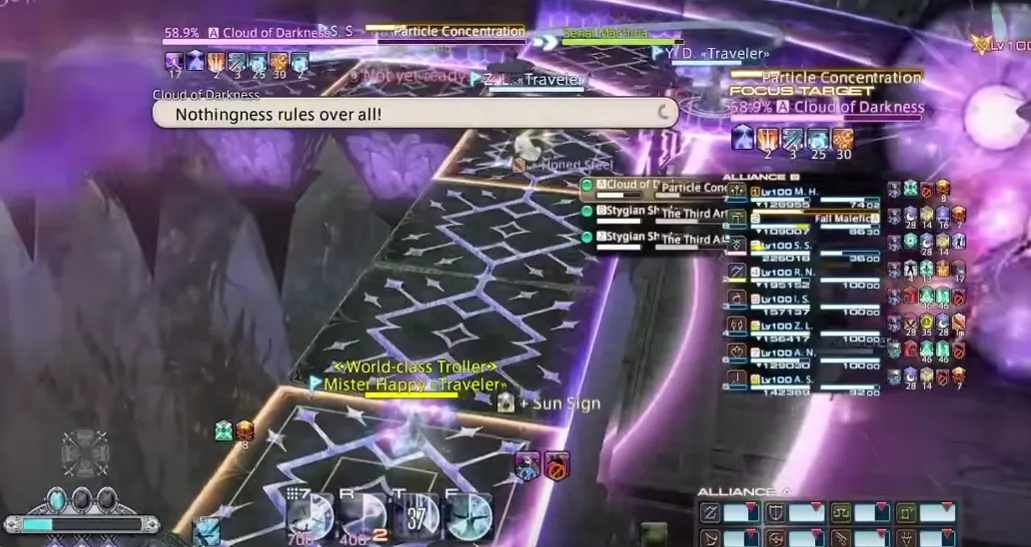
Mechanics and Strategy
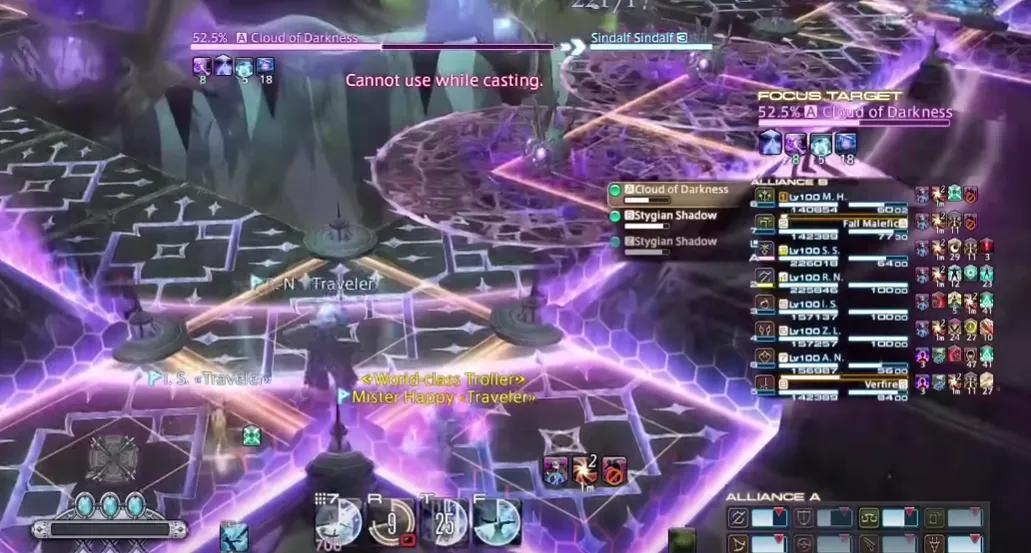
Ghastly Gloom:
-
A two-part AoE mechanic that involves:
- Donut AoE: Players must stand close to the boss to avoid taking damage from the outer ring.
- Cross AoE: Spread out to the safe corners to avoid being hit by the cross AoE.
- Tip: Always move to the safe zones immediately after the AoE telegraphs.
Curse of Darkness:
- Conal AoEs will activate when the Curse debuff expires. Players need to move toward the outer edges to avoid getting hit by the expanding AoE.
- Tip: After the debuff expires, move swiftly to the outer edge to avoid the conal AoE and not disrupt other players.
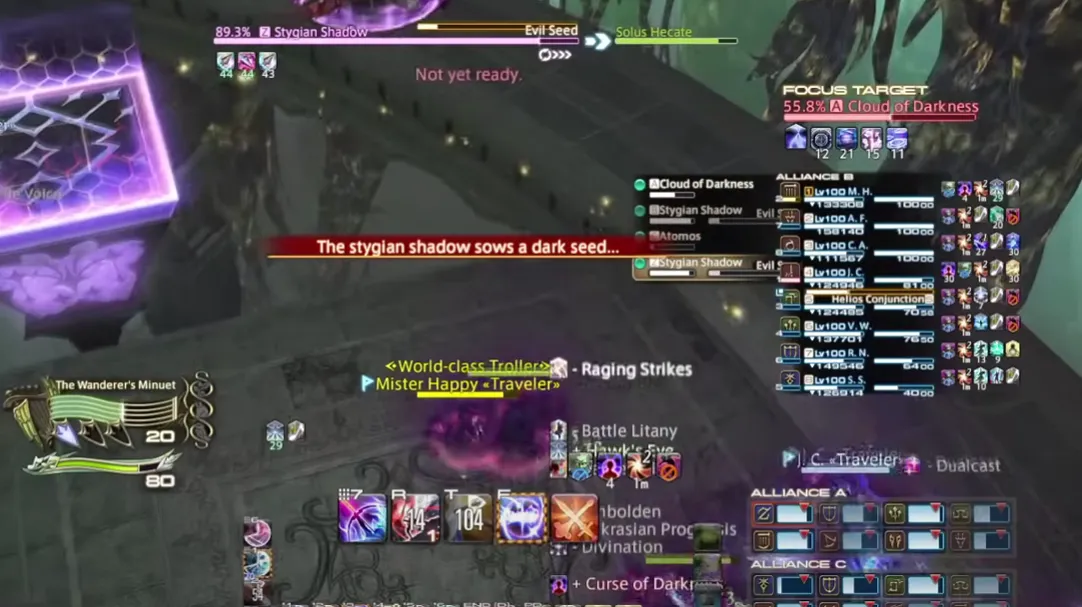
Thorny Vines:
- Tethered players will need to run toward each other to break the connection safely. Failing to do so will cause additional damage to the raid.
- Tip: Communicate with the player tethered to you to break the connection efficiently.
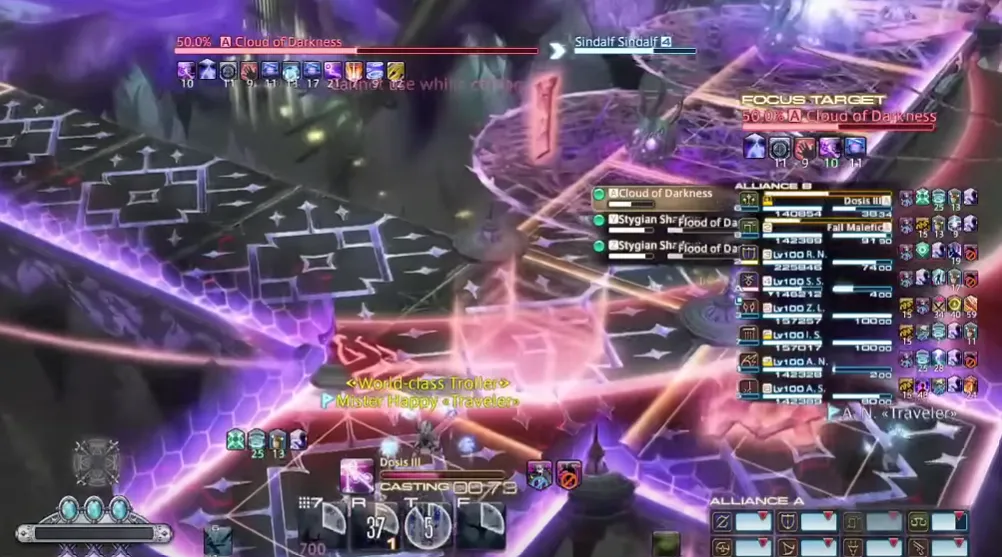
Looming Chaos:
- A mechanic where players must swap positions between the inside and outside tiles to avoid knockback from the mechanic. Coordination and awareness of your location are key.
- Tip: Practice moving quickly between zones during preparation to ensure a smooth transition.
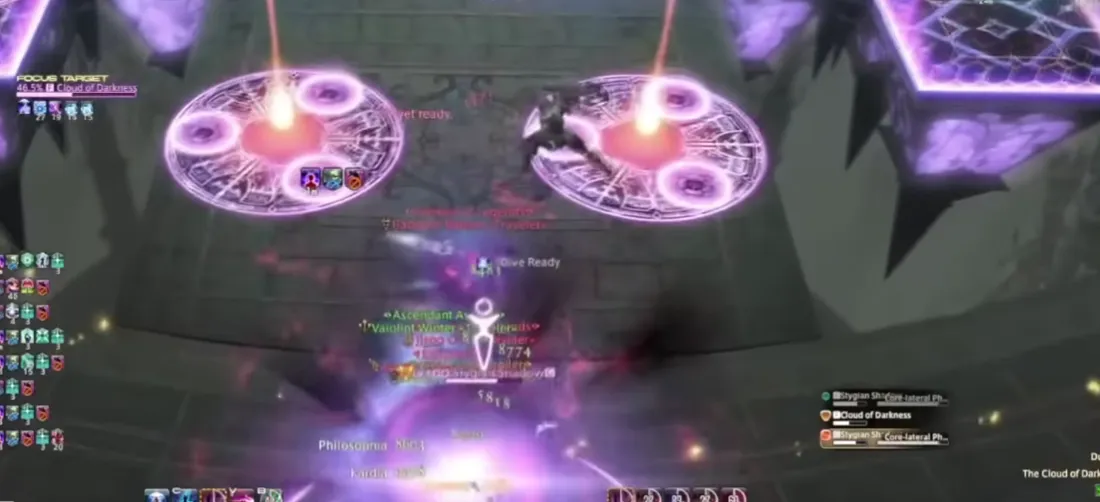
Final Phases
Important:
- As the raid progresses, the mechanics will become tighter, and timings will be more synchronized. Players need to stay vigilant and ready to adapt to the changing pace.
Mechanics and Strategy
Curse of Darkness:
- Multiple phases of conal AoEs that require players to track their debuff timers carefully to avoid overlapping damage.
- Tip: Always keep an eye on your timer and aim the cone away from other players to minimize damage and prevent wipes.

Third Art of Darkness:
- Half-platform AoEs or proximity-based paired mechanics, where players must stay aware of their positioning.
- Tip: Ensure baiters are positioned properly and that other players move away to avoid overlapping AoEs.
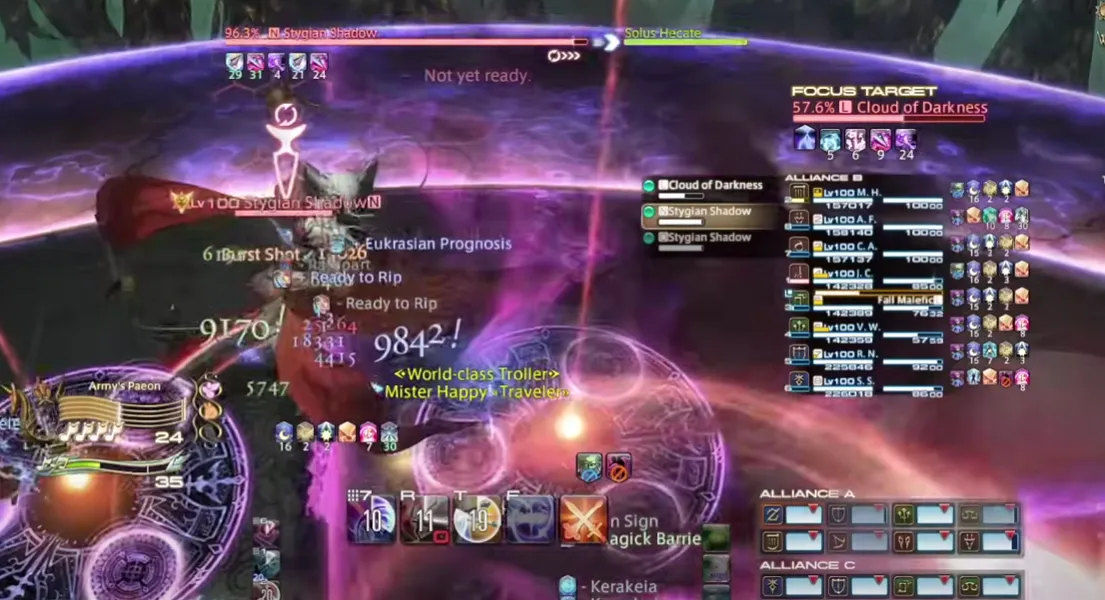
Particle Concentration:
- Towers will appear, requiring specific players to stand inside them. Players will be split into different towers based on their role.
- Tip: Make sure to assign roles clearly before the mechanic activates and ensure the right players are in the correct towers.
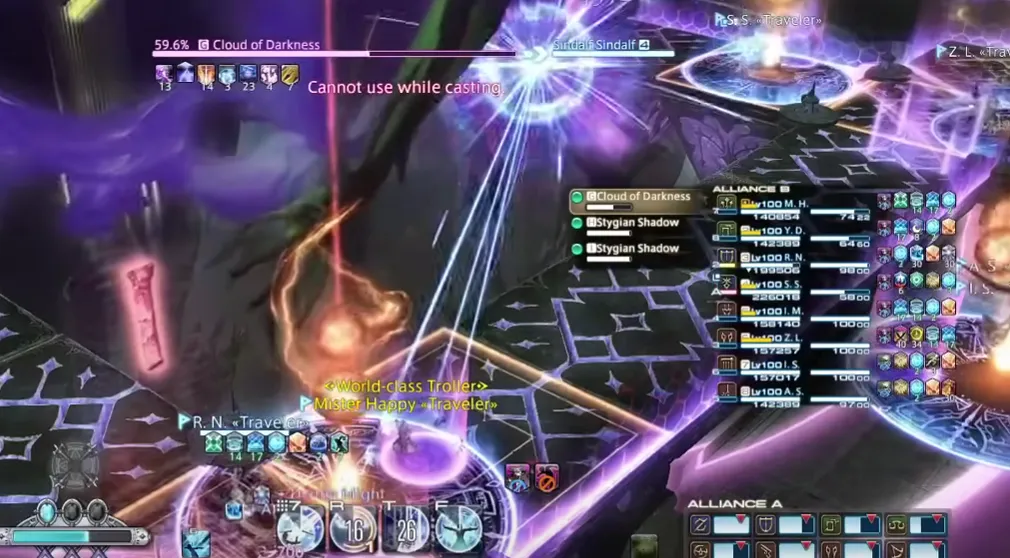
Feint Particle Beam:
- Players will be targeted by rotating AoEs that require clockwise movement to avoid damage. Any deaths can cause the AoE to retarget, leading to a wipe.
- Tip: Always follow the group’s clockwise movement and ensure no one gets caught by the rotating beams. Stay aware to avoid causing a wipe.
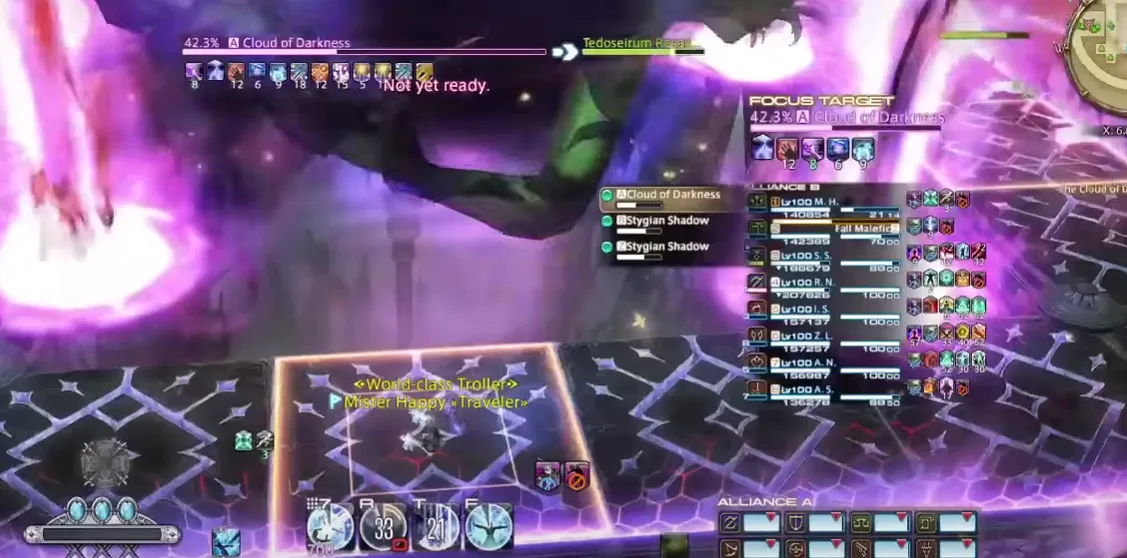
Dark Dominion:
- A raid-wide damage mechanic with a dangerous outer ring. Players need to avoid stepping into the outer ring to survive.
- Tip: Keep your position away from the outer ring, and make sure healers are ready to mitigate the raid-wide damage.
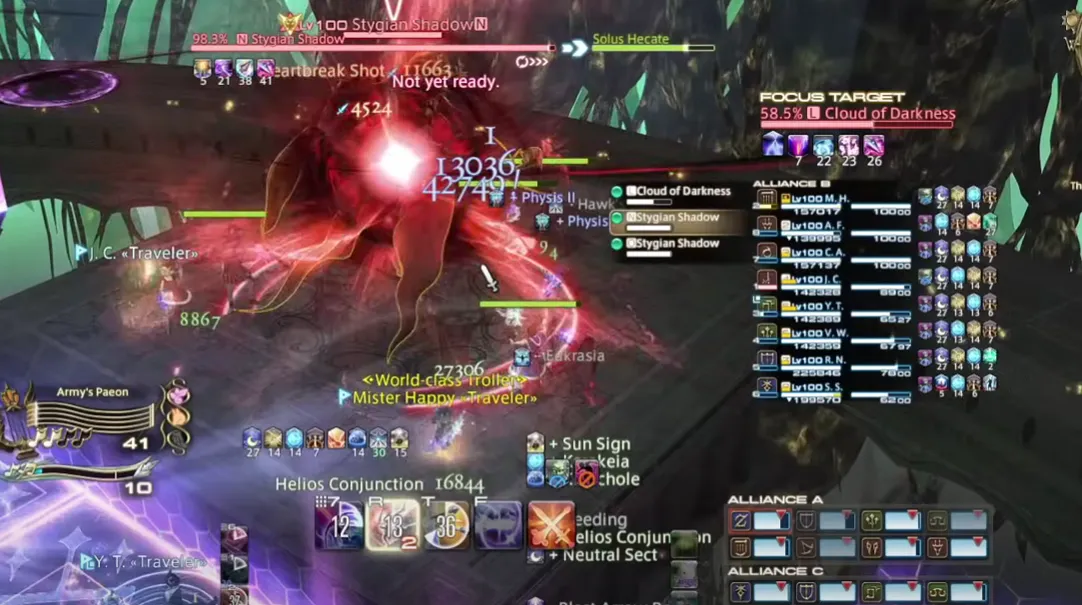
Enrage:
- The fight ends with the Flood of Darkness, dealing massive damage. If Cloud of Darkness isn’t defeated in time, the party will be wiped.
- Tip: Keep pushing DPS to ensure you clear the boss before the enrage mechanic triggers. Use mitigation cooldowns to survive the final push.
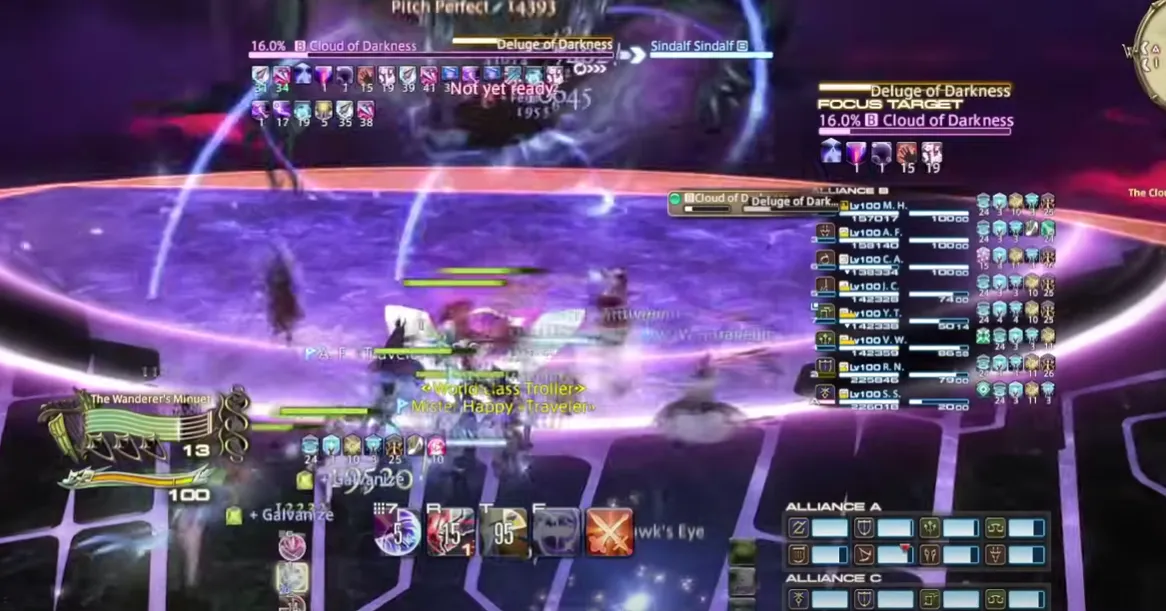
FFXIV Cloud of Darkness (Chaotic) Rewards Table
| Reward Type | Details | Notes |
|---|---|---|
| Clouddark Demimateria I |
|
Bonus tokens available if your data center has an active reward bonus (golden chest icon). Additional tokens are randomly distributed across players in each Alliance. |
| Clouddark Demimateria II |
|
Two extra tokens awarded for first-time completion per player. A full group of 24 first-timers can result in everyone earning 49 tokens. |
| Gear Coffers |
|
None. |
| Mounts/Hairstyle/Minion |
|
Minion cannot be purchased with Demimateria. |
Tips & Tricks for Cloud of Darkness Raid
To successfully tackle the Cloud of Darkness (Chaotic) raid, you’ll need solid communication, smart positioning, and strong coordination. Here are some tips to help your alliance succeed:
- Use Raid Markers: Assign safe zones and stacking positions to reduce confusion during complex mechanics.
- Proximity Mechanics: Know when to stack (for AoEs like Blade of Darkness) or spread (during Flood of Darkness).
- Tether & AoE: Position to avoid AoE overlaps and ensure safe execution of mechanics like Grim Embrace.
- Stack & Spread: Plan stack and spread mechanics in advance. Avoid AoE damage by being in the right position.
- Tile Movement: During Looming Chaos, assign players to move between tiles to avoid knockback.
Conclusion
The Cloud of Darkness (Chaotic) raid is a challenging but rewarding experience for players seeking high-level gear, unique collectibles, and a thrilling combat encounter. With no weekly loot lockout, you can practice mechanics, perfect your strategy, and farm rewards to your heart’s content.
Change Log
- 30.01.2025 - The Cloud of Darkness Raid Guide published.

