Possible Region Mismatch
It seems you're in a different region.
Switch to US (USD)
Switch to EU (EUR)
Cancel
8 April 2025 | Other games

The Division 2: Best Builds

The Division 2 offers a flexible build system where your performance depends less on raw gear score and more on how well your setup is tailored to the activity. With only two skill slots, a limited number of mod options, and dozens of gear combinations, choosing the right build matters, especially in high-difficulty PvE and competitive PvP.

Builds in The Division 2
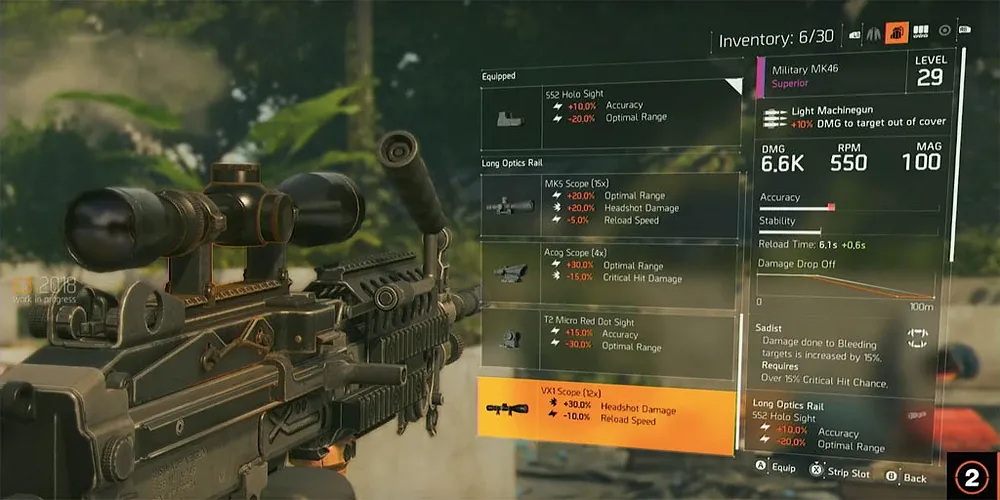
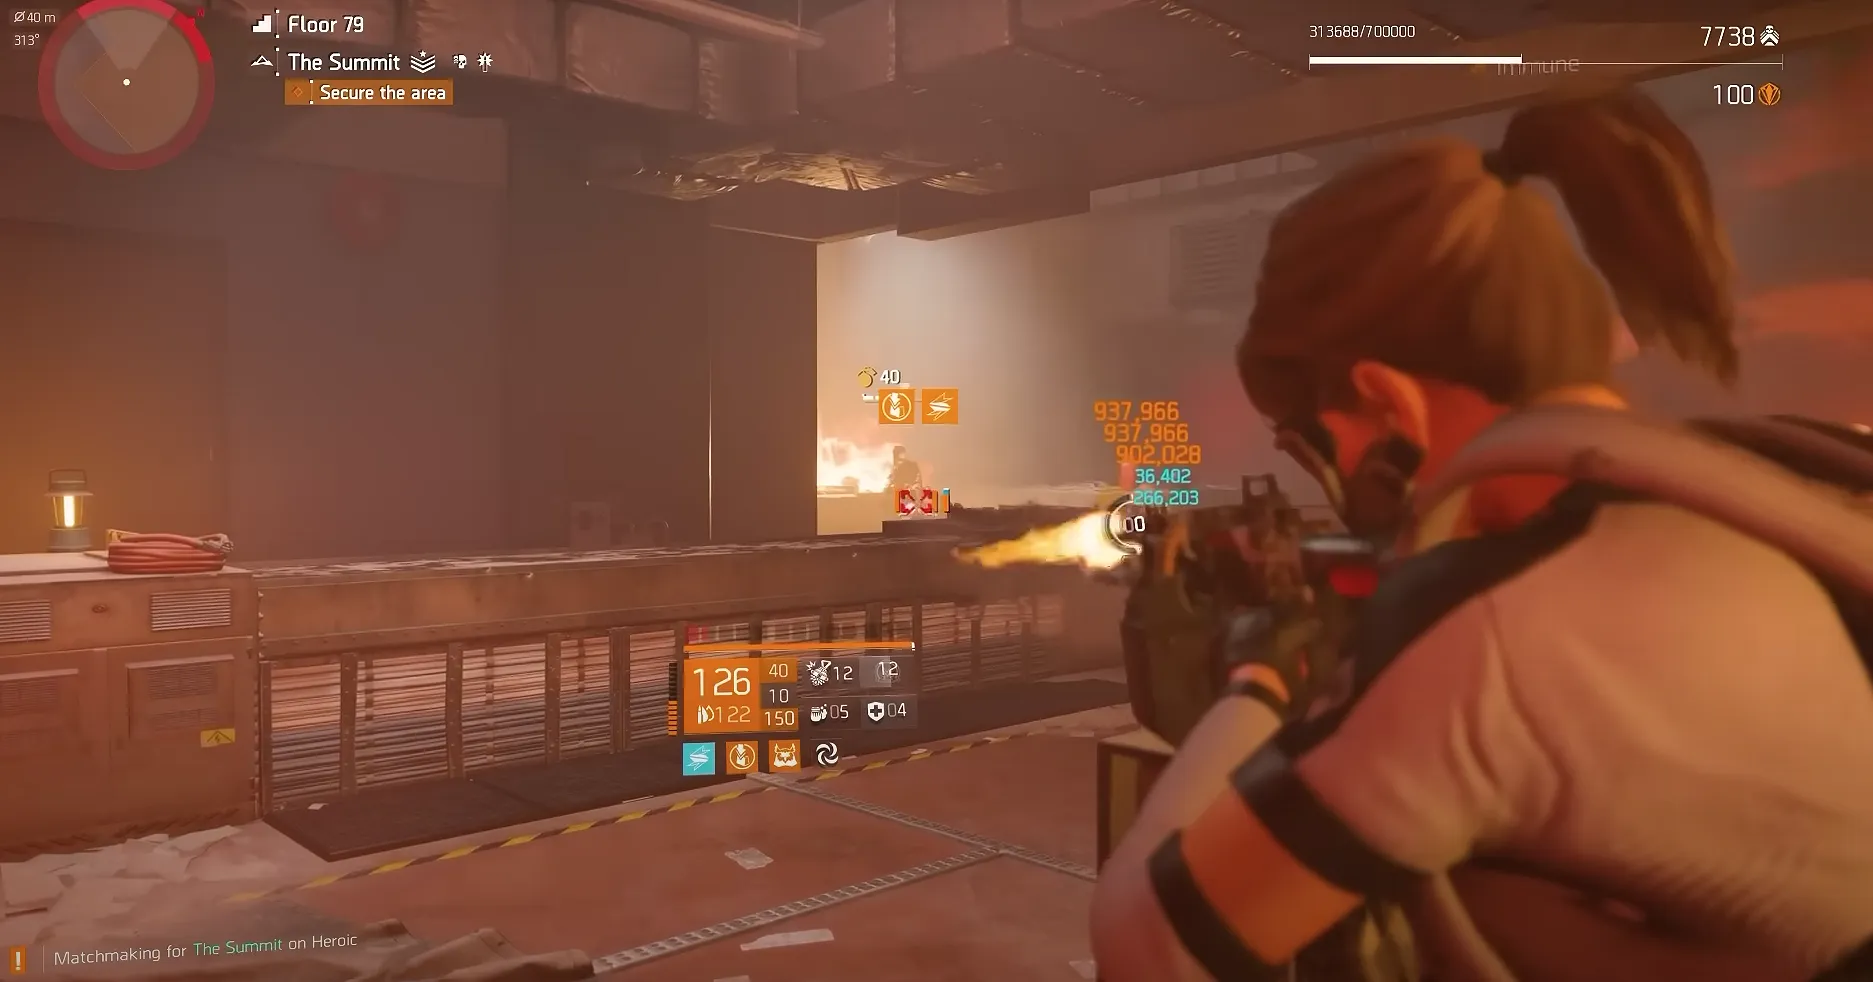
image of The Division 2 Builds
The Division 2 Builds

In The Division 2, a build refers to the complete setup of your character’s weapons, gear, skills, core attributes, and specialization. A build is essentially your custom loadout, and it's shaped by:

  • Weapons: Including up to three weapon slots: two primaries + one sidearm
  • Armor Pieces and Brand/Gear Sets: Core equipment defining defense and bonuses
  • Core Attributes: Like Weapon Damage, Armor, or Skill Tier
  • Gear Mods and Weapon Mods: E.g. damage gear mods, crit hit damage, skill haste gear mods
  • Skills: You can equip only two skill slots per build
  • Specialization: Providing a unique signature weapon, skill variants, and passives

This system allows for nearly endless combinations, making it possible to create loadouts that serve specific goals — from solo PvE survivability to raid-ready firepower or CC-heavy PvP builds.

The Division 2 Boosting
Get desired Raids and Obtain tons of Exotics!
Reviews ⭐ 5.0

Build Categories Explained

To help you navigate the diverse meta of The Division 2 in 2025, this guide organizes builds into four focused categories — each covering a distinct playstyle and purpose. Here's how the guide is structured:

  • Best PvE Builds: Loadouts tailored for open-world activities, missions, control points, and Legendary endgame content. These builds prioritize damage output, survivability, and efficiency in both solo and group play.
  • Best PvP Builds: Setups optimized for Conflict, Dark Zone skirmishes, and organized PvP fights. These builds focus on burst potential, sustain, mobility, and counterplay mechanics like crowd control or disruption resistance.
  • Best Striker / St. Elmo’s / Ouroboros Builds: Meta-defining builds built around specific exotic weapons or iconic gear sets. These are high-performance, fine-tuned setups using the most dominant tools available in Year 6, ideal for players chasing top-tier performance.
  • Best Raid Builds: Loadouts designed specifically for coordinated group content like Operation Iron Horse and Paradise Lost. Includes dedicated DPS, healer, and support roles built for tight team synergy, survivability, and execution under pressure.
image of The Division 2 Builds
The Division 2 Best builds

Best PvE The Division 2 Builds (2025)

Below are two of the most reliable and high-output Division 2 PvE builds in the 2025 meta, each designed to maximize weapon damage, consistency, and survivability across all difficulty levels.

Striker + St. Elmo’s Engine Build

  • Primary Role: High-Damage DPS
  • Main Weapons: St. Elmo’s Engine + LMG backup
  • Specialization: Gunner

This build combines St. Elmo’s Engine, one of the strongest exotic assault rifles in the current meta, with the Striker Gear Set, known for stacking multiplicative weapon damage. It’s designed to dominate long engagements by building up and maintaining Striker’s Momentum stacks, leading to consistent critical burst damage.

Component Configuration Details
Primary Weapon St. Elmo’s Engine – fast-firing exotic AR with excellent synergy for building stacks
Secondary Weapon GR9 LMG – with Frenzy or Fast Hands for sustained DPS
Specialization Gunner – boosts ammo sustain and gives access to the Crusader Shield
Mask Striker (Red Core) – rolled for Crit Chance or Crit Damage
Backpack Memento – delivers bonus damage, armor regen, and skill efficiency
Chest Piece Grupo, Ceska, or Fenris (Red Core) – ideally with Obliterate talent
Gloves Striker (Red Core) – optimized for Crit rolls
Holster Striker (Red Core) – stacked with Crit Chance or Damage
Kneepads Striker (Red Core) – same as above, focused on offense
Gear Mods Mix of Crit Chance and Crit Damage mods for maximum output
Skills Crusader Ballistic Shield + Reviver Hive – survivability and frontline pressure
  • Pros:
    • Extremely high sustained DPS
    • Memento adds utility and survivability
    • Scales well in both solo and group PvE
  • Cons:
    • Needs consistent combat uptime for full Striker stacks
    • No control or healing utility

Cap your Crit Chance at 60%, then focus entirely on Crit Damage gear mods and weapon damage rolls for optimal burst output.

Heartbreaker Assault Build

  • Primary Role: DPS with Bonus Armor and Target Lock
  • Main Weapons: Carbine 7 / FAMAS + Shotgun for stacks
  • Specialization: Technician

The Heartbreaker PvE build remains a top-tier choice for players who want a damage-heavy yet forgiving setup. Its bonus armor mechanic gives it surprising durability in chaotic fights, while the synergy between Flatline and Linked Laser Pointer makes it excellent at shredding enemies behind cover.

Component Configuration Details
Primary Weapon Carbine 7 / FAMAS / Police M4 – all with Flatline talent to amplify damage via pulses
Secondary Weapon ACS-12 – shotgun for rapidly building Heartbreaker stacks
Specialization Technician – unlocks Linked Laser Pointer for automatic pulsing
Mask Heartbreaker (Blue Core) – rolled with Crit Chance or Crit Damage
Backpack Heartbreaker (Blue Core) – supports stacking and survivability
Chest Piece Heartbreaker (Blue Core) – enhances armor regen effect
Gloves Contractor’s Gloves (Blue Core) – bonus LMG damage + Crit optimization
Holster Heartbreaker (Blue Core) – tuned for offensive rolls
Kneepads Fox’s Prayer (Blue Core) – additional weapon damage to targets out of cover
Gear Mods Prioritize Crit Chance and Crit Damage balance
Skills Crusader Ballistic Shield + Reviver Hive – essential for frontline sustainability
  • Pros:
    • Excellent survivability thanks to bonus armor
    • Reliable damage output in group and solo play
    • Effective in all PvE content types (especially Countdown & Legendary)
  • Cons:
    • Lower burst potential compared to Striker
    • Stack maintenance requires rhythm and close-range weapon swaps

Focus on landing headshots when possible — Flatline benefits heavily from consistent pulsing, and you'll maintain stacks longer while increasing skill efficiency with the Technician synergy.

Best PvP The Division 2 Builds (2025)

Let’s dive into the best Division 2 PvP builds — these are tuned for high-end Conflict and Dark Zone skirmishes, offering elite synergy, burst potential, and strong survivability. Each build focuses on meta weapons, optimized talents, and key stats like Crit Damage and Armor Regen to dominate in competitive environments.

Capacitor’s Ninja Build

  • Primary Role: Hybrid Crit DPS with mobility and energy sustain
  • Main Weapons: Capacitor + M870 Shotgun (Flatline)
  • Specialization: Technician

This Capacitor + NinjaBike PvP build offers strong mid-range power spikes, great crit uptime, and evasive play through the exotic backpack synergy. It’s ideal for skilled solo or duo players in Conflict or DZ skirmishes. The build rewards quick flanks, aggressive repositioning, and smart resource timing.

Component Configuration Details
Primary Weapon Capacitor – strong scaling via skill tier stacks + base damage
Secondary Weapon M870 Shotgun with Flatline + Linked Laser Pointer (for burst + pulsing)
Specialization Technician – grants Linked Laser Pointer for Flatline synergy and EMP options
Mask Brazos (Blue Core) – rolled with Crit Chance and Crit Damage
Backpack NinjaBike Messenger – exotic for movement utility and rapid positioning
Chest Piece Fenris, Grupo, or Ceska (Red Core) – rolled for Crits + Unbreakable talent
Gloves Contractor’s Gloves (Blue Core) – boosts AR damage and adds survivability
Holster Picaro’s Holster (Blue Core) – with Crit Chance or Crit Damage
Kneepads Ceska or Providence (Blue Core) – more crit stacking
Gear Mods Prioritize Crit Chance and Crit Damage balance
Skills Decoy (flanks/cover) + Stinger Hive or Seeker Mine for pressure/deterrence
  • Pros:
    • Great burst potential from capacitor scaling and crit stacking
    • NinjaBike mobility gives strong repositioning tools
    • Versatile in solo or duo playstyles
  • Cons:
    • No armor regen or sustain
    • Weak against extreme burst if caught exposed
    • Demands accurate tracking and high skill uptime

Iron Lung PvP Build

  • Primary Role: Tanky Suppression DPS with Self-Healing
  • Main Weapons: Iron Lung + RPK-74 (Unhinged or Fast Hands)
  • Specialization: Firewall

The Iron Lung PvP build is made for holding angles, applying pressure, and staying in the fight longer than your opponents. With Catharsis and Firewall’s self-healing, this build sustains through chip damage while dumping nonstop LMG rounds with massive uptime and anti-flank tools.

Component Configuration Details
Primary Weapon Capacitor – strong scaling via skill tier stacks + base damage
Secondary Weapon M870 Shotgun with Flatline + Linked Laser Pointer (for burst + pulsing)
Specialization Technician – grants Linked Laser Pointer for Flatline synergy and EMP options
Mask Brazos (Blue Core) – rolled with Crit Chance and Crit Damage
Backpack NinjaBike Messenger – exotic for movement utility and rapid positioning
Chest Piece Fenris, Grupo, or Ceska (Red Core) – rolled for Crits + Unbreakable talent
Gloves Contractor’s Gloves (Blue Core) – boosts AR damage and adds survivability
Holster Picaro’s Holster (Blue Core) – with Crit Chance or Crit Damage
Kneepads Ceska or Providence (Blue Core) – more crit stacking
Gear Mods Prioritize Crit Chance and Crit Damage balance
Skills Decoy (flanks/cover) + Stinger Hive or Seeker Mine for pressure/deterrence
  • Pros:
    • Built-in tankiness with Catharsis and Unbreakable
    • Shreds shields and frontlines with high LMG uptime
    • Punishes enemies who push you with bleed & sustained fire
  • Cons:
    • Lacks true burst or one-shot potential
    • High reliance on staying scoped/static to maximize uptime
    • Can get overwhelmed if flanked or blinded

Best Striker The Division 2 Builds (2025)

Striker remains one of the most dominant gear sets in The Division 2 thanks to its momentum-based stacking mechanic. With the right weapon pairing and specialization, Striker builds can melt enemies with overwhelming sustained damage. In 2025, players are leaning into St. Elmo’s Engine, LMGs, and shotgun hybrids to optimize both solo and group efficiency.

St. Elmo's Striker Build

This build combines St. Elmo’s Engine’s charge mechanic with the Striker gear set, enabling consistent crit-fueled pressure in Legendary missions. The Memento backpack provides scaling survivability and extra damage as you stack trophies.

  • Primary Role: Sustained DPS with Electro Synergy
  • Main Weapons: St. Elmo’s Engine + GR9 (Frenzy or Fast Hands)
  • Specialization: Gunner
Component Configuration Details
Primary Weapon St. Elmo’s Engine – Shock synergy and rapid charge
Secondary Weapon GR9 LMG – with Frenzy (burst sustain) or Fast Hands (reload cycling)
Specialization Gunner – great for ammo regen and armor on kill
Mask Striker (Red Core) – Crit rolls
Backpack Memento – scaling armor + weapon boost
Chest Ceska/Grupo/Fenris (Red Core) – Obliterate for crit ramping
Gloves Striker (Red Core) – offensive priority
Holster Striker (Red Core)
Kneepads Striker (Red Core)
Gear Mods Crit Chance & Crit Damage
Skills Crusader Shield + Reviver Hive
  • Pros:
    • High uptime thanks to LMG and Gunner synergy
    • Excellent for Legendary solo play
    • Scales well with crit-focused mods
  • Cons:
    • Less burst than Regulus/Heartbreaker combos
    • Requires frequent positioning to maintain St. Elmo stacks

Striker AR PvP Build

  • Primary Role: Stacking DPS with sustain
  • Main Weapons: Carbine 7 / FAMAS + M870 Shotgun
  • Specialization: Firewall or Gunner

This build is designed for aggressive PvP playstyles, excelling in close to mid-range encounters. By using fast ARs like the Carbine 7 or FAMAS and combining them with the Striker gear set’s stacking damage, you can keep up constant pressure on enemies. Paired with Unbreakable for clutch survival and Adrenaline Rush for bonus armor on kill, this setup is deadly in Conflict and DZ skirmishes.

Component Configuration Details
Primary Weapon Carbine 7 / FAMAS / Police M4 / Lexington – with Optimist, Measured, or Killer for raw damage
Secondary Weapon M870 Shotgun – with Optimist, used for fast burst or finishing enemies
Specialization Firewall (for shield burn resistance) or Gunner (for sustain and ammo regen)
Mask Striker (Blue Core) – rolled with Crit Chance or Crit Damage
Backpack Ceska / Grupo / Fenris (Red Core) – with Adrenaline Rush for bonus armor stacking
Chest Ceska / Grupo / Fenris (Red Core) – with Unbreakable for defensive clutch
Gloves Striker (Blue Core) – Crit rolled
Holster Striker (Blue Core) – Crit rolled
Kneepads Striker (Blue Core) – Crit rolled
Gear Mods Prioritize Crit Chance and Crit Damage
Skills Defender Drone + Decoy / Crusader Shield + Reviver Hive
  • Pros:
    • Excellent stack-based damage in PvP
    • Unbreakable allows comeback potential
    • Strong synergy with high RPM ARs
  • Cons:
    • Stack loss on death punishes mistakes
    • Weak against burst-heavy sniper builds
    • Requires awareness and shield management

Best St. Elmo’s The Division 2 Builds (2025)

St. Elmo’s Engine has quickly earned a reputation as the best-in-slot exotic assault rifle for high-end PvE and PvP. With its shock rounds and easy charge mechanics, it's perfect for builds that focus on speed, burst, and crowd control. When combined with synergistic sets like Striker or Hunter’s Fury, it unlocks some of the most explosive DPS combinations currently available in Year 6. These builds are ideal for players who want fast-paced combat and skill-integrated gunplay.

St. Elmo’s Classic AR Build

  • Primary Role: All-around DPS with Shock synergy
  • Main Weapon: St. Elmo’s Engine
  • Specialization: Gunner

This classic crit-focused build pushes St. Elmo’s Engine to its damage limits. With Coyote's Mask boosting crit ranges and Obliterate + Vigilance fueling your offensive momentum, it’s a fantastic all-rounder for Legendary missions, Countdown, or solo content.

Component Configuration Details
Primary Weapon St. Elmo’s Engine – automatic shock buildup for sustained pressure
Secondary Weapon Any preferred secondary (e.g., Shotgun for close-range burst)
Specialization Gunner – ammo regen, armor on kill, and handling boosts
Mask Coyote’s Mask – increases Crit Chance for you and your team
Backpack Grupo / Ceska (Red Core) – with Vigilance for bonus weapon damage
Chest Grupo / Ceska (Red Core) – with Obliterate to ramp up crit damage
Gloves Contractor’s Gloves (Blue Core) – boosts LMG/AR damage and crit
Holster Palisade (Blue Core) – rolled for Crit Chance / Damage
Kneepads Fox’s Prayer (Blue Core) – bonus to damage vs out-of-cover targets
Gear Mods Crit Chance and Crit Damage
Skills Crusader Ballistic Shield + Reviver Hive
  • Pros:
    • Excellent crit scaling and sustained DPS
    • Strong synergy with team buffs and gunplay
    • Works well in both solo and co-op content
  • Cons:
    • Can feel squishy if over-stacked on red cores
    • Requires smart cooldown and crit management

St. Elmo’s Armor Regen Build

  • Primary Role: Durable DPS / Regen hybrid
  • Main Weapon: St. Elmo’s Engine
  • Specialization: Survivalist or Gunner

This build focuses on sustain and survivability, using St. Elmo’s Engine for offense while layering Armor Regen from Gila, Belstone, and Emperor’s Guard. With Unbreakable and NinjaBike Backpack, you’ll be soaking damage while still hitting hard.

Component Configuration Details
Primary Weapon St. Elmo’s Engine – consistent shock damage and uptime
Secondary Weapon Any preferred secondary (optional utility or PvP pressure)
Specialization Survivalist (for group healing synergy) or Gunner (for more DPS)
Mask Gila (Blue Core) – with Armor Regen and Crit rolls (use Chill Out mask if available)
Backpack NinjaBike Messenger – allows bonus set synergy without sacrificing core armor
Chest Golan (Blue Core) – with Unbreakable for survival or Obliterate for crit damage
Gloves Gila (Blue Core) – stacked with Armor Regen + crit
Holster Belstone (Blue Core) – Regen and defense stats
Kneepads Emperor’s Guard – baked-in Armor Regen plus extra rolls
Gear Mods Crit Chance and Crit Damage
Skills Jammer Pulse / Decoy + Reviver Hive
  • Pros:
    • Very high self-healing and armor regen
    • Can outlast many DPS builds in PvP
    • Easy to maintain uptime with little risk
  • Cons:
    • Lower burst damage than crit-stacking builds
    • Skill-dependent survivability in tougher PvE content

Best Ouroboros The Division 2 Builds (2025)

The Ouroboros SMG thrives in close-quarters combat, offering aggressive gameplay and damage over time effects when combined with gear sets like Hunter’s Fury and Memento.

Ouroboros PvE Red Build

  • Primary Role: Close-range burst DPS
  • Main Weapon: Ouroboros
  • Specialization: Gunner

This is a high-risk, high-reward damage-focused setup that uses the Hunter’s Fury set and Intimidate or Obliterate talents to melt enemies in close range. Paired with Memento, you’ll scale up in strength as you gather trophies.

Component Configuration Details
Primary Weapon Ouroboros – close-range SMG with burn/bleed synergy
Secondary Weapon Shield Splinterer – for versatility or named bonus utility
Specialization Gunner – grants bonus ammo, armor on kill, and handling
Mask Hunter’s Fury (Red Core) – Crit rolled
Backpack Memento – scaling armor, weapon damage, skill efficiency
Chest Grupo / Ceska (Red Core) – Intimidate or Obliterate for high frontloaded damage
Gloves Hunter’s Fury (Red Core) – Crit roll
Holster Hunter’s Fury (Red Core) – Offensive focus
Kneepads Hunter’s Fury (Red Core) – Final damage boost piece
Gear Mods Crit Chance & Crit Damage
Skills Crusader Ballistic Shield + Reviver Hive
  • Pros:
    • Top-tier burst damage in PvE
    • Excellent for control-heavy content (Legendary, Heroic)
    • Memento adds long-term sustain and scaling
  • Cons:
    • Weak to burst if not proactive
    • Requires confident close-range movement

Ouroboros PvE Blue Build

  • Primary Role: Brawler DPS with tanky uptime
  • Main Weapon: Ouroboros
  • Specialization: Gunner

A bruiser-style variant of the SMG build focused on armor regen and survivability, while still dishing out strong crit-based damage. With Palisade and Hunter’s Fury pieces, this version stays alive longer without sacrificing pressure.

Component Configuration Details
Primary Weapon Ouroboros – excels in face-to-face duels and enemy suppression
Secondary Weapon Shield Splinterer – for additional stats or PvP swaps
Specialization Gunner – armor on kill and fast reloads sustain aggressive play
Mask Hunter’s Fury (Blue Core) – with Crit rolls
Backpack Memento – provides healing, regen, and damage scaling over time
Chest Palisade (Blue Core) – with Intimidate for armor-based crit burst
Gloves Hunter’s Fury (Blue Core) – Armor + crit synergy
Holster Hunter’s Fury (Blue Core) – More regen and damage uptime
Kneepads Hunter’s Fury (Blue Core) – Final piece for set bonus
Gear Mods Crit Chance & Crit Damage
Skills Crusader Ballistic Shield + Reviver Hive
  • Pros:
    • Great durability for solo players
    • Maintains decent damage even with blue cores
    • Can brawl in PvE and handle solo Legendary with confidence
  • Cons:
    • Lower crit scaling than red-core builds
    • Somewhat gear-dependent for optimal regen values

Best Raid The Division 2 Builds (2025)

Raids in The Division 2, such as Operation Dark Hours and Iron Horse, represent the most demanding group content in the game. These multi-phase encounters test your entire squad’s coordination, timing, and adaptability. Success depends not only on individual skill, but on how well your team covers every critical role: damage, healing, tanking, support, and status control.

To complete these raids efficiently, your squad must bring optimized builds that serve a distinct purpose during boss mechanics, add waves, and timed phases.

Striker Raid DPS Build

  • Primary Role: Raid DPS (AR/Shotgun hybrid)
  • Main Weapons: St. Elmo’s Engine + ACS-12 Shotgun
  • Specialization: Firewall / Gunner

This high-output damage build revolves around St. Elmo’s Engine and the Striker gear set, delivering constant pressure during boss fights. The Crusader Shield adds safety when pushing angles, and Obliterate ramps up critical burst.

Component Configuration Details
Primary Weapon St. Elmo’s Engine – charges fast, perfect for Striker synergy
Secondary Weapon ACS-12 – for building Striker stacks rapidly
Specialization Firewall or Gunner – depends on team needs (armor regen vs damage amp)
Mask Coyote’s Mask – team-wide Crit Chance buff
Backpack Striker (Red Core) – standard stacking bonus
Chest Ceska / Grupo / Fenris (Red Core) – Obliterate for crit damage scaling
Gloves Striker (Red Core) – pure offensive stats
Holster Striker (Red Core) – offensive roll
Kneepads Striker (Red Core) – completes the set
Gear Mods Crit Chance & Crit Damage
Skills Striker Shield or Crusader Shield + Reviver Hive
  • Pros:
    • High uptime and flexibility
    • Great for boss phases
    • Fast ramp-up damage with St. Elmo's
  • Cons:
    • Requires consistent aim to maintain Striker stacks
    • Close-range vulnerability without proper shield timing

Future Initiative Healer Raid Build

  • Primary Role: Raid Healer
  • Main Weapons: Scorpio + Sledgehammer Talent
  • Specialization: Survivalist

The cornerstone of every raid team, this build maximizes team sustain using Future Initiative, Repair Skills, and Opportunistic. Essential for keeping allies alive during burn phases or chaotic add waves.

Component Configuration Details
Primary Weapon Scorpio – applies status and Opportunistic uptime
Secondary Weapon Any with Sledgehammer – status synergy
Specialization Survivalist – bonus healing and protection
Mask Future Initiative (Yellow Core) – Repair Skills
Backpack Murakami / Hana-U (Yellow Core) – Opportunistic talent
Chest Future Initiative (Yellow Core) – Repair Skills
Gloves BTSU Datagloves – overcharge boost for skill users
Holster Future Initiative (Yellow Core) – Repair Skills
Kneepads Future Initiative (Yellow Core) – Repair Skills
Gear Mods Repair Skill
Skills Reinforcer Chem Launcher + Restorer Hive
  • Pros:
    • Massive group healing
    • Enables aggressive team play
    • Easy to pilot even in high-stress fights
  • Cons:
    • Fully dependent on positioning
    • Low personal survivability if focused

Foundry Tank Raid Build

  • Primary Role: Tank / Aggro Holder
  • Main Weapons: Liberty + preferred SMG/AR
  • Specialization: Demolitionist

This setup turns you into a raid sponge, using the Foundry Bulwark set and Tardigrade to soak aggro and protect squishier teammates. Your job: hold the line, taunt enemies, and survive while the team unloads damage.

Component Configuration Details
Primary Weapon Liberty – skill haste and bonus armor on crit
Secondary Weapon Any SMG/AR with armor synergy
Specialization Demolitionist – armor regen boosts and stability
Mask Belstone (Blue Core) – Armor Regen + Hazard Protection
Backpack Foundry Bulwark (Blue Core) – extra regen or Protected Reload talent
Chest Tardigrade – team armor share on shield break
Gloves Foundry Bulwark (Blue Core) – more regen/tank stats
Holster Foundry Bulwark (Blue Core) – completes the core set
Kneepads Foundry Bulwark (Blue Core) – additional tank stats
Gear Mods Protection from Elites
Skills Bulwark Shield + Reviver Hive
  • Pros:
    • Extreme durability and team armor sharing
    • Ideal for phase holding and boss aggro
    • Tardigrade shields allies when things go south
  • Cons:
    • Low damage
    • Needs constant enemy proximity to stay useful

Conclusion

The beauty of the Division 2 best builds isn’t in rigid templates, but in their flexibility. Mixing talents, weapons, and gear cores allows you to respond to changing content, balance patches, or your group’s specific needs.
At the end of the day, experimentation leads to mastery. Use the recommendations in this guide as a strong starting point — then personalize, optimize, and make the build truly yours. And if you ever need a hand catching up with the meta, farming specific gear, or preparing for raids, Division 2 Boost Services offer a time-saving option to get where you want to be — fast, safe, and stress-free.

FAQ

The Division 2 best builds in 2025 include the Striker DPS build for raids, St. Elmo’s Engine AR builds for PvE, and SMG crit + Unbreakable setups for PvP. However, the best build is the one that fits your combat role, playstyle, and the content you’re running.


You can, but it’s not ideal. PvP demands survivability, burst potential, and utility, while PvE favors sustained damage, AoE, and skill uptime. Switching out talents, cores, or gear pieces between modes is highly recommended for optimal performance.


Focus on specific missions or control points that drop the gear brand or slot you need. Also, maximize efficiency by running with groups and utilizing the recalibration station to fine-tune stats after farming.


Stay in touch
Don't miss out on special deals exlusive to Discord users⚡

Change Log

  • 08.04.2025 - The Division 2: Best Builds overview published.