

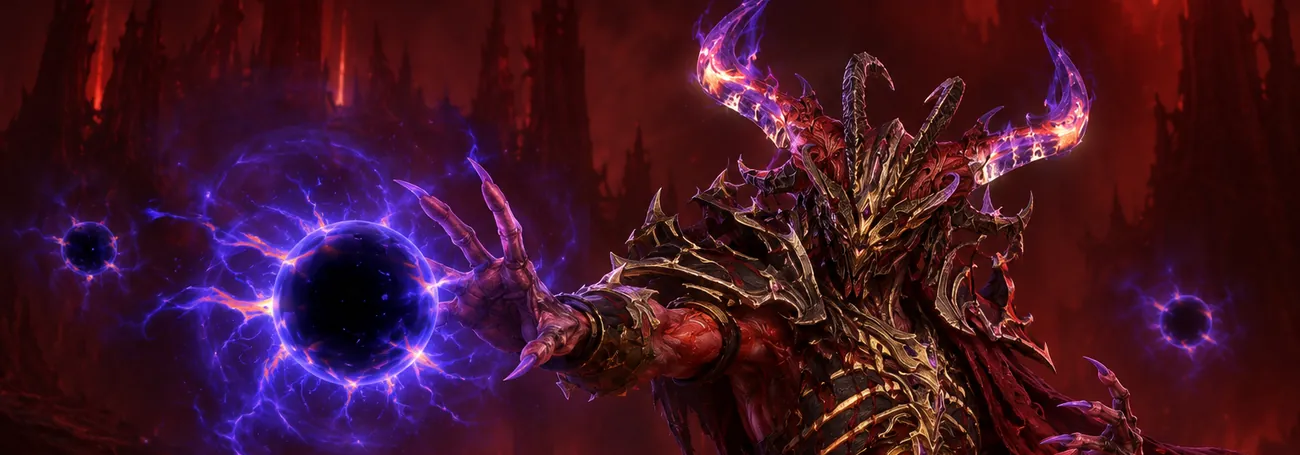
Diablo 4 Infernal Hordes Guide: Compass, Aether, Bartuc and Rewards
Infernal Hordes is the Diablo 4 mode where you fight wave after wave of demons, grab as much Burning Aether as you can carry and then cash it in for gear, materials and gold. You can play it solo or with friends, on Seasonal and Eternal realms alike.
Below is the loop as it works in Season 15, where you can craft a Compass again: getting in, playing a run, picking offers and splitting your Aether between the Fell Council, Bartuc and the reward chests.
Hover over or tap an item name to see its tooltip. The cards show value ranges from the game data, so your own roll can differ.
Infernal Hordes at a glance
- Entry: an Infernal Horde Compass. It drops in the endgame, or you craft one at the Occultist for 500 Sigil Powder.
- The run: short timed waves. Between them you pick an Infernal Offering, a boon paired with a drawback.
- Currency: Burning Aether. Every player collects their own.
- The finale: the Fell Council, or Bartuc, Lord of Chaos, for 666 Aether per player.
- Payout: whatever Aether is left buys reward chests: gear, materials or gold.
How to get into Infernal Hordes
You get in with an Infernal Horde Compass. Use it and the game takes you straight to the Realm of Hatred, so there is no entrance to walk to. The Compass shows how many waves the run has, and the monsters scale with the Torment difficulty you're playing on. Read it before you use it, because a longer run asks more of your build.
| Way in | What it takes | Good to know |
|---|---|---|
| Compass as loot | Endgame on Torment: bosses, Helltide, Nightmare Dungeons, Whispers | No fixed drop rate. Belial's Hoard is one boss reward that doesn't include them. |
| Craft a Compass | 500 Sigil Powder at the Occultist | Salvaging a Compass you don't want gives back 100 Sigil Powder. |
| War Plans | Lord of Hatred, finished campaign, Command Table in Temis | Put Infernal Hordes into your plan and it can supply the missing Compass for that step. |
Sigil Powder comes from salvaging dungeon sigils and similar items, so if you run Nightmare Dungeons anyway, crafting is the easy way to keep Compasses coming. War Plans are optional: a plain Compass run is still the core of the mode.
When the mode launched, Blizzard tied the first run to a short introduction quest, The Eyes of the Enemy. Since Lord of Hatred, players report mixed results: some never saw the quest and entered with a Compass right away. If a Compass won't open for you, check your quest log for that quest first.
How a run works
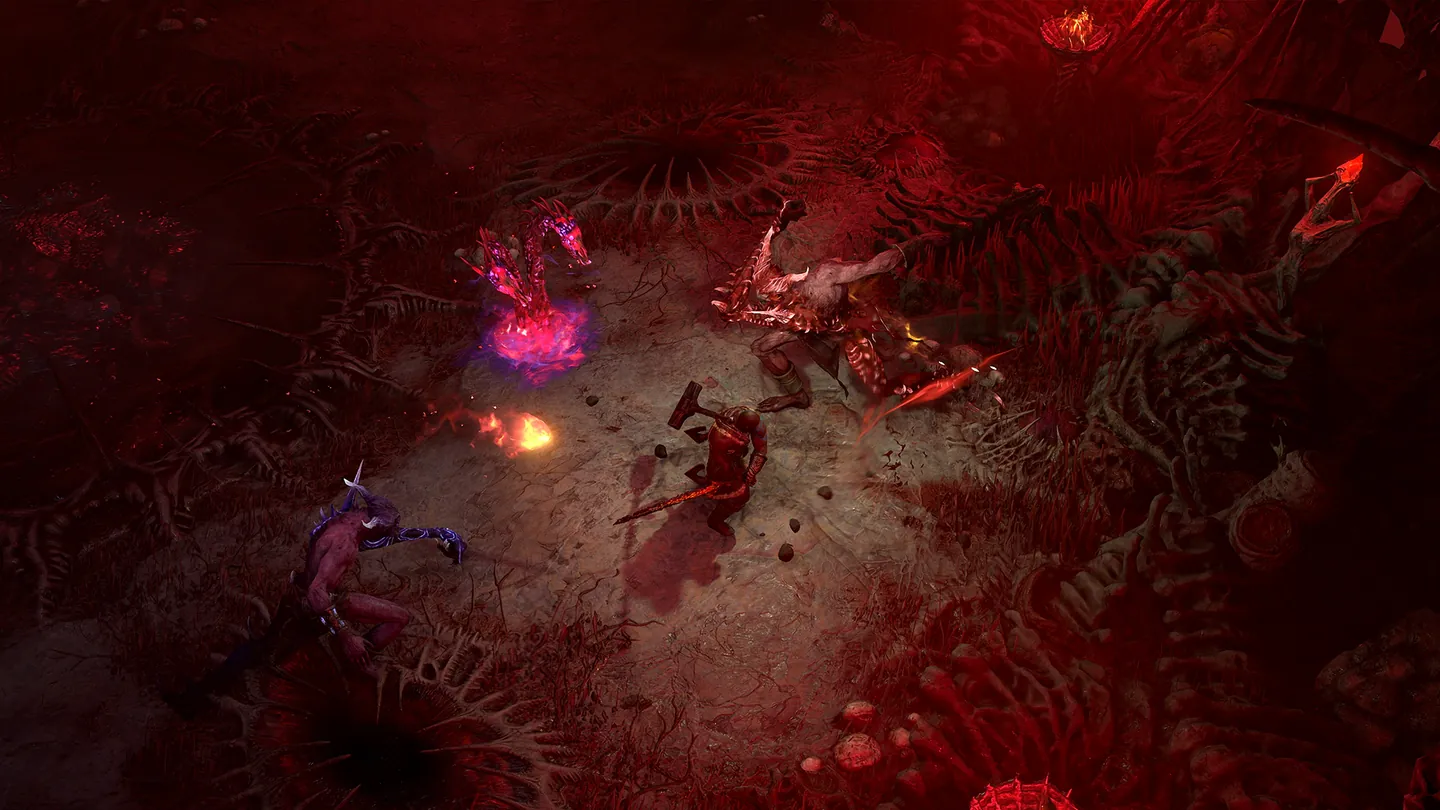
Standard waves last about a minute. Demons pour in, and your job is to kill the ones that carry Aether and break the objects that hold it, while staying alive. Once a wave ends, you pick an Infernal Offering from the choices on screen. Each offering gives the run something good and something bad, and every pick stays active until the end, boss fight included.
| Aether source | What to do |
|---|---|
| Aether Fiends | Kill them. They are scattered through every wave. |
| Aether Lords | Kill them too. They are rarer and tougher, so save a cooldown for them. |
| Soulspires | Smash them as they appear on the field. |
| Aetheric Masses | Smash them like the Soulspires. |
| Chaos Waves | Special waves you can pick as an offering: much harder, with much more Aether if you survive. |
Aether is personal. In a group each player collects their own, and your Pet helps you pick it up. Dying doesn't cost you Aether, but revives are limited (community guides count four for the group). Run out and the run is over before the reward chests, so a death late in the run hurts far more than a missed Fiend.
Which Infernal Offerings to take
Blizzard reworked the offerings so that no single one is a must. Older guides pushed one wave type above everything else, and that advice is out of date. A simpler rule works now: build around one Aether source and keep feeding it.
- If an earlier pick added Soulspires or Aether Lords, offers that add more of the same pay off best.
- Read the objective before you take a Chaos Wave. It can mean dodging projectiles from rifts, chasing Aether Goblins or killing a rampaging Hellwyrm. Take it when your build handles that kind of fight.
- Take tougher enemies only when your damage and defenses have room to spare. The drawback also applies to the final boss.
- When the run already feels tight, a calmer offer that keeps you alive beats a greedy one that costs revives.
Exact numbers on offers change with patches, so trust the text in your game over any list you find online.
Season 15: Diablo's Splinter
- Splinter of Terror: Diablo's Splinter adds modifiers to Helltide and Infernal Hordes, and its power gives extra Aether in Hordes.
- One at a time: only one Prime Evil track is active. If you farm Hordes a lot, Terror is the natural pick. More in our Season 15 guide.
Season 15: fast Paragon leveling in a group
Right now Infernal Hordes is the fastest way to finish Paragon, as long as you have at least one friend. Players around Paragon 270 are reaching 300 in a few runs, and the trick is a split of roles built on two Soul Splinters.
- The players who level (one to three of them) socket a Splinter of Damnation, and a Splinter of Lies for even more experience. Every Elite pack that dies pushes the monster level up for them, and higher monster level means far more experience. Many put both into Leoric's Crown to make them stronger.
- The killer uses neither Splinter. Monsters scale to each player, so for the killer they stay at normal Torment XII strength and die fast, while everyone else gets experience as if they were fighting much stronger monsters.
Play Torment XII until you're offered a Chaos Wave, then take Goblin or Aether Lord waves, because they're packed with Elites. Hellborne and Aether events count as Elites as well. Whoever opens the Horde can carry Diablo's Splinter of Terror for more Chaos Waves and Aether events. The killer should be tanky, since players report that a death in a Chaos Wave resets it.
You need a group, so this doesn't work in Solo Self-Found. Your gains also depend on which waves you get, which is why nobody can promise a fixed time to 300. The Aether you collect still counts toward the Season Rank objective for 66,666 Aether on Torment XI or higher.
No group, or no time for the grind? Our Diablo 4 Paragon Leveling takes you up to 300, and you play your own character the whole time.
Fell Council or Bartuc: plan your Aether
After the last wave you choose the final fight. The Fell Council is the classic ending: on Torment you face three of its five corrupted priests, and one of them is the Council Speaker, who gets stronger abilities. Bartuc, Lord of Chaos, is the harder ending, and he costs Aether before the fight even starts.
| Your plan | Aether you need | What you get |
|---|---|---|
| Council, then Spoils of Greater Equipment | 400 | The equipment chest: gear, plus Obducite and gold |
| Bartuc only | 666 per player | Bartuc's own loot, which drops on the ground for free |
| Bartuc, then Spoils of Greater Equipment | 1,066 per player | Both of the above |
These numbers are what you spend, not what a run gives you. In a group, the first player who picks Bartuc picks him for everyone, and everyone pays their own 666. So agree before the last wave ends, or the friend with the thin Aether stack loses out.
The reward chests
Once the boss is down, the chests take the Aether you have left. The materials and gold chests come from community guides, so check their labels in your game.
- Spoils of Greater Equipment (400 Aether): an Ancestral Legendary with a Greater Affix, plus Obducite and gold. The best pick when you're still chasing gear.
- Spoils of Materials (the rest of your Aether): Masterworking materials and Scrolls of Restoration.
- Spoils of Gold (the rest of your Aether): turns leftover Aether into gold.
Buy the chest you need first, then dump the remainder into materials or gold.
How to beat Bartuc
Bartuc fights with fire, lightning, poison and shadow, and his arena keeps closing in on you. Your main tool is the set of Chaos Portals in the middle: step into one and you come out of the portal across from it. Blizzard doesn't publish boss manuals, so this table follows what players and guide writers describe:
| Attack | What you see | What to do |
|---|---|---|
| Blood beam | A solid beam splits the arena in two | You can only cross it through a portal |
| Lightning beams | Two beams close in from the sides toward the middle | Take a portal or use an immunity skill before they meet |
| Fire beams | Beams spin around Bartuc, sometimes two at once | Move with the rotation, and port out if you get boxed in |
| Homing fireballs | Small fireballs that follow you | Keep moving in wide circles and don't run into a corner |
| Shadow waves | Six dark waves circling the arena, turning both ways | Watch their paths and slip through the gaps |
| Chaos orbs | Rifts on the sides fire shadow orbs across the arena | Stay mobile and don't stand in the lane between them |
Before you pick Bartuc
- Resistances: fire, lightning and poison come up the most. Cap them, and bring an elixir if you're short.
- Movement: a dash, teleport or skill with immunity frames saves you when beams cross.
- Staying power: lots of small hits add up, so healing or barriers matter more here than in the waves.
- Mind the offers: every drawback you took in the waves is still active in this fight.
What Bartuc drops
Bartuc has his own Unique pool: one item every class can use, plus two to four for each class. His loot lands on the ground, so it costs nothing beyond the 666 to fight him. Three Season 15 loot tables agree on the 24 Uniques below:
| Class | Uniques from Bartuc |
|---|---|
| All classes |  (sword) (sword) |
| Barbarian |  (pants) (pants) (amulet) (amulet) (helm) (helm) |
| Druid |  (ring) (ring) (boots) (boots) (ring) (ring) |
| Necromancer |  (gloves) (gloves) (ring) (ring) (helm) (helm) |
| Paladin |  (pants) (pants) (two-handed axe) (two-handed axe) |
| Rogue |  (gloves) (gloves) (sword) (sword) (amulet) (amulet) |
| Sorcerer |  (pants) (pants) (amulet) (amulet) (chest) (chest) |
| Spiritborn |  (helm) (helm) (helm) (helm) |
| Warlock |  (focus) (focus) (gloves) (gloves) (pants) (pants) (amulet) (amulet) |
is the pick for any class that freezes enemies: once the freeze ends, they take extra damage based on everything you dealt to them while they were frozen. Barbarians who build around damage over time want , and Sorcerers running Chain Lightning want , which can make the spell fire several extra times.
Community loot tables also list Mythic Uniques for Bartuc. Blizzard hasn't published the odds, so pay the 666 for the pool above and count a Mythic as a bonus.
Farm smarter
- Pick your goal first: gear from the pool means Bartuc; gold and materials mean the Council and more Aether left for chests.
- Turn spare Sigil Powder into Compasses before a session so you never stop to look for one.
- Stay on a Torment you clear cleanly. A run you finish beats a harder one you lose on the last wave.
- Kills go faster in a party, but agree on the boss before anyone clicks.
Quick plan for an Infernal Hordes session
- Keep the Compasses that drop and craft more from Sigil Powder at the Occultist.
- Pick a Torment where your build survives every wave without using up revives.
- Hunt Fiends and Lords for Aether, smash Soulspires and Masses, and stay close to your Pet.
- Stack offers around one Aether source, and take Chaos Waves when your build handles them.
- Still climbing Paragon? Bring a friend and use the Splinter setup: they kill, you collect the experience.
- Choose the finale by your goal: Council for a cheaper chest, Bartuc with 666 Aether for his Uniques.
- Spend the rest on the chest you need, then turn the remainder into materials or gold.
Conclusion
Infernal Hordes goes best with a plan you settle early. Keep Compasses coming through drops and crafting, build your offers around one Aether source, and decide before the last wave whether your Aether goes to Bartuc or the chests.
Missing one specific Unique from Bartuc's pool? Our Diablo 4 Unique Items page lets you order it directly.
FAQ
Use an Infernal Horde Compass. It drops from endgame activities on Torment, you can craft one at the Occultist for 500 Sigil Powder, and Lord of Hatred owners can also reach the mode through War Plans.
Yes. The Occultist crafts one for 500 Sigil Powder in Season 15. Salvaging a Compass you don't need gives back 100 Sigil Powder.
From endgame activities on Torment: bosses, Helltide, Nightmare Dungeons and Whispers. There is no fixed drop rate, and Belial's Hoard doesn't include them.
It is the currency of the run. You spend it at the end on reward chests with gear, materials or gold, and Bartuc takes 666 of it as his entry price. Every player collects their own.
666 per player. The first player in a group who picks Bartuc picks him for everyone, and each player pays their own share. His loot drops on the ground; the reward chests after him cost extra Aether.
Pick Bartuc when you want Uniques from his pool. Pick the Fell Council when you want gold and materials, because more of your Aether is left for the chests.
None is a must since Blizzard's rework. Build around one Aether source, take Chaos Waves when your build can handle their objective, and only accept tougher enemies when you have damage and defense to spare.
No. But revives are limited, and if the group runs out the run ends before the reward chests, so the Aether is lost anyway.
Play in a group on Torment XII. The players who level carry a Splinter of Damnation and a Splinter of Lies, while one strong player without either Splinter does the killing. Goblin and Aether Lord waves after a Chaos Wave give the most experience. It needs at least two players, so it does not work in Solo Self-Found.
After Freeze expires, enemies take [120% - 150%] of the damage you dealt to them while Frozen.
Sorcerer, Druid, Barbarian, Rogue, Necromancer, Paladin, Warlock only
The item's Unique power. Other stats vary between drops.
Your non-Ultimate Skills that summon Ancients will now summon an additional one. Skills that summon Ancients deal [30% - 40%][x] increased damage.
Barbarian only
The item's Unique power. Other stats vary between drops.
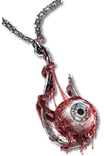
When inflicting Damage Over Time, you have a chance equal to your Critical Strike Chance to increase the damage amount by [75% - 90%][x].
Barbarian only
The item's Unique power. Other stats vary between drops.
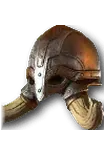
When you gain Berserking while already Berserk, you become more enraged granting [40% - 50%][x] increased damage, 6 Fury per second, and 10% Cooldown Reduction.
Barbarian only
The item's Unique power. Other stats vary between drops.
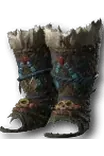
Earthen Bulwark gains the Earthen Shrapnel Variant for free and deals [150% - 200%][x] increased damage.
Druid only
The item's Unique power. Other stats vary between drops.

While Cataclysm is active, you gain unlimited Spirit and deal [45% - 60%][x] increased damage.
Druid only
The item's Unique power. Other stats vary between drops.
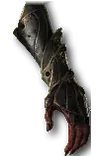
Your Essence Generation is increased by [30% - 40%]. Your Bone Skills deal 0.5%[x] increased damage for each point of Essence you have when Cast, up to [60% - 80%][x].
Necromancer only
The item's Unique power. Other stats vary between drops.

A dark aura surrounds you, inflicting Decrepify and Iron Maiden on enemies around you and increasing your damage to Close enemies by [10% - 15%][x].
Curses inflicted this way spread to surrounding targets every second.
Necromancer only
The item's Unique power. Other stats vary between drops.

Soulrift's duration is increased by 0.5 seconds for every 30 Essence you spend while it's active, up to 8 seconds.
Soulrift deals [300% - 350%] of its Shadow damage per second to surrounding enemies for every 30 Essence you gain while it's active.
Necromancer only
The item's Unique power. Other stats vary between drops.
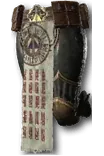
Rally Fortifies you for [6% - 8%] of your Maximum Life. Whenever you recover 8% of your Maximum Life, gain a charge of Rally.
Paladin only
The item's Unique power. Other stats vary between drops.
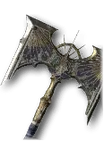
Casting an Aura Skill triggers a Consecration beneath you.
You gain [80% - 100%] Aura Potency while standing in Consecration.
Paladin only
The item's Unique power. Other stats vary between drops.
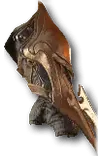
Casting a Marksman or Cutthroat Skill has a [45% - 60%] chance to Summon a Shadow Clone that mimics that Skill.
Rogue only
The item's Unique power. Other stats vary between drops.
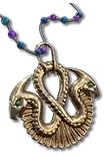
Your Rain of Arrows is always Imbued with all Imbuements and deals [75% - 90%][x] increased damage to Distant enemies.
Rogue only
The item's Unique power. Other stats vary between drops.
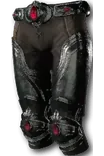
Casting Chain Lightning has a 50% chance to activate 1 to [2 - 5] additional times.
Sorcerer only
The item's Unique power. Other stats vary between drops.

Hydra is now a Core Skill with increased Mana cost and its attacks now explode dealing [73.3% - 100%][x] increased damage.
Sorcerer only
The item's Unique power. Other stats vary between drops.

Teleport pulls Close enemies to you and you gain [40 - 50] Damage Reduction for 8 seconds.
Sorcerer only
The item's Unique power. Other stats vary between drops.
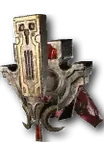
According to your secondary Spirit Hall choice, your Skills are all additionally Jaguar, Eagle, Gorilla, or Centipede Skills.
Your Skills deal [25% - 30%][x] increased damage per Spirit type they have.
Spiritborn only
The item's Unique power. Other stats vary between drops.
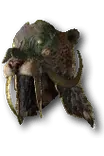
While your Spirit Hall choices match:
• Their bonuses are 100% more potent.
• Skills of their Base Spirit gain [50% - 60%] Vigor Cost Reduction.
• Skills of their Base Spirit gain [50% - 60%] Cooldown Reduction.
Spiritborn only
The item's Unique power. Other stats vary between drops.
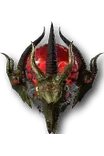
Soul Shard Skills and their demons deal [60% - 80%][x] increased damage. Casting a Soul Shard Skill increases all your damage by 10%[x] for 15 seconds, up to 50%[x].
Warlock only
The item's Unique power. Other stats vary between drops.
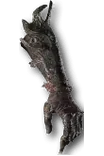
Any Demonform grants you all Metamorphosis Upgrades for free and they are [+50% - +100%] more potent.
Warlock only
The item's Unique power. Other stats vary between drops.
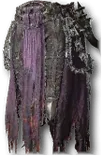
Summon a Tortured Wretch when your Current Life drops below 55% of your Maximum Life. Enemies Tortured Wretch attempts to Taunt take [10% - 15%][x] increased damage and deal [10% - 15%][x] less damage for 20 seconds.
Warlock only
The item's Unique power. Other stats vary between drops.
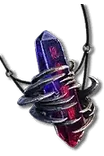
Bonuses from Command Valloch and the Ritualist Shard and its Fragments have +200% increased Potency. Your Occult Skills deal [26.7% - 40%][x] increased damage.
Warlock only
The item's Unique power. Other stats vary between drops.
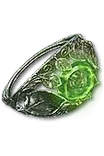
Casts of Landslide leave behind Tectonic Spikes that deal [375 - 525] Physical damage over 2 seconds.
Spawning a Landslide pillar within Tectonic Spikes has a [50% - 60%] chance to spawn two instead.
Druid only
The item's Unique power. Other stats vary between drops. Damage numbers grow with your weapon damage.
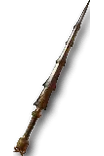
Lucky Hit: Dealing damage to an enemy affected by a Trap Skill has up to a 40% chance to:
• Reduce the active Cooldowns of your Trap Skills by 30%
• Increase your Trap Skill damage by [9% - 12%][x] for 10 seconds, up to [45% - 60%][x]
Rogue only
The item's Unique power. Other stats vary between drops.