

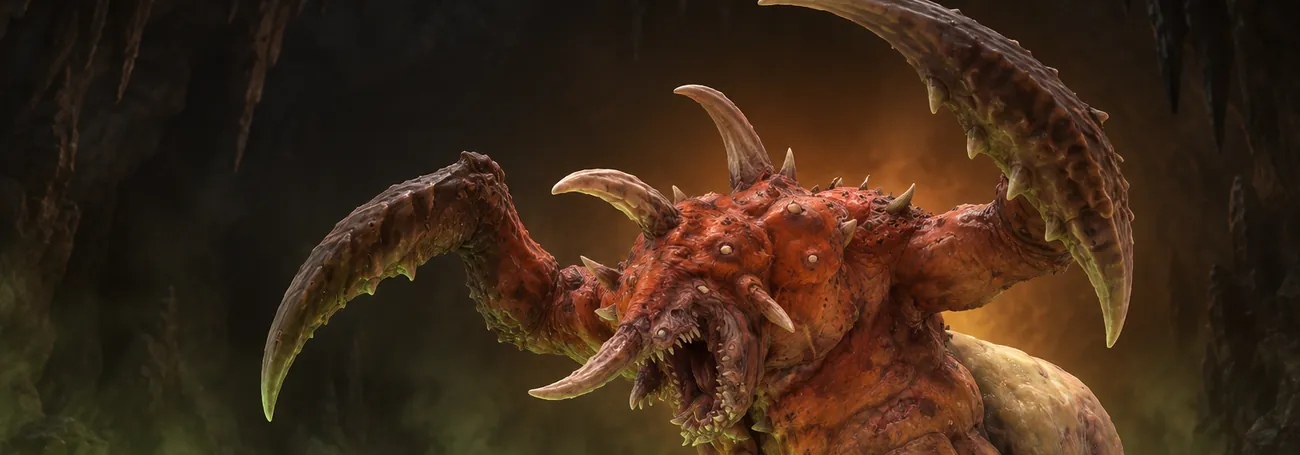
Diablo 4 Duriel Guide: Location, Key, Fight and Loot
Duriel, King of Maggots, is a giant grub demon you can fight as often as you like in Diablo 4. He waits at the bottom of his own lair, hits with poison and claws, digs under the floor and brings a swarm of maggots along. In return he guards Uniques for every class and a shot at Mythics.
This guide covers that repeatable lair fight: how to get there, which key pays for the loot, how to read his attacks and which items make him worth farming.
Hover over or tap an item name to see its tooltip. The cards show value ranges from the game data, so your own roll can differ.
Duriel at a glance
- Where: the Gaping Crevasse in southern Kehjistan, southeast of Gea Kul. Teleport to it from the map.
- Difficulty: Torment I or higher.
- The fight: free to start at the altar, no materials needed.
- The loot: after the kill a Hoard appears. Opening it costs 1 Greater Lair Key, and every player opens their own.
- Damage to prepare for: Poison and Physical.
- Why farm him: his own pool of class-specific Uniques, plus for everyone.
Where to find Duriel
Duriel is a Greater Lair Boss, the middle of the three Lair Boss tiers: tougher than the Initiate bosses, easier than the top-tier fights. His lair, the Gaping Crevasse, lies at the southern edge of Kehjistan, southeast of the town of Gea Kul.
- Set Torment I or higher. Lair Bosses stay locked on lower difficulties.
- Discover the lair once. After your first visit the Gaping Crevasse has its own lair marker, and you can teleport straight there.
- Check the map tooltip. It shows which key the Hoard takes and how many of them it needs.
- Fight your way to the altar at the end of the dungeon and use it. Duriel crawls out and the fight starts.
You don't need to collect anything to summon Duriel. The altar calls him for free, as often as you like, and the key only comes into play once he is dead.
Which key you need and where to get it
When Duriel dies, a Hoard appears in his arena. The real rewards are inside, and the Hoard is personal: you open yours with your own key. In a group of four that means four keys for four Hoards, one per player.
| Item | Where it comes from | What it does |
|---|---|---|
| Greater Lair Key | The Hoards of the Initiate Lair Bosses: Varshan, Grigoire, Lord Zir and Beast in the Ice, plus Urivar if you own Vessel of Hatred | Opens one Duriel Hoard. Andariel, The Butcher and Harbinger of Hatred take the same key. |
| Lair Key | Your everyday endgame, for example Helltide, World Bosses and Legion Events | Opens the Hoard of an Initiate Lair Boss, which is where Greater Lair Keys come from |
| Shard of Agony | Duriel himself, as his Boss Trophy | Not a key. Guides list a Horadric Cube recipe that turns 5 Shards into a random Unique from his pool. |
Getting keys is a chain: Lair Keys from your usual activities open Initiate Hoards, those Hoards give you Greater Lair Keys, and the Greater keys pay for Duriel. Nobody has published how many Greater keys an Initiate Hoard gives, so count what you really have before you plan a long session.
The Horadric Cube comes with the Lord of Hatred expansion. Without it the Shards just pile up, but Duriel himself is part of the base game: you can farm him with no expansion at all.
How the Duriel fight goes
Duriel deals poison and physical damage, and the fight gets nastier the longer it lasts: more pools on the floor, more maggots, more trips underground. Blizzard doesn't publish a boss manual, so this table follows what players and guide writers describe:
| Attack | How you spot it | What to do |
|---|---|---|
| Claw combo | Several swipes straight ahead of him | Get out of his front. A full combo can stun you. |
| Ground stab | The combo ends in a slam that leaves a poison pool | Step out of the pool and hit him from the side or from behind |
| Grab | He snatches the closest player in front of him and stabs | Stay off his front, above all in melee range. This one hurts a lot. |
| Charge | A short wind-up, then he rushes across the arena | As soon as he winds up, dodge sideways out of his line |
| Poison shots | Projectiles that leave big pools behind | Keep a clear lane to move into, so the pools can't box you in |
| Burrow | He digs into the ground and comes up from a new hole | Keep away from holes. Whatever comes out of one hits hard. |
| Maggots | Small grubs that spit poison | Kill them early, before they pile up |
When he digs in
If the fight drags on, Duriel dives underground. Guides describe two tougher elite enemies showing up while he is gone. Clear them fast, because he bursts out of a fresh hole and brings a wave of maggots with him. Holes are the danger zone of this fight: maggots crawl out of them too, so never stand on one.
Don't ignore the maggots
A single maggot is harmless, but ten of them spitting poison while you dodge pools become a real threat. Some area damage or a quick sweep between two boss attacks keeps the arena clean, and then you go back to Duriel.
Use the stagger window
Like other Lair Bosses, Duriel has a stagger bar. Fill it and he is stunned for a short moment, which is the time for your biggest skills. Still, don't walk into a poison pool to finish a rotation: one more second of damage isn't worth half your life.
Before you pull him
- Poison resistance first: poison is his main damage type. Armor helps against the claws and the grab, which hit physically.
- Movement: keep a dash or an evade ready for the charge and for the moment he resurfaces.
- Single-target damage: he is one big target, and a fast kill means fewer pools and fewer maggots.
- Learn first, pay later: the fight is free. Try him on a lower Torment, then move up once his pattern feels easy.
What Duriel drops
Duriel has his own Unique pool. The first Unique from his Hoard always comes from that list, while any extra Uniques can also come from the general pool. The higher your Torment, the better the item quality. Four community loot tables for Season 15 agree on the items below:
| Class | Uniques from Duriel |
|---|---|
| All classes |  (chest) (chest) |
| Barbarian |  (sword) (sword) (amulet) (amulet) |
| Druid |  (ring) (ring) Mark of the Old Wolf (ring) Mark of the Old Wolf (ring) (boots) (boots) |
| Necromancer |  (helm) (helm) (chest) (chest) (boots) (boots) |
| Paladin | No agreed entries across all four checked tables. |
| Rogue |  (dagger) (dagger) (gloves) (gloves) (gloves) (gloves) |
| Sorcerer |  (ring) (ring) (ring) (ring) (staff) (staff) |
| Spiritborn |  (amulet) (amulet) (glaive) (glaive) |
| Warlock |  (flail) (flail) (helm) (helm) (gloves) (gloves) |
The checked tables disagree on Paladin drops, , and , so those targets stay outside the agreed list.
is the one every class can wear: it gives your Thorns a chance to hit far harder, so it shines in Thorns builds. Warlocks get , which hands Umbral Chains its Epicenter variant for free plus extra damage. Barbarians want the for a damage bonus that grows with every damaging skill on the bar, and Necromancers who play with skeletons come for and the extra minions it allows.
Mythic Uniques from Duriel
Since Season 15, a Mythic from Duriel's Hoard also comes from his own pool instead of the full Mythic list. His random side loot can still roll any Mythic. Blizzard also raised the Mythic chance of the Initiate Lair Bosses to the Greater level, so Duriel isn't automatically the best farm for every Mythic.
Blizzard hasn't published which Mythics sit in his pool or the odds per kill, so count a Mythic as a bonus. The same goes for the Smouldering Brimstone mount: Duriel can drop it as a cosmetic reward, but no kill promises it.
Farm smarter
- Pick your target first. Check that the item is in his pool above. If it isn't, another boss is the better farm.
- Count your keys before you go. Each kill you want to loot costs one Greater Lair Key, and the map tooltip reminds you which key the Hoard takes.
- Fast kills beat high Torment. A Torment you clear without deaths gives more Hoards per hour than one where you keep failing.
- Group only with damage. Every player pays for their own Hoard, and guides say Duriel scales with the group. A party pays off when everyone brings real damage.
- Keep the Shards. They stack up while you farm, and the Cube recipe gives them a use once you own Lord of Hatred.
Quick plan for a Duriel farm
- Collect Lair Keys from Helltide, World Bosses and Legion Events, then earn Greater Lair Keys from the Initiate bosses.
- Check your build for poison resistance, decent armor, a free movement skill and strong single-target damage.
- Teleport to the Gaping Crevasse from the map, on a Torment you clear without deaths.
- In the fight, stay off his front, leave every pool at once, keep away from holes and clear the maggots early.
- Open your Hoard with one Greater Lair Key and read every Unique.
- Use the altar again while your keys last, and step up a Torment once the kills feel easy.
Conclusion
Duriel is a fair farm: the fight is free, one Greater Lair Key opens your Hoard, and his pool tells you which Uniques you are playing for. Learn his front attacks and the burrow on a low Torment, and keep the key chain running through the Initiate bosses.
Short on time or keys? Our Diablo 4 Boss Runs include Duriel.
FAQ
In the Gaping Crevasse in southern Kehjistan, southeast of Gea Kul. After your first visit you can teleport there from the map. The altar at the end of the dungeon starts the fight.
Use the altar at the end of the Gaping Crevasse on Torment I or higher. The fight costs nothing and you can repeat it as often as you like. You only spend a key on the Hoard after he dies.
One Greater Lair Key opens your Hoard after the kill. In a group every player needs their own, because each player opens a personal Hoard.
From the Hoards of the Initiate Lair Bosses: Varshan, Grigoire, Lord Zir, Beast in the Ice and, with Vessel of Hatred, Urivar. Those Hoards open with a regular Lair Key from your everyday endgame, such as Helltide, World Bosses and Legion Events.
Uniques from his own pool: Razorplate for every class and, for most classes, two or three class items, for example Scourge of Duriel for Warlocks and The Undercrown for Necromancers. The loot tables disagree on Paladin. Higher Torment gives better item quality.
He can. Since Season 15 a Mythic from his Hoard comes from his own pool, and his random side loot can still roll any Mythic. Blizzard hasn't published which Mythics are in his pool or the odds, so no kill guarantees one.
They are Duriel's Boss Trophy, not a key. Guides list a Horadric Cube recipe that turns 5 Shards into a random Unique from his pool. The Cube needs the Lord of Hatred expansion.
Yes, the Smouldering Brimstone mount is one of his cosmetic rewards. It can drop, but no kill guarantees it.
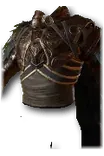
Thorns has a 30% chance to deal [200% - 250%][x] increased damage.
The item's Unique power; other stats vary between items.
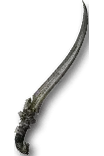
You gain [3% - 4%][x] increased damage for each damaging Skill you have equipped, and an additional [6% - 8%][x] for 15 seconds when each of those Skills are used.
Barbarian only
The item's Unique power; other stats vary between items.
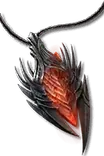
Casting a Skill with a Two-Handed Bludgeoning, Two-Handed Slashing, or Dual-Wielded weapon grants [15% - 20%][x] increased damage for 15 seconds.
While all three bonuses are active, you gain +25% Crowd Control Duration and Attack Speed.
Barbarian only
The item's Unique power; other stats vary between items.
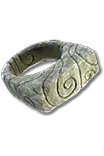
Your Earth Skills deal [40% - 50%][x] bonus Critical Strike damage. This bonus is increased to [80% - 100%][x] with at least 4 stacks of Overpower. You passively gain 2 stacks of Overpower every 10 seconds.
Druid only
The item's Unique power; other stats vary between items.
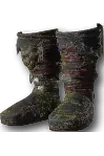
Poison Creeper gains the Germinate Variant for free and deals [30% - 40%][x] increased damage.
Druid only
The item's Unique power; other stats vary between items.
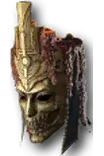
Your maximum number of Skeleton Warriors and Skeleton Mages is increased by 4 and your Summon damage is increased by [15% - 25%][x].
Commanding Skeleton Warriors also causes Skeleton Mages to focus the same target for 5 seconds.
Necromancer only
The item's Unique power; other stats vary between items.
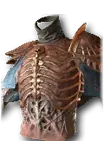
You are Blood Lanced, and when Blood Lance would deal damage to you, it instead Fortifies you for 5% of your Maximum Life and has a 10% chance to form a Blood Orb.
Blood Lance deals [70% - 90%][x] increased damage.
Necromancer only
The item's Unique power; other stats vary between items.
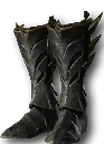
Bone Prison traps a larger area and fires [30 - 35] Bone Splinters at enemies trapped within.
Your Maximum Essence is increased by 2 for 10 seconds each time these Bone Splinters hit an enemy.
Necromancer only
The item's Unique power; other stats vary between items.
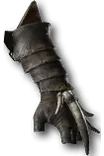
Lucky Hit: Poison or Cold Imbued Skills have up to a 35% chance to deploy a Poison Trap while it is equipped, depending on your equipped Poison Trap's element.
Poison Trap gains the Infiltrator Variant for free and deals [75% - 90%][x] increased damage.
Rogue only
The item's Unique power; other stats vary between items.
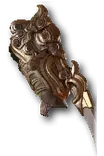
Casting or Channeling a Cutthroat Skill grants a stack of Momentum, up to 10. Casting a Marksman Skill removes a stack of Momentum.
For each stack of Momentum, you gain:
• [2.5% - 3%] Maximum Energy
• [2.5% - 3%][x] Energy Regeneration
• [5% - 6%][x] Increased Damage
Rogue only
The item's Unique power; other stats vary between items.
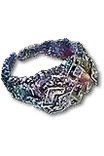
Cast Shock Skill damage leaves enemies Magnetized for 4 seconds, causing them to emit Crackling Energy and receive [40% - 60%][x] increased Shock damage from you.
Crackling Energy's damage Pulls Magnetized enemies together.
Sorcerer only
The item's Unique power; other stats vary between items.
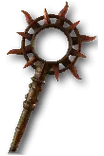
Fireball deals [70% - 90%][x] increased damage and every 3rd Cast launches 2 additional projectiles.
Sorcerer only
The item's Unique power; other stats vary between items.
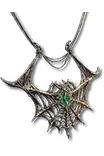
Your Critical Strikes cause your Poisoning on an enemy to burst, dealing [166.7% - 200%] of the total Poisoning instantly to them and 10% of the burst to surrounding enemies before removing the Poisoning effect from the primary target.
Spiritborn only
The item's Unique power; other stats vary between items.
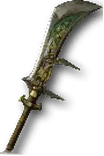
Casting an Ultimate Skill grants or amplifies its matching Primary Spirit Hall Bonus with [+175% - +200%] potency for 15 seconds.
Your Ultimate Skills each gain an additional Skill Type:
• The Seeker is a Focus Skill.
• The Hunter is a Mobility Skill.
• The Devourer is a Potency Skill.
• The Protector is a Defensive Skill.
Spiritborn only
The item's Unique power; other stats vary between items.
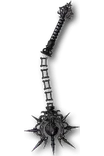
Umbral Chains gains the Epicenter Variant for free and deals [60% - 80%][x] increased damage.
Warlock only
The item's Unique power; other stats vary between items.
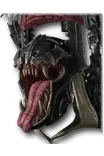
Command Laalish is now an Ultimate Skill and deals [100% - 120%][x] increased damage. Command Laalish's Terror Realm lasts 50% longer and while within your Abyss Skill casts do not break Shadowform Stealth.
Warlock only
The item's Unique power; other stats vary between items.
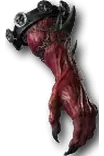
While Fiend of Abaddon is alive you periodically sacrifice all other Archfiend Summons, dealing Fiend of Abaddon's damage around them and increasing Fiend of Abaddon's damage by [40% - 50%][x] per demon killed, up to [600% - 750%][x] for 60 seconds.
Warlock only
The item's Unique power; other stats vary between items.
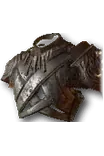
Inflicting Damage Over Time on an enemy has up to a [45% - 60%] chance to reduce the Cooldowns of your Skills by 0.5 seconds.
Barbarian only
The item's Unique power; other stats vary between items.
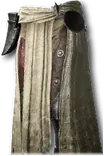
You cannot recover above 65% of your Maximum Life but your Defensive Skills deal [300% - 400%][x] increased damage.
Warlock only
The item's Unique power; other stats vary between items.
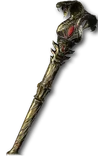
Your Core Skills are now additionally Basic Skills and free to cast.
When cast at Maximum Vigor, your Core Skills Consume all Vigor to cast at their largest Size, and become guaranteed Critical Strikes, with [0.5% - 0.6%][x] increased Critical Strike Damage for each point of Vigor spent this way.
Spiritborn only
The item's Unique power; other stats vary between items.
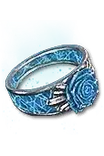
Skills that form Ice Spikes deal [80% - 100%][x] increased damage.
Lucky Hit: Up to a 15% chance to form an exploding Ice Spike, dealing 225 Cold damage.
Sorcerer only
The item's Unique power; other stats vary between items. Damage numbers grow with your weapon damage.
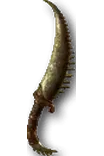
Your Core Skills deal [45% - 60%][x] increased damage for 5 seconds when Consuming 3 Combo Points. Casting Basic Skills always generates 3 Combo Points.
Generating Combo Points allows you to generate the same amount of Combo Points for 1.5 seconds when you spend them.
Rogue only
The item's Unique power; other stats vary between items.