


Diablo 4 Lair Bosses Guide: Every Boss, Key and Hoard
Lair Bosses are the big repeatable boss fights of the Diablo 4 endgame. If you know them as Tormented Bosses or Uber bosses, you're in the right place: Varshan, Duriel, Andariel, Belial and the rest all live in this one system now.
This guide covers all ten of them in one place: which key each one wants, where those keys come from, what to watch for in every fight and how to pick the boss that drops the item you're after.
Hover over or tap an item name to see its tooltip. The cards show value ranges from the game data, so your own roll can differ.
Lair Bosses at a glance
- Who: ten bosses in three tiers. Five Initiate bosses, four Greater bosses and Belial on top.
- Difficulty: Torment I or higher.
- The fight: free. You start it at the altar in the boss's lair, as often as you like.
- The loot: a personal Hoard appears after the kill. It opens for 1 key of the boss's tier, and every player pays for their own.
- The keys: Lair Key for Initiate bosses, Greater Lair Key for Greater bosses, Superior Lair Key for Belial.
- Expansion bosses: Urivar and Harbinger of Hatred need Vessel of Hatred. Everyone else is in the base game.
Every Lair Boss and its key
The key decides what a boss costs you. One key opens one Hoard, and the tier tells you how tough the fight is and which key the Hoard asks for:
| Boss | Tier | Needs | Key for your Hoard |
|---|---|---|---|
| Varshan | Initiate | Base game | 1 Lair Key |
| Grigoire | Initiate | Base game | 1 Lair Key |
| Beast in the Ice | Initiate | Base game | 1 Lair Key |
| Lord Zir | Initiate | Base game | 1 Lair Key |
| Urivar | Initiate | Vessel of Hatred | 1 Lair Key |
| Duriel | Greater | Base game | 1 Greater Lair Key |
| Andariel | Greater | Base game | 1 Greater Lair Key |
| The Butcher | Greater | Base game | 1 Greater Lair Key |
| Harbinger of Hatred | Greater | Vessel of Hatred | 1 Greater Lair Key |
| Belial, Lord of Lies | Exalted | Base game | 1 Superior Lair Key |
These costs match the community key tables for Season 15. Before a long session, hover over the lair on your map: the tooltip names the key that boss wants and how many of them you carry.
How a Lair Boss run works
- Switch to Torment I or higher. Lair Bosses stay locked below it. Torment is unlocked separately, so reaching level 70 alone doesn't mean you can enter.
- Find the lair on the map; Boss Lairs carry their own icon. Once you've discovered one, you can teleport straight to it.
- Check the map tooltip. It shows the boss, the key its Hoard takes and how many of those you hold.
- Use the altar and fight. Starting the fight costs no key and no materials.
- After the kill, a Hoard appears. Spend one key to open it and collect the real loot.
The kill alone gives you very little. The rewards sit inside the Hoard, and that Hoard belongs to you alone. In a group, a friend's key does nothing for your chest, so a party of four needs four keys for four Hoards. Wait until everyone has looted before you start the next run.
Because the fight is free, you can learn any boss without paying a thing. Fight it a few times, leave the Hoard closed, and come back with keys once the pattern feels easy.
Where the keys come from
The three keys form a ladder. Each tier's Hoards feed the next one up:
| Key | Where you get it | What it opens |
|---|---|---|
| Lair Key | Everyday endgame: Helltide chests, Whisper Caches, World Bosses, Legion Events and, with Lord of Hatred, War Plans | The Hoard of an Initiate boss |
| Greater Lair Key | The Hoards of the Initiate bosses | The Hoard of Duriel, Andariel, The Butcher or Harbinger of Hatred |
| Superior Lair Key | A smaller Belial who can ambush you right after you open the Hoard of another Lair Boss | Belial's Hoard |
The dependable route is: Lair Keys from your usual activities, then Initiate bosses for Greater Lair Keys, then the Greater bosses. Every Hoard you open along the way gives Belial a chance to show up. The ambush doesn't come every time, and it only pays the players who opened the Hoard that drew him in. Our Belial guide covers both fights.
Nobody has published fixed drop rates for these keys, so count what you really have before you plan a long run. Some guides name extra sources, for example Nightmare Dungeon rewards, but we found no source that drops keys there every time.
What about Living Steel, Distilled Fear and the other boss materials?
Older guides list a different material for every boss: Living Steel for Grigoire, Distilled Fear for the Beast in the Ice, Shard of Agony for Duriel, Pincushioned Doll for Andariel and so on. None of them opens a Hoard today. Bosses still drop them as trophies, and guides describe Horadric Cube recipes for some of them. The Cube needs Lord of Hatred. You can farm every Lair Boss without them.
The bosses one by one
Each Lair Boss has a few attacks you learn to read. Here is the main danger per boss, from what players and guide writers describe; Blizzard doesn't publish a boss manual.
Initiate bosses
| Boss | Main danger | What to do |
|---|---|---|
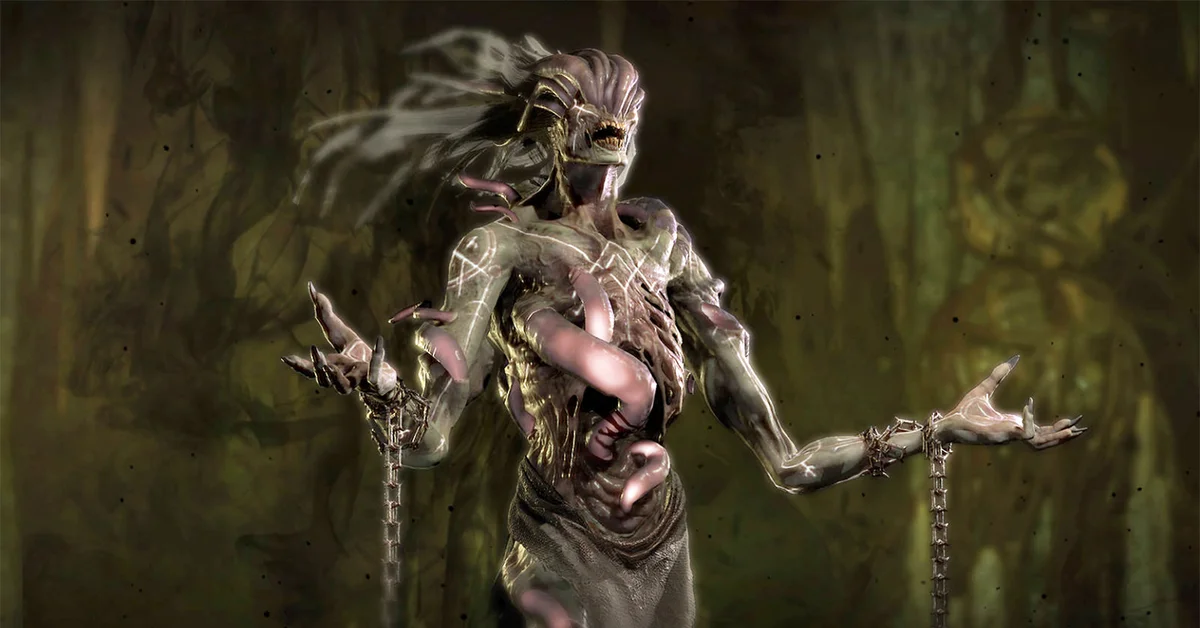
| Varshan | Waves of adds and pools on the floor | Clear the adds quickly and don't fight inside the pools |
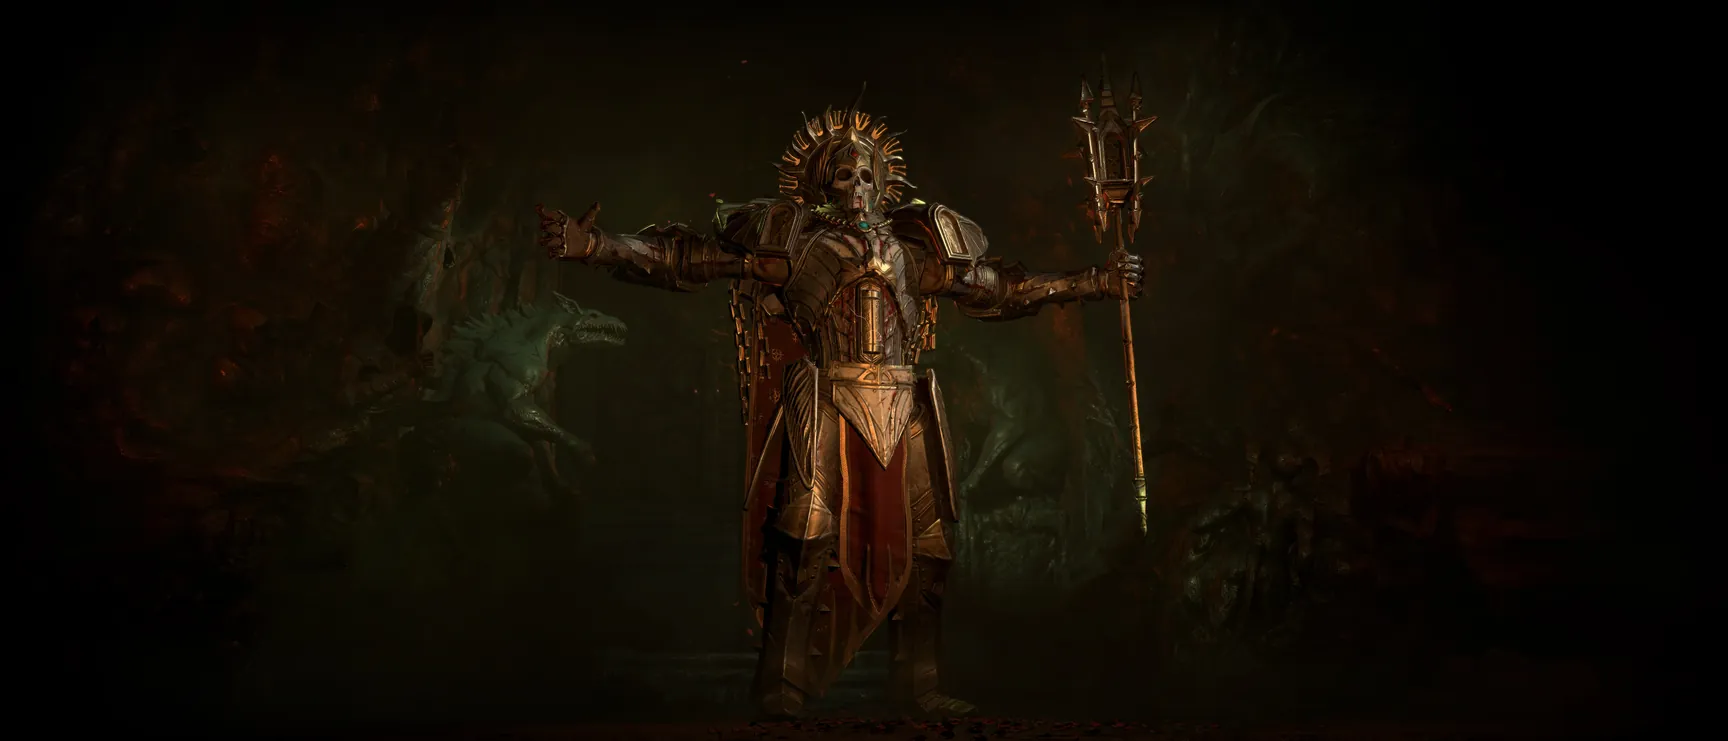
| Grigoire | Lightning: charged floor squares, blast circles and beams between pylons | Step off charged squares at once and stay out of the lines between pylons |
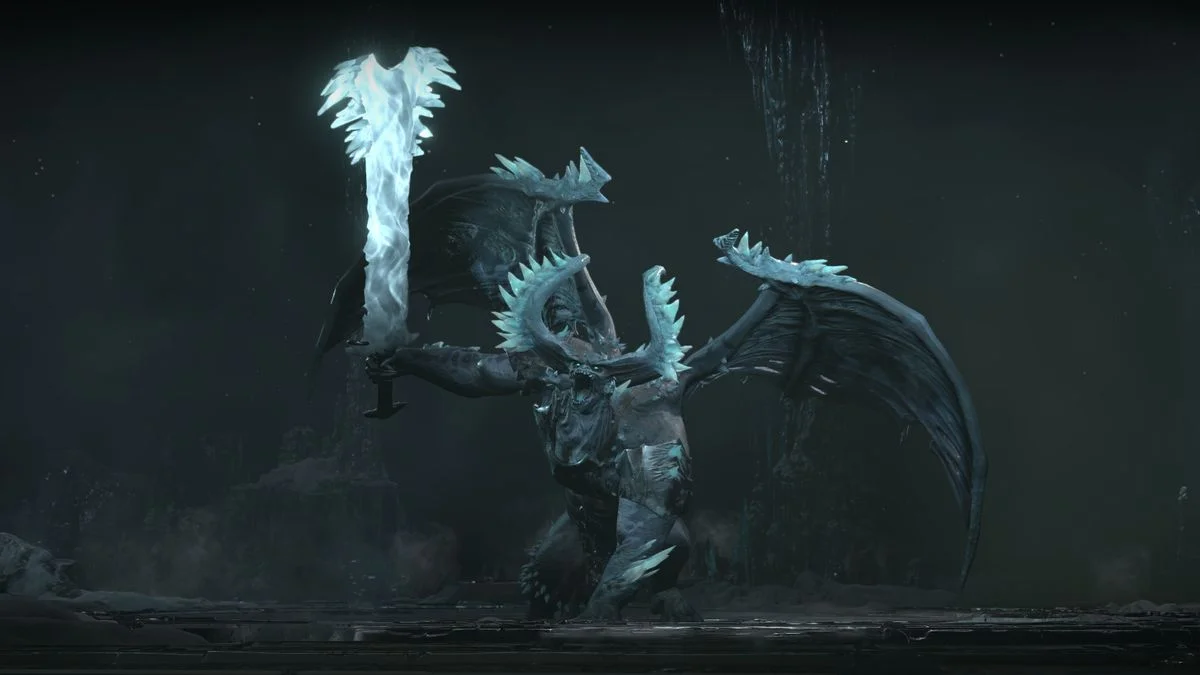
| Beast in the Ice | Cold that chills and freezes, plus an ice storm across the arena | Find the safe lane in the storm instead of running in circles |
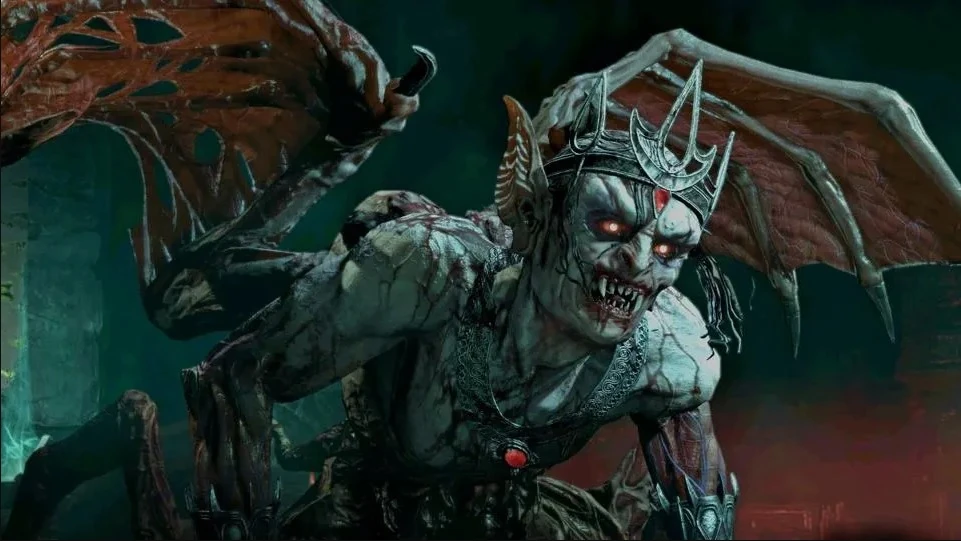
| Lord Zir | Dashes, life drain and growing blood pools | Leave every blood pool right away, it only gets bigger |
| Urivar | We haven't verified his current attacks. Learn him on a low Torment first, the fight is free. | |
Greater bosses
| Boss | Main danger | Full guide |
|---|---|---|
| Duriel | Poison pools, a grab in front of him and burrows that bring maggots | Duriel guide |
| Andariel | Effigies of Anguish inside shields while beams sweep the arena | Andariel guide |
| The Butcher | Not covered here yet. Treat him like any new boss and learn him on a low Torment. | |
| Harbinger of Hatred | Not covered here yet. Needs Vessel of Hatred. | |
Belial, the Exalted boss
Belial sits alone at the top. His palace fight is mostly about poison, and floating eyes that stay dark mark the safe lanes. In his Hoard you pick which other boss's item pool your loot comes from. That makes him the most flexible farm, but his Superior Lair Key is also the hardest to collect. Details in our Belial guide.
Before any Lair Boss
- Resistances: check the boss's element first. Grigoire hits with lightning, the Beast with cold, Duriel and Belial with poison.
- Movement: keep a dash, leap or teleport free for the moment two hazards overlap.
- Stagger window: your hits fill a stagger bar. When it's full, the boss stands still for a moment. Save your biggest skills for it.
- Learn first, pay later: every fight is free. Practice on a low Torment and only bring keys once you win cleanly.
What Lair Bosses drop and which one to farm
Every Lair Boss has its own Unique pool: a fixed list with a few items for all classes and a few for each class. The targeted Uniques from a Hoard come from that list, so you pick the boss by the item you need. Higher Torment gives better item quality.
Two targets per boss, checked against the Season 15 tables on October 6, 2026. Each boss's full pool is longer.
Varshan
| Target | Class / pool |
|---|---|
 | Barbarian |
 | Shared pool |
Grigoire
| Target | Class / pool |
|---|---|
 | Shared pool |
 | Barbarian |
Beast in the Ice
| Target | Class / pool |
|---|---|
 | Necromancer |
 | Sorcerer |
Lord Zir
| Target | Class / pool |
|---|---|
 | Necromancer |
 | Rogue |
Urivar
| Target | Class / pool |
|---|---|
 | Shared pool |
 | Rogue |
Duriel
| Target | Class / pool |
|---|---|
 | Shared pool |
 | Sorcerer |
Andariel
| Target | Class / pool |
|---|---|
 | Shared pool |
 | Necromancer |
The Butcher
| Target | Class / pool |
|---|---|
 | Shared pool |
 | Rogue |
Harbinger of Hatred
| Target | Class / pool |
|---|---|
 | Shared pool |
 | Sorcerer |
Belial (choose a pool)
Choose Andariel's pool for or Duriel's for . Belial has no separate target list.
| Target | Class / pool |
|---|---|
| Shared pool |
| Shared pool |
OP.GG and D4Guides list for Varshan, while Icy Veins lists there as well as under Bartuc; neither item is included in this agreed target selection.
Not sure which boss holds your item? Our Unique Items guide has a boss loot table with more targets. Belial is the shortcut: his Hoard lets you choose any of these pools.
Mythic Uniques
Since Season 15, a Mythic from a Lair Boss Hoard comes from that boss's own pool. With Belial, it follows the pool you picked. Each boss also drops ordinary random loot, and that side loot can still roll any Mythic.
Blizzard raised the Mythic chance this season: Initiate bosses now match the Greater ones, and Greater bosses and Belial went up too. No odds were published, and no kill promises a Mythic. Only Echo of Mephisto promises one, and he isn't a Lair Boss: he is a separate pinnacle fight that takes Crux of the False Prophet and the Lord of Hatred expansion.
This season: the Splinter of Destruction
In Season 15 you pick one Splinter of Evil. Baal's Splinter of Destruction ties its bonuses to Lair Bosses and the Undercity, so it suits players who spend most of their time on bosses. How the Splinters work is in our Season 15 guide.
Farm smarter
- Pick the item, then the boss. Find which pool holds your target before you spend a single key.
- Never skip Initiate Hoards. They pay for your Greater keys and can pull Belial in for Superior keys.
- Fast kills beat high Torment. A Torment you clear without deaths opens more Hoards per hour.
- Group up with keys. Everyone needs their own, but shared kills go faster.
- Hold on to boss trophies. They don't open Hoards, but they stack up and some have Cube uses.
Quick plan for a Lair Boss farm
- Pick the Unique your build is missing and the boss whose pool holds it.
- Collect Lair Keys from Helltide, Whisper Caches, World Bosses, Legion Events and War Plans.
- Run Initiate bosses and open their Hoards for Greater Lair Keys. Beat Belial whenever he ambushes you.
- Check your build for resistance against the boss's element, a free movement skill and strong single-target damage.
- Teleport to the lair from the map, on a Torment where you don't die.
- Fight, open your Hoard and compare every Unique, then repeat while your keys last.
Conclusion
Lair Bosses are simple once the ladder clicks: the fight is free, the Hoard costs one key of the boss's tier, and each tier's Hoards fund the next. Pick your boss by its pool, learn the fight on a low Torment and keep opening Initiate Hoards so the Greater keys keep coming.
Short on time or keys? Our Diablo 4 Boss Runs cover every Lair Boss. Rather fight them yourself? Stock up on Diablo 4 lair keys and open more Hoards per session.
FAQ
They are Lair Bosses now. Varshan, Duriel, Andariel and the others are the same bosses, but you fight them for free and only spend a key on the Hoard after the kill.
Set Torment I or higher, teleport to the lair from your map and use the altar inside. Starting the fight costs no key and no materials, so you can repeat it as often as you like.
Varshan, Grigoire, Beast in the Ice, Lord Zir and Urivar take 1 Lair Key. Duriel, Andariel, The Butcher and Harbinger of Hatred take 1 Greater Lair Key. Belial takes 1 Superior Lair Key.
From everyday endgame: Helltide chests, Whisper Caches, World Bosses, Legion Events and, with the Lord of Hatred expansion, War Plans.
Open the Hoards of the Initiate bosses: Varshan, Grigoire, Beast in the Ice, Lord Zir and Urivar. Those Hoards take ordinary Lair Keys.
When you open the Hoard of another Lair Boss, a smaller Belial can ambush you. Beat him and he can drop Superior Lair Keys. Only players who opened that Hoard get the reward, and the ambush doesn't come every time.
Yes. Every player opens a personal Hoard with their own key. A friend's key does nothing for your chest.
They can. Since Season 15 a Mythic from a Hoard comes from that boss's own pool, and random side loot can still roll any Mythic. Blizzard raised the chances but published no odds, so no kill guarantees one.
Urivar and Harbinger of Hatred need Vessel of Hatred. The other eight are in the base game. The Horadric Cube recipes for boss trophies need Lord of Hatred.
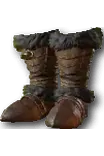
Ground Stomp's damage is increased by [20% - 25%][x] plus an additional amount based on the distance traveled since the last casted Ground Stomp's, up to [80% - 100%][x].
Barbarian only
The item's Unique power; other stats are not shown.
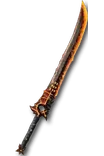
Basic Skills deal [70% - 100%][x] increased damage but additionally cost 25 Primary Resource.
Sorcerer, Druid, Barbarian, Rogue, Necromancer, Paladin, Warlock only
The item's Unique power; other stats are not shown.
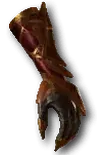
Damaging enemies with a Non-Basic Skill cast marks them for 3 seconds. When a Basic Skill first hits a marked enemy, the Basic Skill's damage is echoed to all marked enemies, dealing [100% - 125%][x] increased damage.
The item's Unique power; other stats are not shown.
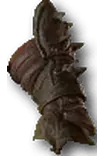
Whirlwind deals [75% - 90%] increased damage and pulls enemies to you every 2 seconds.
Barbarian only
The item's Unique power; other stats are not shown.
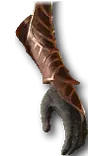
Instead of detonating immediately, Corpse Explosion now Summons a Volatile Skeleton that charges at a random enemy and explodes.
Corpse Explosion deals [70% - 90%][x] increased damage.
Necromancer only
The item's Unique power; other stats are not shown.
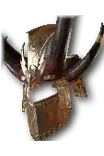
Meteor Casts consume Overpower when possible, dropping an additional Meteor for every 2 Overpower consumed.
Meteor deals [80% - 100%][x] increased damage.
Sorcerer only
The item's Unique power; other stats are not shown.
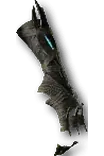
Casting Blood Surge picks up 4 Blood Orbs around you to expel smaller blood novas, dealing [80% - 100%] of normal damage.
Necromancer only
The item's Unique power; other stats are not shown.
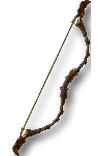
Every consecutive Cast of Rapid Fire increases the amount of arrows it fires by 2, up to 6. Rapid Fire deals [40% - 50%][x] increased damage.
Rogue only
The item's Unique power; other stats are not shown.
Casting a Skill has a [40% - 60%] chance to trigger a Non-Mobility, Non-Ultimate Skill that is currently on Cooldown. Can only occur once every 8 seconds.
The item's Unique power; other stats are not shown.

Hits of Barrage have a [25% - 30%] chance to deal triple damage and Knock Down enemies.
Rogue only
The item's Unique power; other stats are not shown.
Thorns has a 30% chance to deal [200% - 250%][x] increased damage.
The item's Unique power; other stats are not shown.
Fireball deals [70% - 90%][x] increased damage and every 3rd Cast launches 2 additional projectiles.
Sorcerer only
The item's Unique power; other stats are not shown.
When you attempt to Incapacitate an enemy, you mark them and all surrounding enemies, pulling them in and dealing [7.5% - 10%][x] increased damage to them.
The item's Unique power; other stats are not shown.
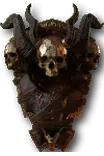
Lucky Hit: While you have an active Bone Storm, hitting an enemy has up to a [35% - 45%] chance to spawn a Bone Storm around their location.
Each Sacrifice bonus increases this chance by 25% and allows you to spawn 1 additional Bone Storm. Each active Bone Storm grants 30%[x] Critical Strike Damage, up to 150%[x].
Necromancer only
The item's Unique power; other stats are not shown.
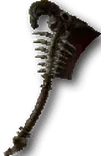
Your attacks Critically Strike Injured Enemies. Killing Elites Fears and Slows nearby enemies by [85% - 95%] for 2 seconds.
Druid, Barbarian, Necromancer, Paladin, Warlock only
The item's Unique power; other stats are not shown.
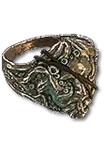
Gain 1 Ferocity every 2 seconds as long as no enemies are Close to you.
Your Marksman Skills deal [12% - 15%][x] increased damage per stack of Ferocity.
Rogue only
The item's Unique power; other stats are not shown.
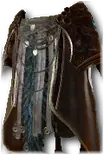
Effects that Heal you beyond 100% Life grant you Barrier equal to [80% - 100%] of the overhealed amount that lasts for 8 seconds.
You may now drink your Healing Potion while at full Life.
The item's Unique power; other stats are not shown.
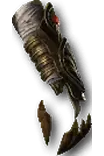
Casting Fire Bolt through your Firewall causes it to split into 3 bolts, each dealing [80% - 100%][x] increased damage.
Sorcerer only
The item's Unique power; other stats are not shown.

Blizzard's effects linger on enemies for an additional [100% - 120%] of its duration.
Sorcerer only
The item's Unique power; other stats are not shown.

Teleport pulls Close enemies to you and you gain [40 - 50] Damage Reduction for 8 seconds.
Sorcerer only
The item's Unique power; other stats are not shown.