

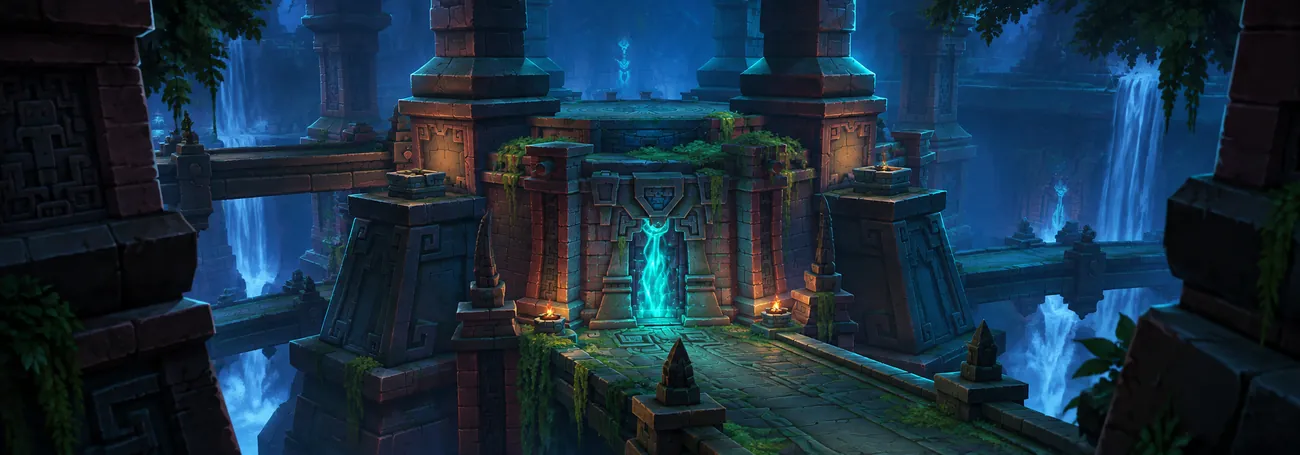
Labyrinth of Kindo’jan: Unlock, Loot and Solo Tier 11
The Labyrinth of Kindo’jan is an Amani tomb with nine chambers that you explore together with Valeera Sanguinar. This mega-delve arrives with WoW Midnight 12.1.5 and brings gear, hidden treasure and a hard solo boss. Clearing the chambers, getting the mount and earning the limited Fabled title each have their own conditions.
Launch: October 13, 2026 in the US and October 14 in Europe. Everything here comes from the announcements and the PTR, checked on October 11, 2026, so weekly limits, loot lockouts and saved chamber progress can still change before launch.
If you want the mount, you need to beat Kindo’jan solo on Tier 11 during Season 2. Myth armor comes from somewhere else, the chamber quests on Tier 8 or higher. And if you’re here for treasure, level your Labyrinth Journey first, because it opens new paths and makes you stronger.
Where is the Labyrinth entrance?
Head to Eversong Woods, north of Amani Pass, close to the Zul’Aman border. On the PTR the entrance sat around 63.05 / 72.30. Follow the Labyrinth icon on the map, because these coordinates are only a pointer and haven’t been tested as a TomTom waypoint.
- Follow The Long Way Around campaign section to Liadrin above Thresh Cove. Or travel from Tokka’s Landing on the Coiled Isle to Kul’amara the Fierce and accept The Labyrinth.
- Meet Valeera at the entrance and start Dangers Untold and Hardships Unnumbered.
- Finish the introduction in the Chamber of Rites, then talk to Kinduru.
- Complete the intro chain, and the Labyrinth opens for your whole Warband.
You don’t have to play the whole new campaign first, since Kul’amara gives you a direct route in. For the hard endgame goals you’ll want a level 90 character with Midnight access.
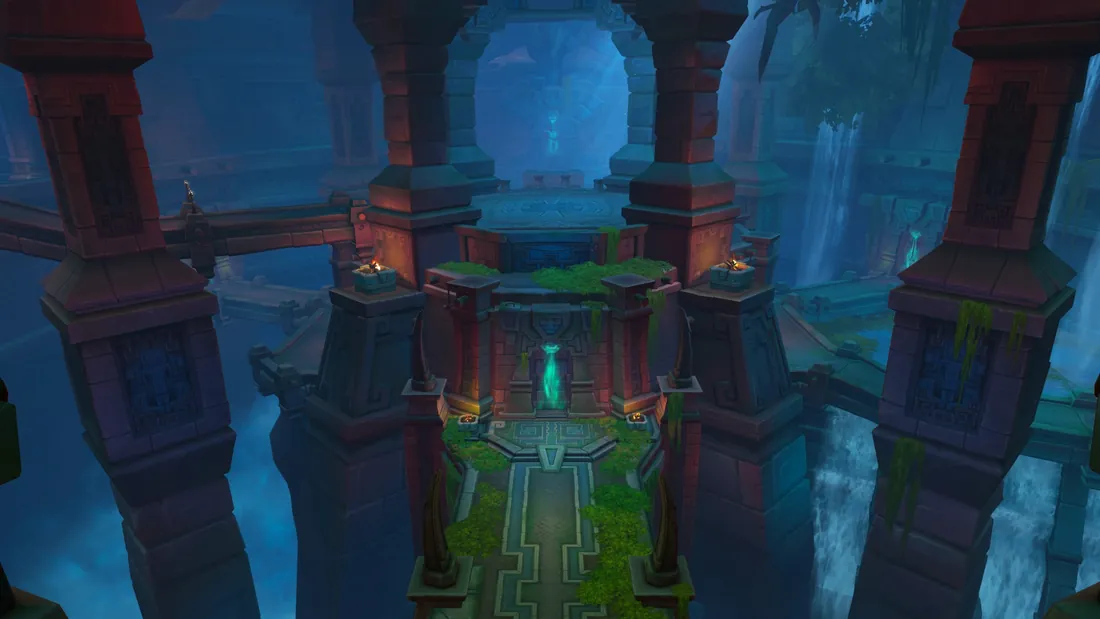
Nine chambers and eleven tiers: planning a run
The nine areas are Chamber of Rites, The Reliquary, Halazzi’s Lair, The Central Chamber, The Catacombs, The Cave Towers, Akil’zon’s Roost, Jan’alai’s Refuge and Nalorakk’s Rest. Kindo’jan waits in the northern Speaker’s Chamber, which doesn’t count as a tenth chamber for the nine-chamber achievement.
Difficulty goes from Tier 1 to Tier 11. As a rough PTR guide, plan for about item level 290 on Tier 8 and 309 on Tier 11. You can enter below that, and your spec, Valeera’s setup, your curios and how well you know the mechanics make a big difference.
When can you enter Kindo’jan’s room?
To open the boss door the first time, clear all nine chambers on Tier 8 or higher, ideally in one go. One-Champion Army always needs the full thing: all nine chambers and the boss in a single solo Tier 11 run.
PTR players found a shorter way back to the boss through Akil’zon’s Roost once the door was open. After launch, check that the door stays unlocked on your character before you plan boss attempts around that shortcut.
Can you stop and return later?
Partial clears give rewards, but leaving the instance doesn’t necessarily save the chambers you cleared. On the PTR, logging out inside and walking out were handled differently. So if your achievement needs one continuous run, stay inside until it’s done.
For how delves, your companion and weekly Vault progress work in general, see our Midnight delves guide. This guide covers what the Labyrinth adds on top.
Labyrinth rewards: gear, keys and collectibles
Heavy Trunks and Bountiful Coffers
The more chambers you clear, the more you get. On the PTR, one to nine chambers gave 1, 2, 2, 3, 4, 4, 5, 6, 6 ordinary trunks. Every third chamber also adds a Bountiful Coffer, so you get one after three, two after six and three after nine.
Coffers need keys, so bring up to three if you want to open all of them after a full clear. Don’t mix these end-of-run rewards up with the Sturdy Chests hidden around the instance.
Three tokens with different gear outcomes
| Item | What it gives | Important restriction |
|---|---|---|
| Heroic Soul Fragment | Three fragments make a random Hero 2/6 item. | You don’t pick the armor slot. |
| Mythical Soul Fragment | Three fragments make Venerated Loa Armament: Myth 1/6 armor of your choice. | The choice depends on your class. |
| Blessed Loa Armament | Hero 1/6 armor of your choice, Warbound until equipped. | The tooltip allows it once per account, so it isn’t a token for every alt. |
After the introduction, talk to Wah’du and take his quest for the matching chamber on Tier 8 or higher. Accept it before you enter that room and check that it shows up in your tracker. The listed reward is one Mythical Soul Fragment and 2,000 Undercoin.
The planned chain has six steps, which is enough for two Myth armor pieces. How it spreads across weeks and whether you can catch up on missed steps is still unclear. On the PTR the next quest came right away, but that doesn’t mean you can finish the whole chain on launch night.
Great Vault progress and the boss cache
Every three completed chambers count as one activity in the world/delve row of the Great Vault, so a nine-chamber run gives three credits. The boss was reported to give one more. These credits fill your usual Vault slots and don’t add extra items.
The boss also drops an extra cache with crests, a Heroic Soul Fragment, a Rank 5 curio and other materials. Wait until the final lockouts show up in game before you plan to farm it over and over.
Mount, toys, appearances and housing decor
Loa-Blessed Wayfarer comes from the seasonal solo Tier 11 achievement, so a normal group kill won’t get you the mount. There are also titles, troll-themed appearances and decor. Other collectibles include Feathers of Akil’zon, Rite of Jan’alai’s Flame, Nalorakk’s Strength Charm and Trail of Halazzi. The Loa-Blessed Victory toy gives a 30-minute aura on a one-hour cooldown.
Known appearance and decor rewards include Loa-Touched Visage, Loa-Touched Deltoid, Loa-Touched Spine, Ancient Amani Mural, Brown Amani Tapestry and Ruined Amani Ritual Urn. Where each one drops will only be clear from the final loot listing, and a known model isn’t a promise that your next chest has it.

Preparing for Tier 11: Valeera, curios and gloves
Sort out your setup before a full run. Put your interrupt, a movement ability and your main defensives on keys you can hit easily, and bring healing potions and other consumables. Pull small groups at first until you know which casts are dangerous.
Which role should Valeera use?
Healer is a good start if steady damage keeps wearing you down. As a damage dealer she also helps with interrupts. Pick the role based on what actually kills you, because missing healing and a missed interrupt need different fixes.
One PTR boss setup used Corrosive Bilespear, Soul-Cracking Dreamcatcher and Bursting Toad Toxin, with Ula’tek’s Gift and Insidious Venom once the second slot opened. Use it as a starting point to test, since it isn’t best in slot for every spec.
Four reusable glove enhancements
- Falco Strikes: Nature damage, with a 20% chance for hits to repeat.
- Heat Wave: 20 seconds of Fire damage around you, shared among the enemies it hits.
- Ursine’s Ironhide: an absorb shield for 15 seconds.
- Eye of the Lynx: 15 seconds of Haste and Leech for you and a random nearby ally.
The enhancements need level 90, aren’t used up when you apply them, and the tooltip says they work in delves. They fit gloves up to item level 334. Check whether the effect beats your better regular gloves before you give up item level for it, and don’t count on it outside delves.
How to defeat Kindo’jan: the four loa trials
The fight is about movement and control. Three stacks of Disgraceful Display can end your attempt, and good gear won’t save you if you miss the safe spots or skip the loa tasks.
The four loa tasks
- Akil’zon: find the gap between the dangerous wind zones.
- Halazzi: block the line of shadow attacks that holds Valeera, so she’s free again.
- Nalorakk: move through the openings in the bear waves.
- Jan’alai: Valeera marks her circle, and you stand in the other one.
Later the trials overlap with the boss’s own attacks. Think one knockback ahead, because a spot that’s safe now can push you into danger on the next one. Keep movement abilities for these moments and don’t let the Mojo patches fill up the middle.
Interrupt Amani Aegis, which reduces the damage the boss takes. If your early attempts die late in the fight, save Bloodlust or Heroism for that part. Change one specific thing per attempt, like reaching the free circle earlier or picking your knockback direction before the cast.
Phase timings and damage can still change before release, so play the mechanics you see instead of a memorized PTR timeline.
Hidden chests, hexmasks and the Flooded Chamber
Labyrinth Journey unlocks new routes
Your Labyrinth Journey is your progress in this activity and has nothing to do with the difficulty tier. The later PTR build had nine ranks, which unlock Rank 5 curios, masks and a locked chamber, Kinduru’s transport and loa bonds, among other things.
Sealed treasures open with Akil’zon at Rank 3, Jan’alai at Rank 5, Nalorakk at Rank 7 and Halazzi at Rank 9. Go back to rooms you already know after each of those ranks. If you can’t reach a chest, it may simply need a higher rank, so you don’t have to hunt for a hidden jump.
Finding the chamber behind the waterfall
- Go to the lower level of the Central Chamber.
- On the east side, look for the two waterfalls and an underwater entrance.
- Swim through the hidden passage and follow the stairs.
- Break the ice barrier with Fire damage. If your character has none, the PTR answer was Rune of Unleashed Fire from the Omnium Folio.
The most detailed later route counts 44 Sturdy Chests: 20 that need no Journey rank, 19 behind loa seals and five in the Flooded Chamber. Older lists give other numbers, so check your discovery achievement counter before you call a route done.
Keymaster and three elemental masks
Find the keymaster and the locked door. Both can move around, so remember where the door is if you find it first. The key opens a side area with more treasure, and the achievements ask you to open the door once and then 20 times in total.
The three masks are Frozen, Fiery and Thundering, and each one gives you helpers when you activate it. Happy Hexmask Collector needs all three, so plan on getting them in one run. Nobody has found a required order.
Building power for later attempts
Akil’zon’s Swiftness raises your movement speed with every chamber you clear, and Nalorakk’s Ferocity raises your primary stats. Halazzi’s Shroud can stop a lethal hit. Nobody knows yet whether that always saves the no-death achievement, so don’t count on it alone for Lone Raider.
Extra loa bonds give short boosts. Check how long they have left before a big pull, so they help with the rooms still ahead.
Achievements: the mount, Fabled and Lone Raider
Clearing the chambers, killing the boss and winning solo are three separate goals, so read the criteria before you plan a run.
| Achievement | Requirement | Reward |
|---|---|---|
| Knock Knock | Enter the Labyrinth for the first time. | — |
| The Labyrinth of Kindo’jan | Complete nine chambers in one run. | — |
| Whose Labyrinth? | Complete nine chambers in one Tier 11 run. | Maze Runner |
| My Labyrinth | Complete 100 chambers in total. | — |
| The First Hash’ey | Defeat Kindo’jan. | Loa-Blessed |
| Let Me Solo Him: Kindo’jan | Beat the boss alone on Tier 11 in Midnight Season 2. | Loa-Blessed Wayfarer |
| Fabled Let Me Solo Him: Kindo’jan | Win solo on Tier 11 before the first reset after the boss goes live. | Fabled Vanquisher of The First Hash’ey |
| One-Champion Army | In Season 2, clear all nine chambers and the boss in one solo Tier 11 run without losing a life. | Lone Raider |
| Kindo’jan’s Labyrinth Discoveries | Open all hidden Sturdy Chests. | Treasure Hound |
| Happy Hexmask Collector | Collect all three Elemental Hexmasks. | — |
| Lock and Key | Open the hidden locked door. | — |
| Lock and Key Master | Open the door 20 times. | Lockpickin’ |
| Treasures Upon Treasures | Collect 10 Mislaid Oddities. | — |
| A Few More Can’t Hurt | Collect 50 Mislaid Oddities. | — |
There’s also a tier series for clearing three chambers at each difficulty. Whose Labyrinth? needs neither a solo nor a deathless run. The mount achievement and Fabled need a solo Tier 11 kill, but no deathless run. Only One-Champion Army needs a full run without losing a life.
When does the Fabled window close?
The window closes at the first weekly reset after the boss goes live. With the announced dates that means October 14 until the October 21 reset in the EU and October 13 until the October 20 reset in the US. The clock doesn’t start with your own first attempt, so check the real deadline for your region before a late try or a booking.
Valeera is allowed in solo attempts, because the rule only excludes other players in your party. A normal group carry doesn’t count for the solo goals.
Interesting PTR discoveries
A timed mini-game inside a chamber
One Nalorakk chamber had a timed collection event: you gather objects, dodge hazards and upgrade the final chest, up to a gold version. One successful run gave keys and a lot of temporary buffs. Look for it early so the buffs carry into later rooms, but don’t expect that exact loot.
Dense pulls for leveling alts
Lower tiers were reported to give good experience for alts. If you still need to reach level 90, our Midnight leveling guide has the usual routes. Leveling characters getting into Tier 11 on the PTR was called a bug, so don’t build a leveling plan on it.
Old bugs are not reliable live strategies
Early tests had objectives not counting, Kinduru vanishing and events overlapping. If a clear doesn’t seem to count, wait for the objective tracker before you start a long next section. A September bug may be gone at launch, and not every report has a confirmed fix either.
Frequently asked questions
Can I play the Labyrinth in a group?
Normal runs work solo or in a group. Let Me Solo Him, Fabled and One-Champion Army allow no other players in your party, but Valeera can come along.
Which tier awards the mount?
Beat the Tier 11 boss alone during Midnight Season 2 to get Loa-Blessed Wayfarer. A Tier 8 kill or a normal group kill doesn’t count.
Does Fabled require a deathless run?
No. Fabled only needs a solo Tier 11 win before the first reset. The full run without losing a life is for One-Champion Army.
How do I get Myth-track armor?
Do Wah’du’s chamber quests on Tier 8 or higher. Three Mythical Soul Fragments make a Venerated Loa Armament, which gives you Myth 1/6 armor of your choice. Check the final weekly limits in game.
How many keys do I need?
A full nine-chamber run can give three Bountiful Coffers, so bring three keys if you want to open all of them. Partial runs give fewer coffers.
Can I continue after leaving?
Don’t count on it. Getting rewards for a partial run doesn’t mean your cleared chambers are saved, and the final rules for logging out, leaving and coming back will only be clear after launch.
Where is the chamber behind the waterfall?
On the east side of the lower Central Chamber, find the underwater route between the waterfalls. It leads to an ice barrier that you break with Fire damage.